Post-processing Resin Prints
Once a part is printed, the cleaning and finishing processes begin...
Washing
- Obtaining any reasonable final quality requires cleaning and such, but how that gets done is anyone's choice
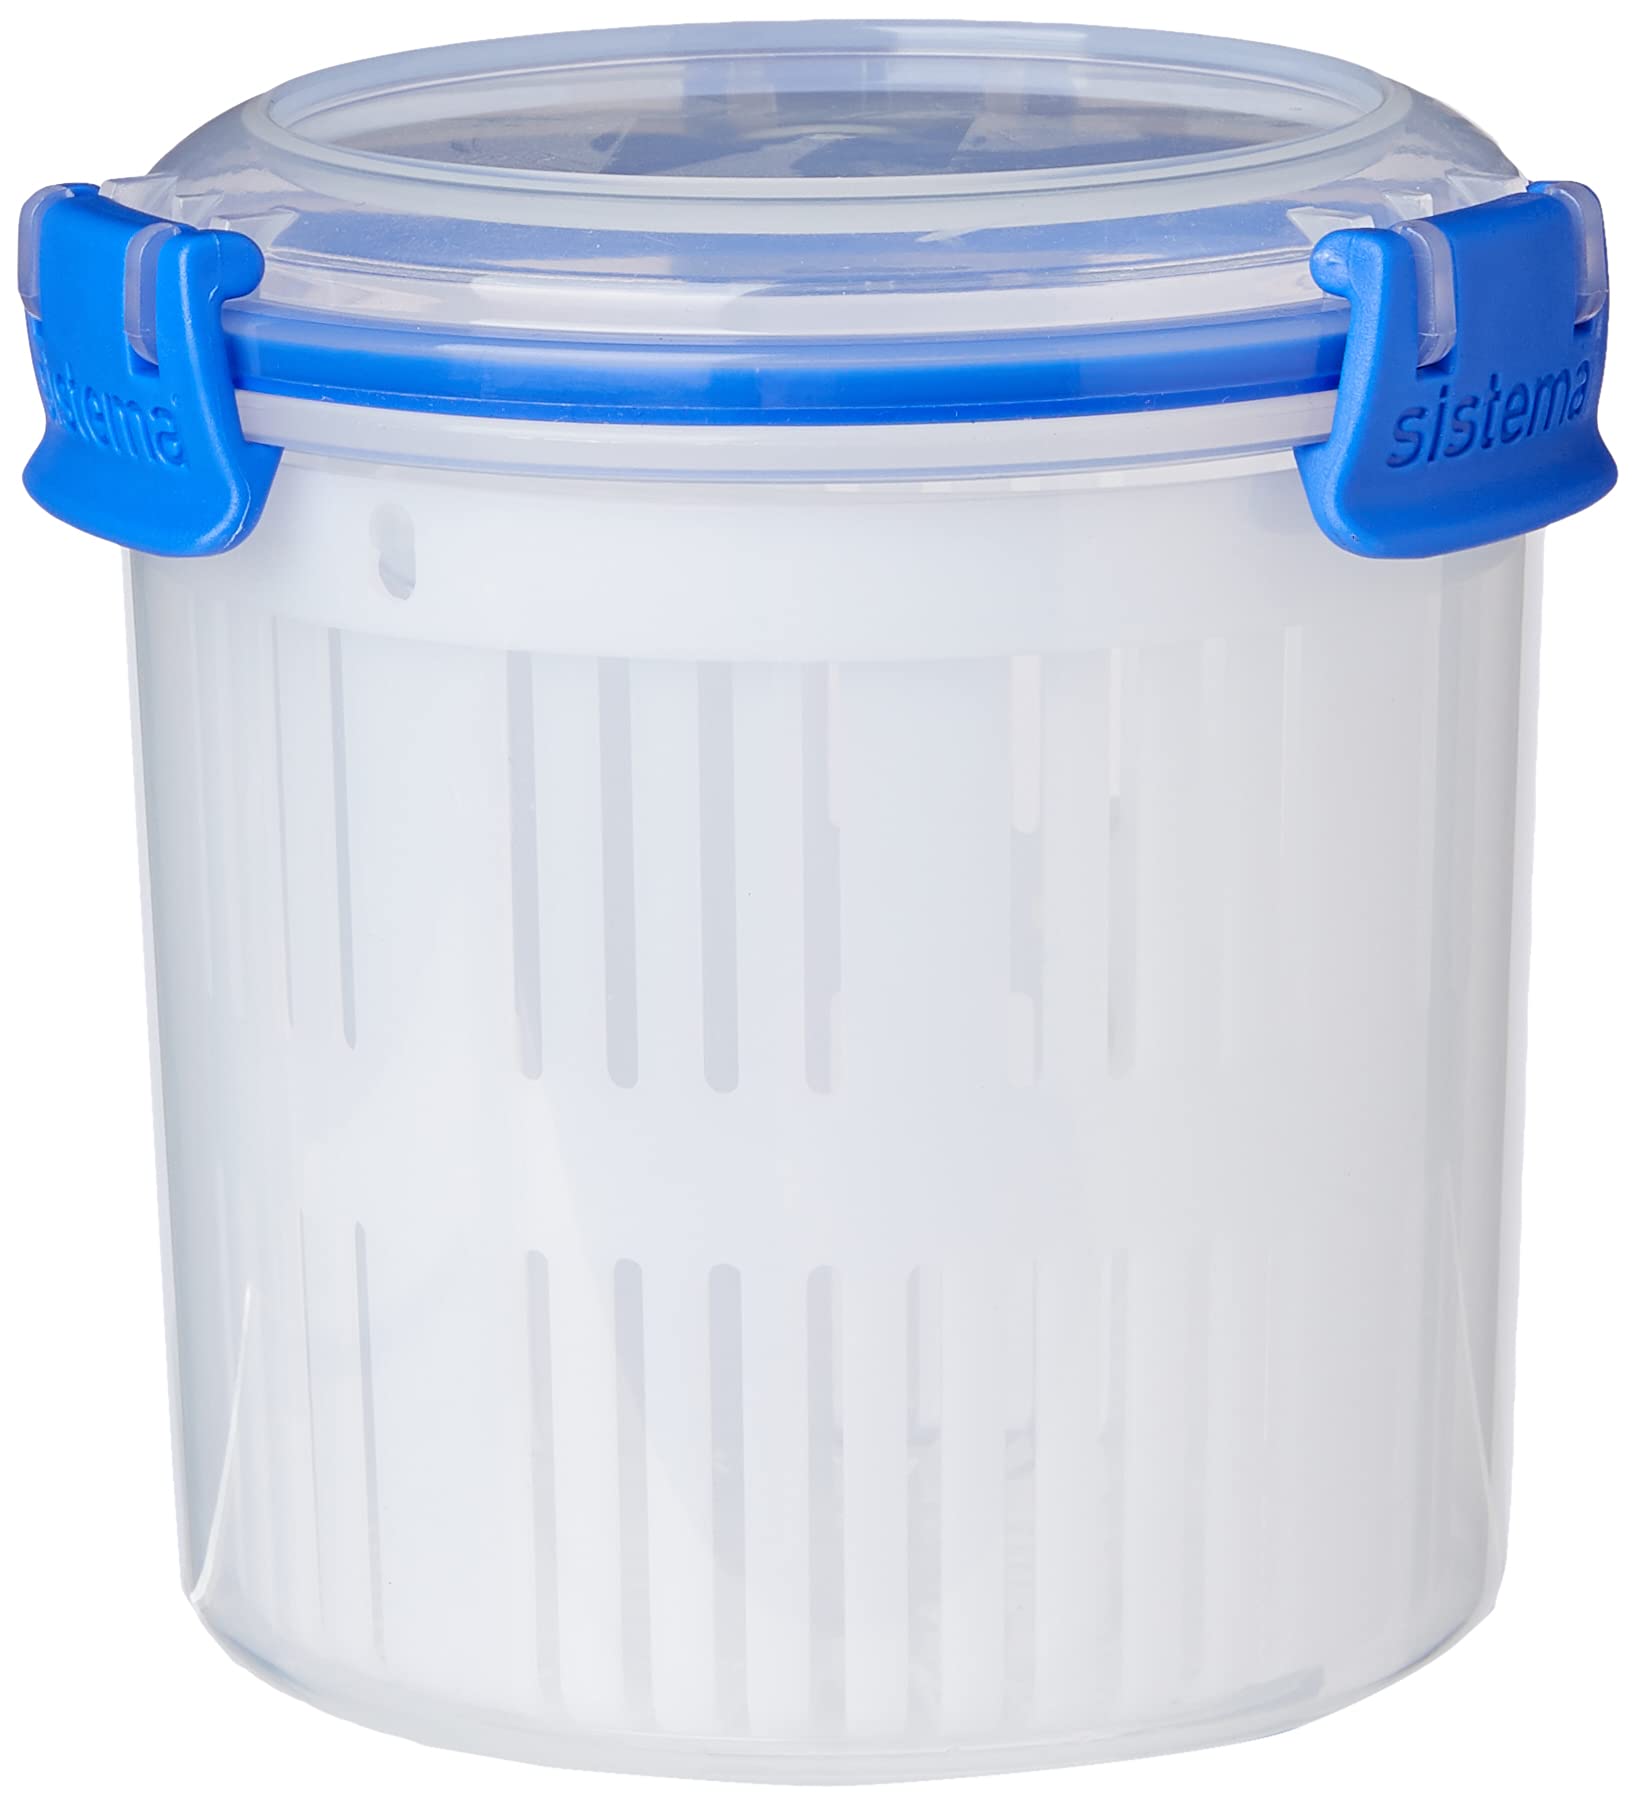
Dunk Buckets
- Nearly free since everyone has access to an airtight container that could hold the solvent
- Once resin or resin containing solvent has touched the container it can NEVER be used for food EVER again!
- Strainers that fit inside the container of solvent are very convenient for cleaning small parts
- Containers with lids that seal well enough to shake and agitate the solvent without leaking are awesome!
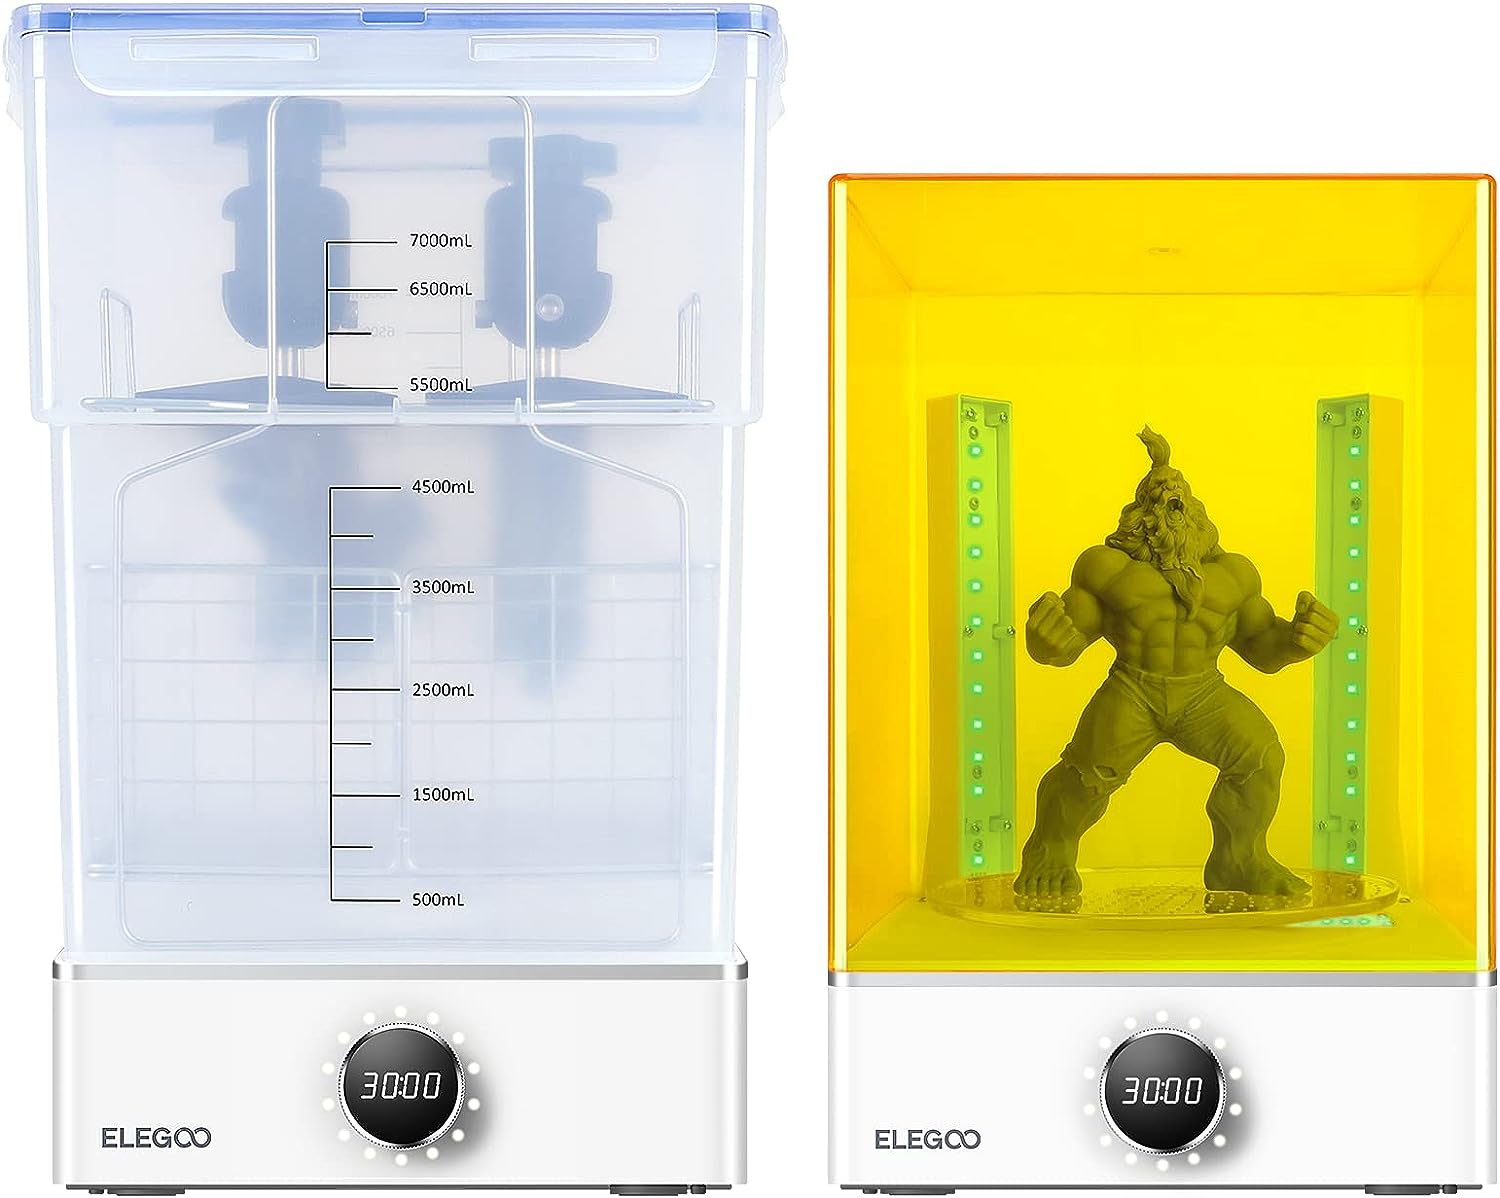
Resin Washing Machines
- Can be pricey at >$100 USD for the simplest washing stations
- Mega convenient and easy, but not a Fix-All for cleaning
- If parts are not "pre-rinsed" before being put inside a wash station, the solvent will foul much more quickly and need replacement or refreshment in a very short time
- My "ELEGOO Mercury X Bundle Wash and Cure Station Set" was $200 USD when purchased and takes nearly 2 gallons (7.5l) of solvent
- My first 2 gallons of solvent only lasted me 2 weeks
- I didn't pre-rinse the parts before putting them in
- My first 2 gallons of solvent only lasted me 2 weeks
- Some resins can absorb pigments from the solvent if present
- Putting a light colored part in strongly colored solvent can result in unpredictable color absorption
- I prevent contamination by using new or color specific containers of solvent for some resins or just specific prints
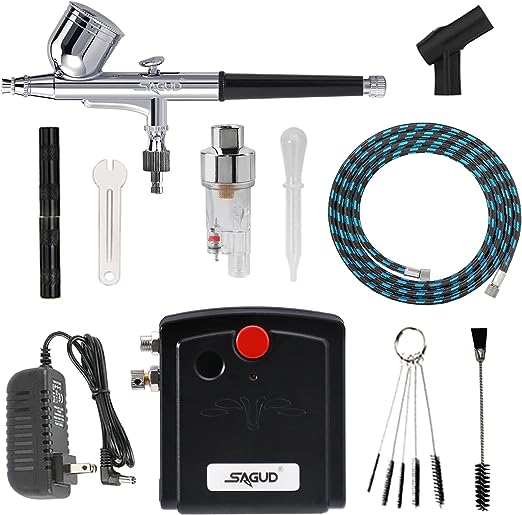
Compressed Air
Blowing any resin or solvent from within the tiny crevices of a printed part, is a great way to ensure the highest quality finished product. This also means wearing an apron or smock to cover the body and a face shield to keep splattered resin off our faces.
Air Brushes <10PSI
- Fairly low pressure is good to prevent splattering solvent everywhere
- Lower pressures make the drying process take longer
- Very low risk of air jet breaking delicate printed features
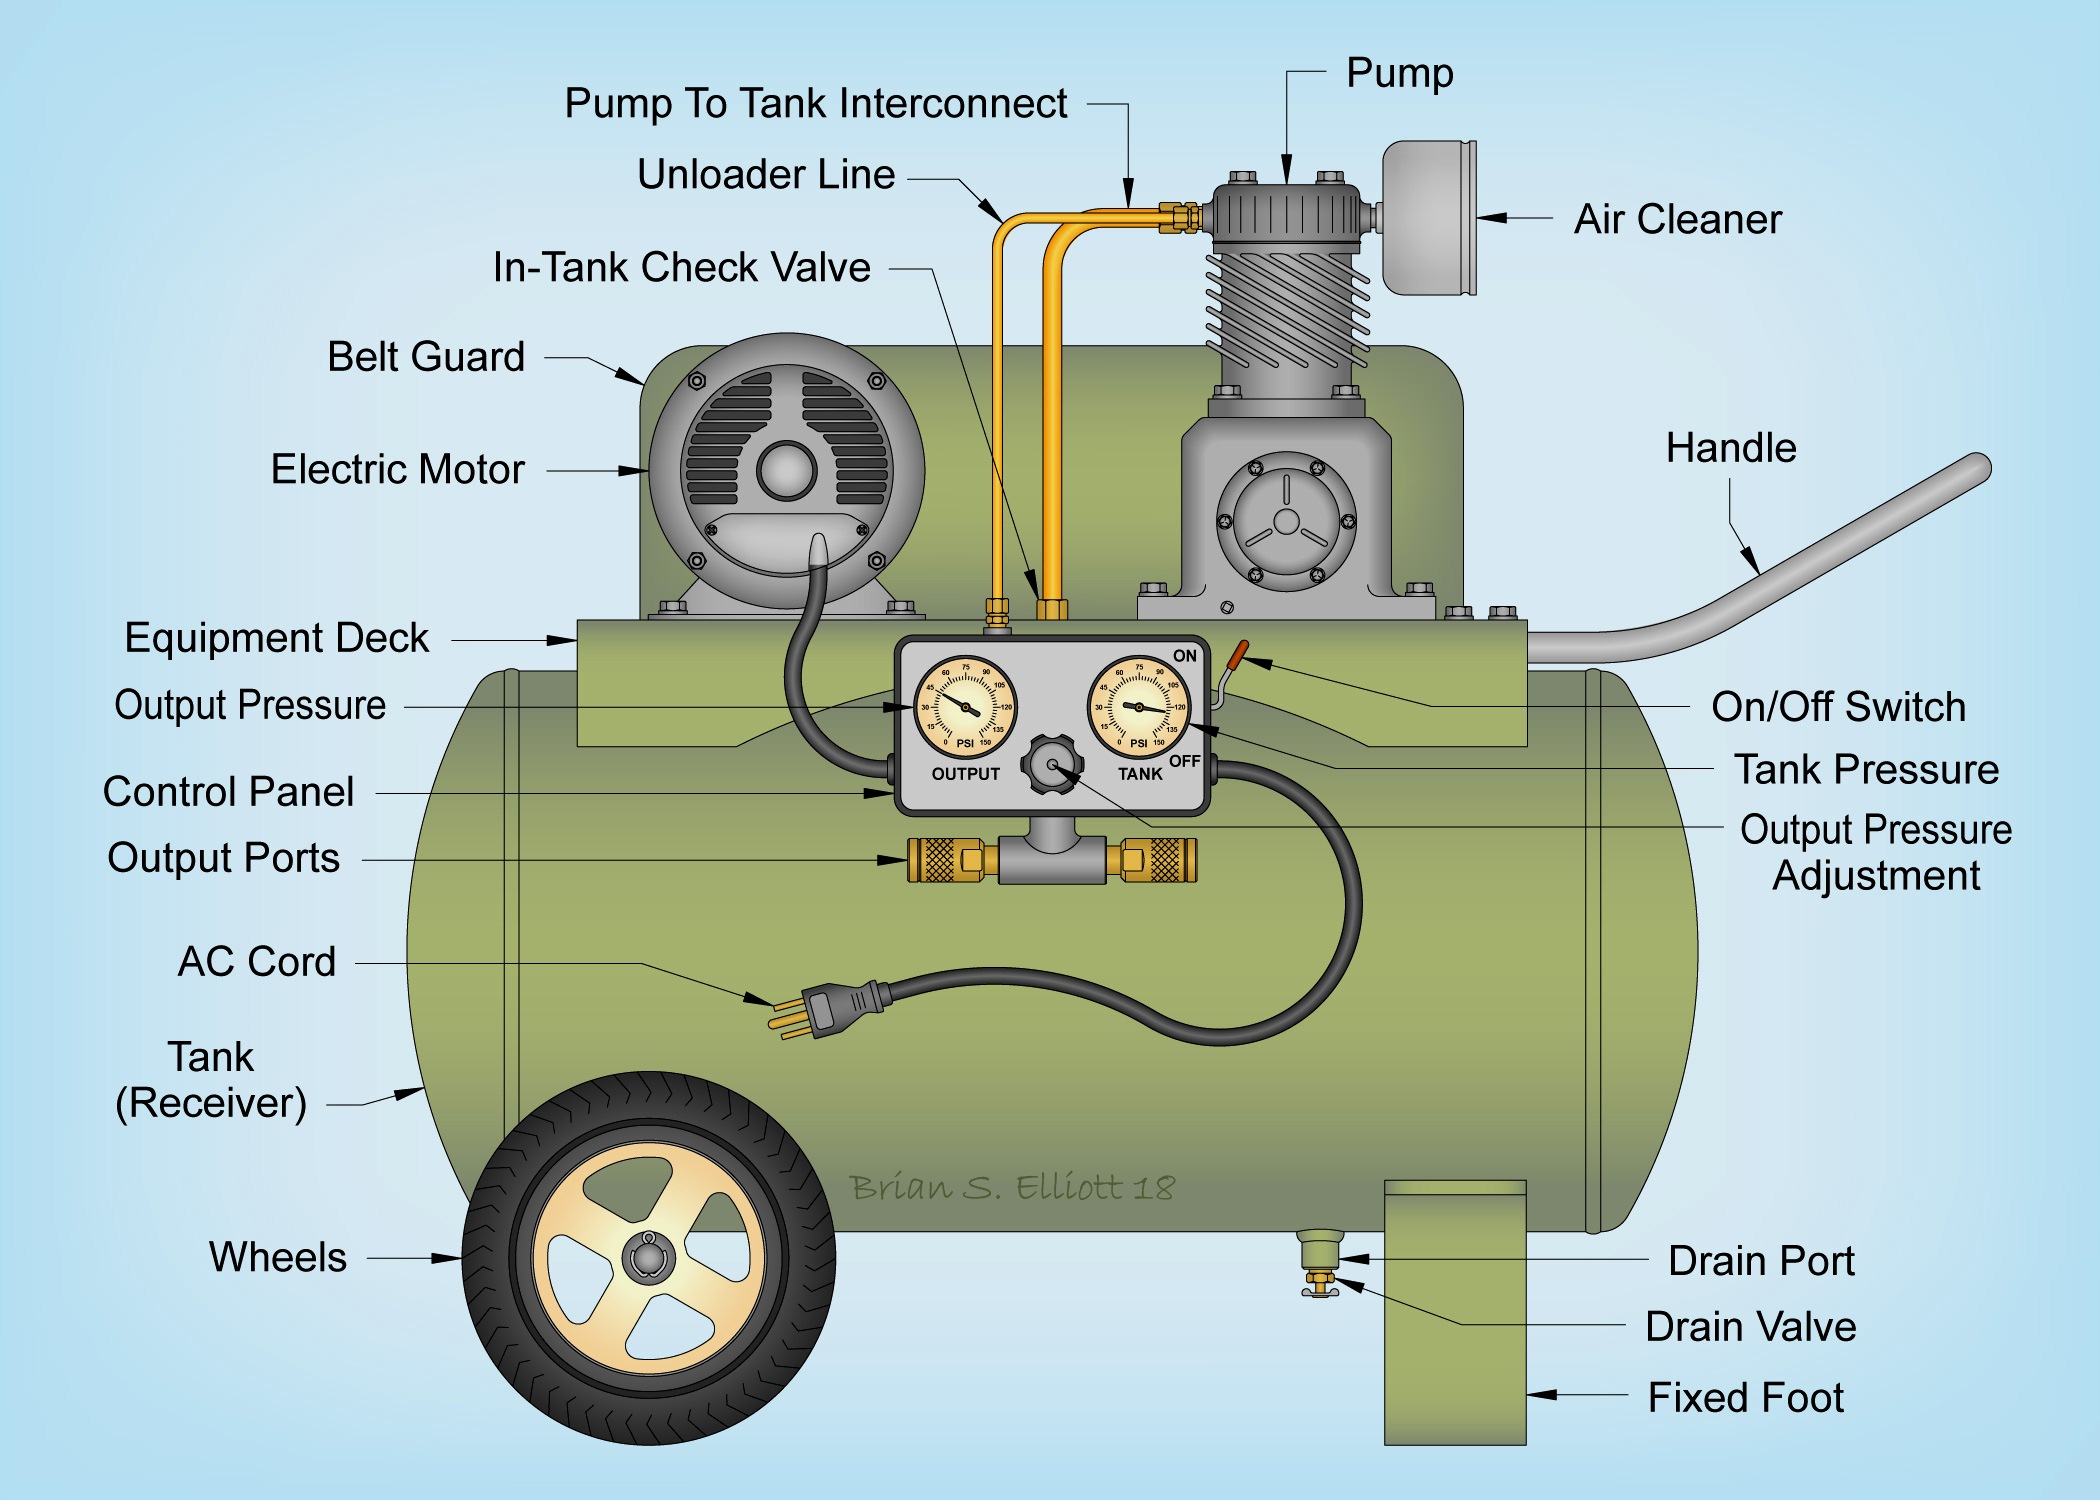
Air Compressor <100PSI
- Higher volume and pressure levels are a double edged sword; fragile features can be destroyed by high pressure air
- Makes very quick work of drying parts without fragile details to break
- Buying a compressor, regulator, hose, and nozzles just for resin cleaning might be cost prohibitive
Heated Drying Chambers
This is not truly necessary and doesn't have to be complicated. Our goal is to warm the printed, cleaned, and forced air dried part enough to dry any remaining solvent that might be hidden somewhere. Letting a printed, cleaned, and forced air dried part just sit to dry thoroughly overnight is a perfectly reasonable option, heat just makes it FASTER.
Home Made hot boxes
- Fire Extinguisher - cause life happens and is very cheap insurance!
- Thermometer of some kind is nice, so we know the parts aren't getting too hot
- Possible heat sources
- Hair dryer
- Heat gun
- Print chamber heater
- Power supplies
- Space heater
- almost any other heater...
- Possible enclosures
- Styrofoam drink cooler
- Cardboard box
- Wooden box or crate
- Tent
- Bucket
- Barrel
- anything that will safely contain whatever heat is being added
In the summertime, I have draped a black trash bag over a chair to cover my parts left on the seat. When the chair was left outside in the sun for a few hours everything underneath came out plenty dry and warm.
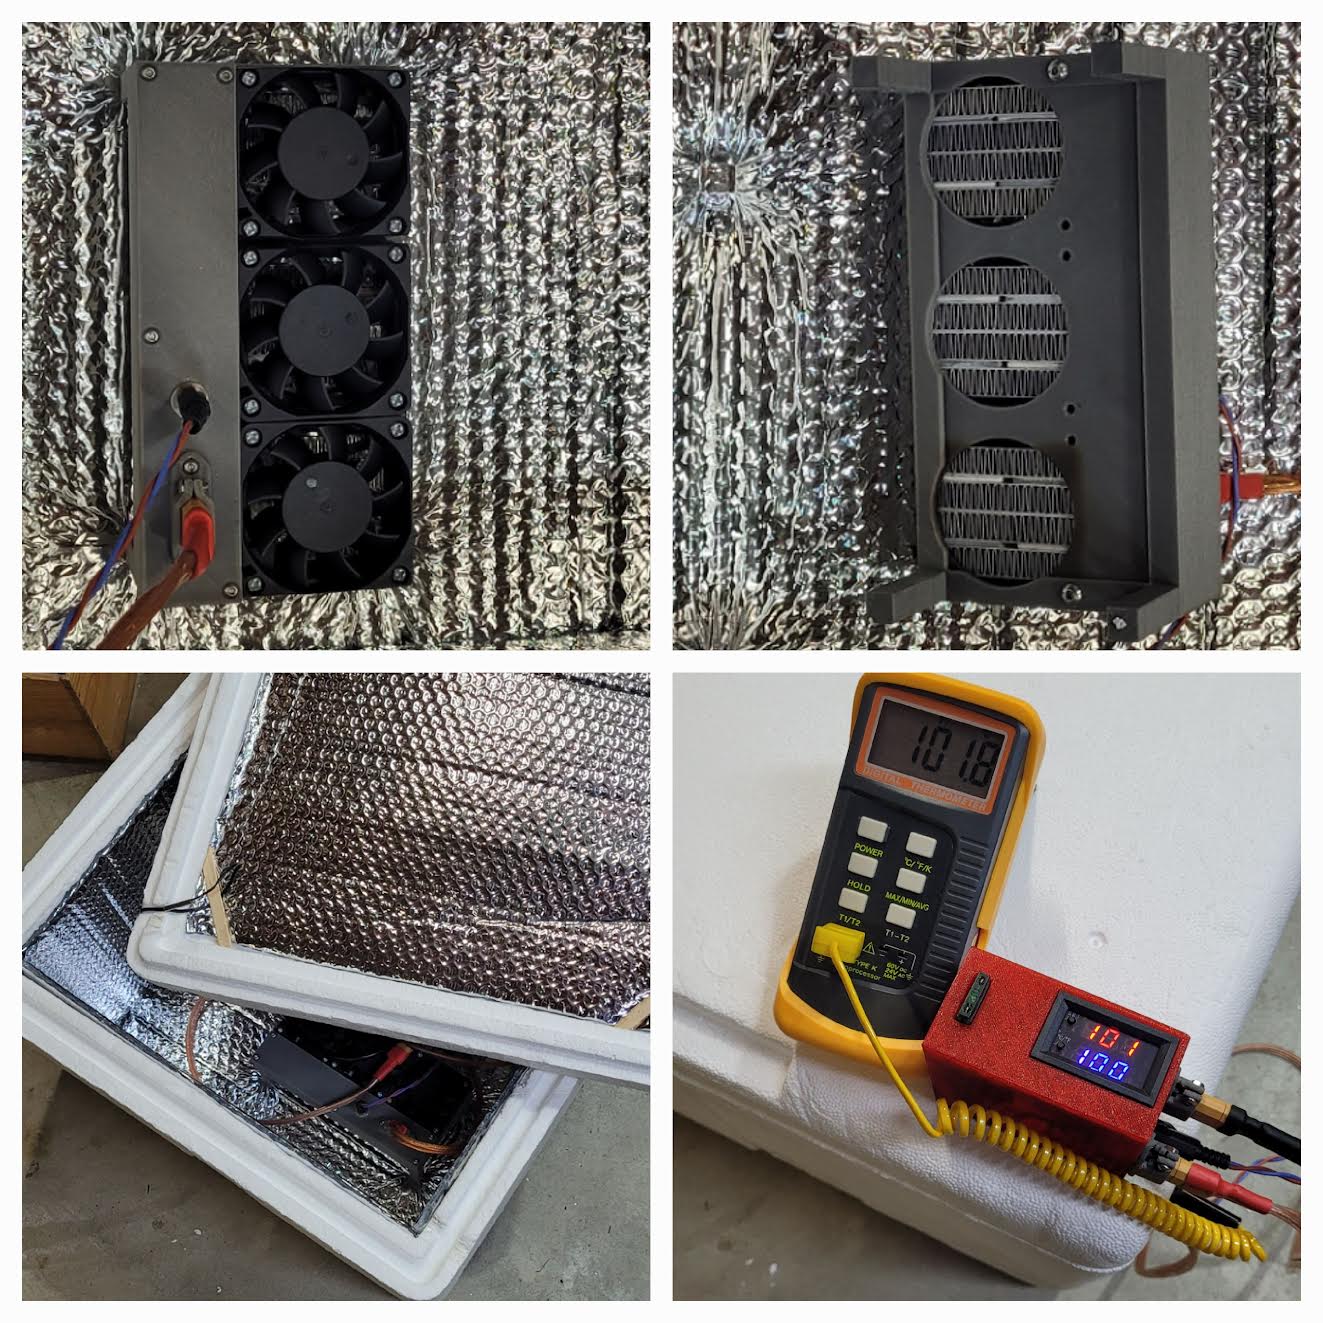
The PTC controller/sensor, 100W 12v heating element, and fan are the same parts used in the Resin Chamber Heater (at 3x scale):
Heated washing or curing machines
- Some Wash & Cure stations include a heating feature to aid in drying speed
- This additional automation can be both a boon and a curse
- Automation is awesome! Who doesn't love less work?
- If there is resin or solvent trapped somewhere, it can leak out during the automated drying and/or curing process making the dried resin harder to wash off again... if it didn't get cured onto the part like melted wax down the side of a candle.
Curing
Parts that have been printed, washed, and dried are still not up to their final material properties such as: strength, toughness, elasticity, etc. Parts must be thoroughly cured by using the same Ultraviolet light that was used to create them, except now we want to "soak" them in the UV light over a longer duration.
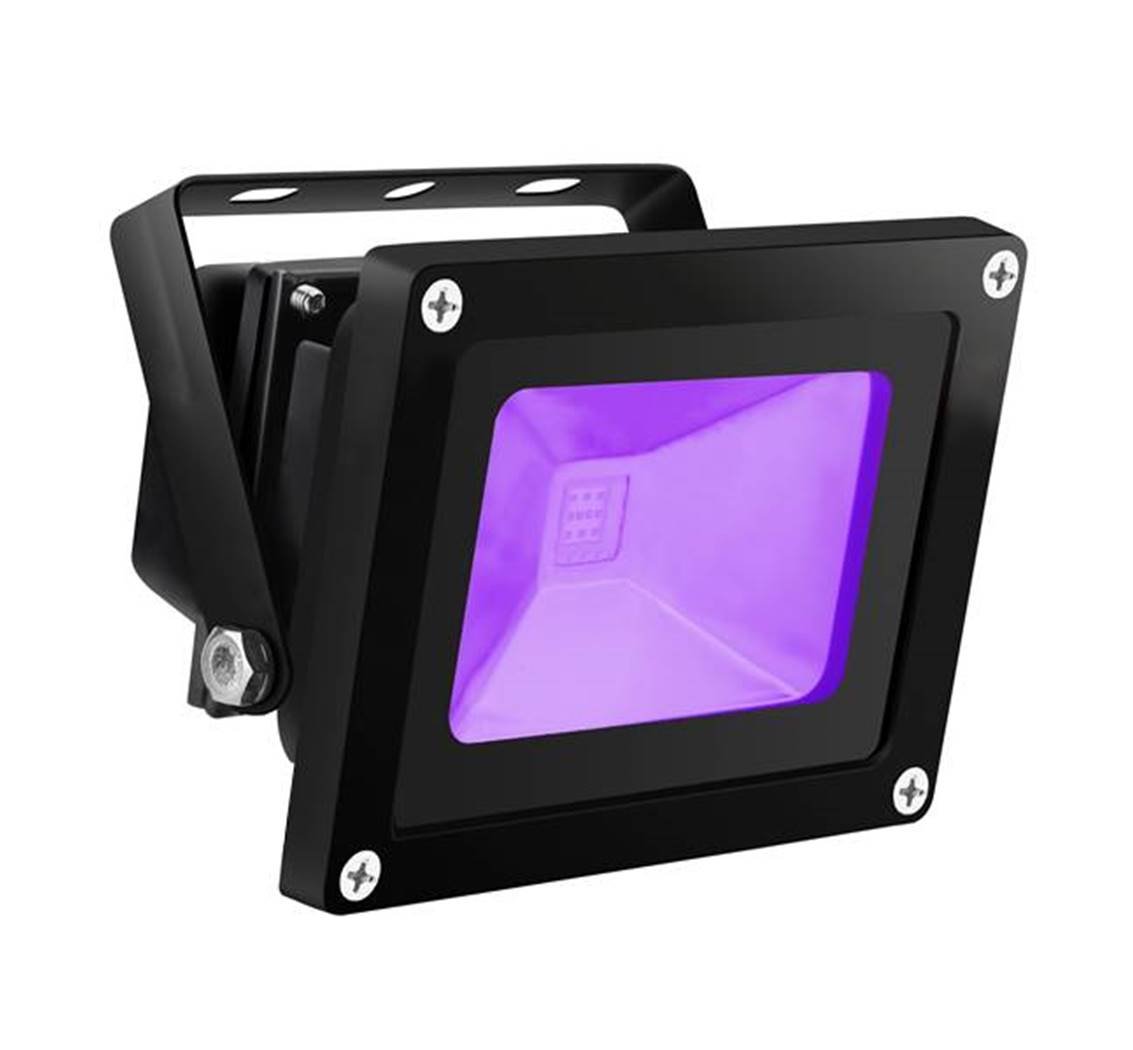
UV Lights
- Any UV light source in the 350nm to 425nm range can be used to cure resin prints
- Flashlights, Flood Lights, LED Strips, UV Keychains, etc. will ALL work adequately with varying effort
- Outside in the Sun is always a reasonable option but can sometimes be too harsh for certain colors or materials
- We don't want to "burn" or over cure some of the more sensitive resins
- White, Clear, Yellow, etc. can discolor or cloud if over cured or cured with too much intensity
- Many have claimed that certain resins will warp if over cured but I have yet to have that issue
- MY PARTS, typically warp for some OTHER reason... like user error!
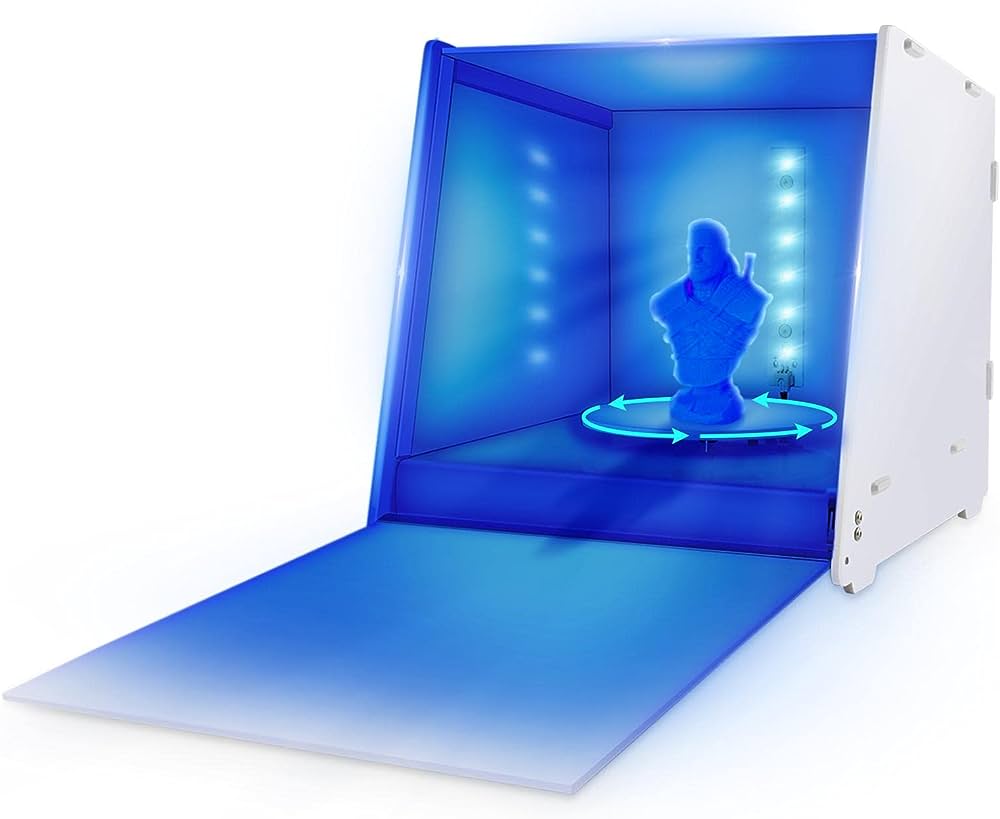
Curing Machines
- Their speed and convenience are excellent strengths, but there is always a cost for convenience
- Most machines have great features like timers, turntables, side lights, under lights, top lights, etc.
- This is another big thing that has to have a home in the work area... I need a bigger work area!
No comments to display
No comments to display