Dummies Guide to upgrading your Ender
So you just bought yourself a 3d printer or maybe you have had one for some time now. Well sooner or later you'll come to a cross road where you will keep your stock printer or you will decide to start making some upgrades to it.
With the seer amounts upgrades out there this can quickly become an overwhelming task to take on. In this article I will show you what I believe to be some of the quickest and simplest upgrades you can make to your Ender 3 or Ender 3 Pro.
Motherboard
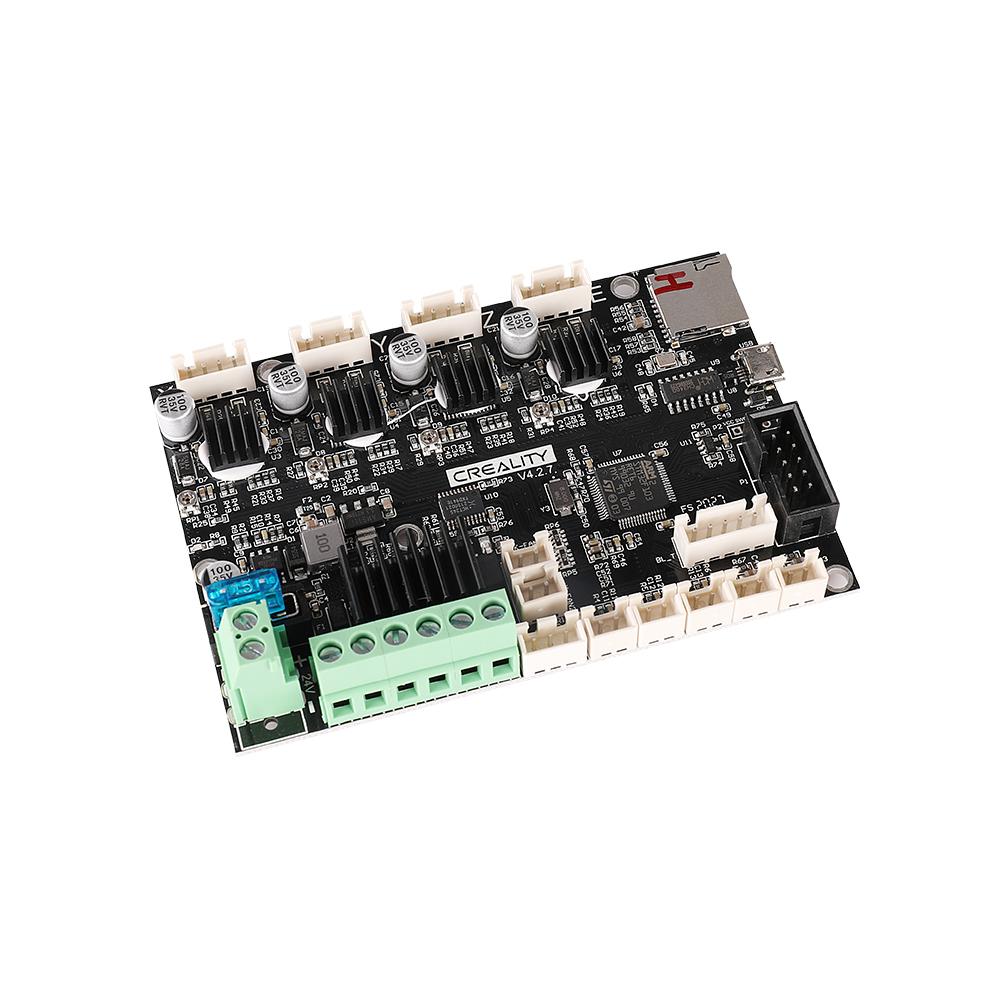
The first part that we are going to upgrade is going to be the motherboard. Most Enders come stock with a 4.2.2 motherboard. This is going to be the first thing that we swamp out, the biggest different between these two boards is that the 4.2.7 is a 32 bit board and it also come equipped with silent stepper drivers. This means that your printer will product less noise and not annoy your partner whenever it is running.
CR Touch
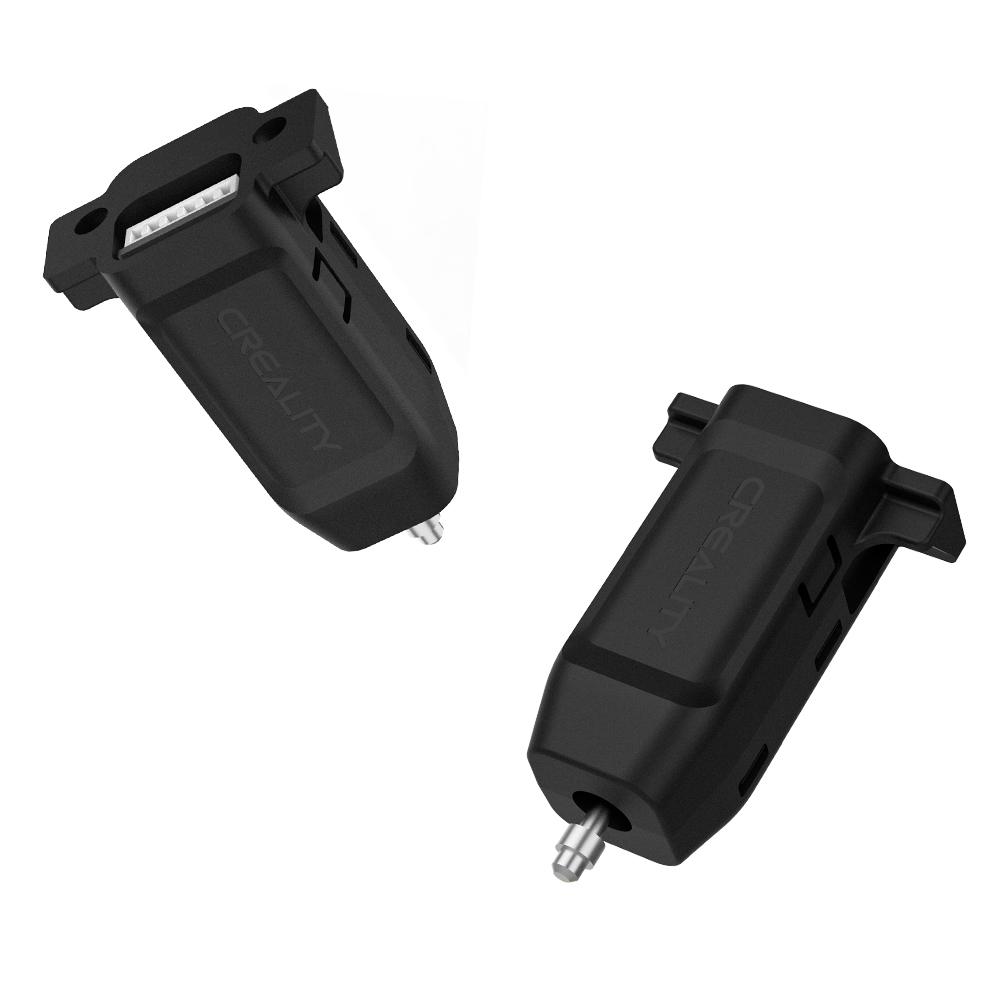
Next we are going to be adding the CR Touch. This little device will allow us to level our print bed automatically. The installation is rather straight forward, you will need to connect it to the proper port on the motherboard and then make sure your motherboard has been updated with the proper firmware.
Metal Feeder
![]()
While you have the option to 3D print your own feeder component for the Creality Ender 3, buying an all-metal version will benefit you. As we have already observed in later Creality builds, the basic Ender 3's plastic feeder assembly is a little lacking. The aluminum extruder in this original MK8 feeder assembly is a significant improvement over the plastic extruder found in most Creality 3D printers.
Die Springs
![]()
Although they may appear inconsequential, the springs put in your 3D printer can have a big impact on the stability and print quality. You can print at faster rates with less concern about bed instability by replacing the stock springs on the Ender 3 print bed with these stiffer die springs. To put it simply, these springs are an inexpensive and simple method to improve your Ender 3.
Tempered Glass Bed
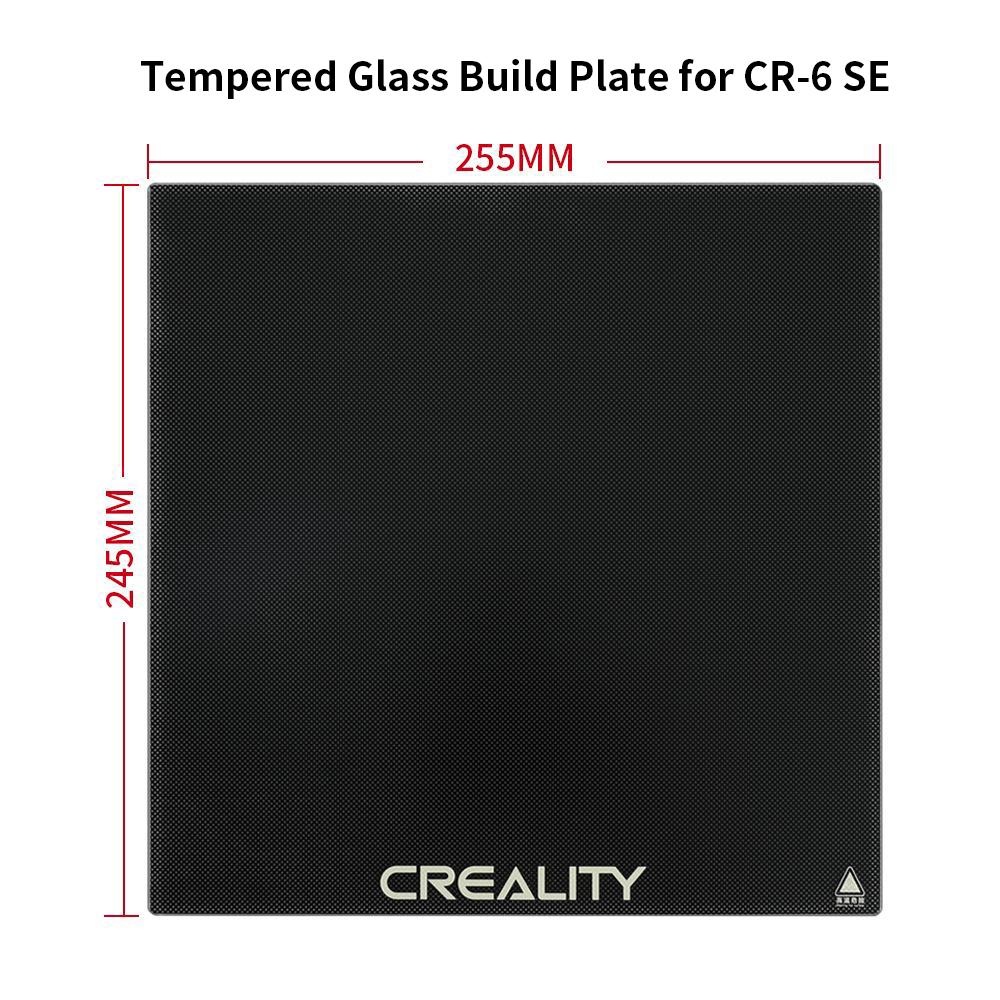
All of the standard-sized Ender 3 models are compatible with the branded tempered glass build plate that Creality sells if you want to give your Ender 3 or 3 Pro that new V2-vibe. The tempered glass build plate is made to sit on top of the hotbed and be held in place with a few basic clips.
Tempered glass is a considerably superior print surface for adhesion than the basic print beds of the Ender 3 and 3 Pro, and is a standard feature on the Ender 3 V2.
Bowden Tubing
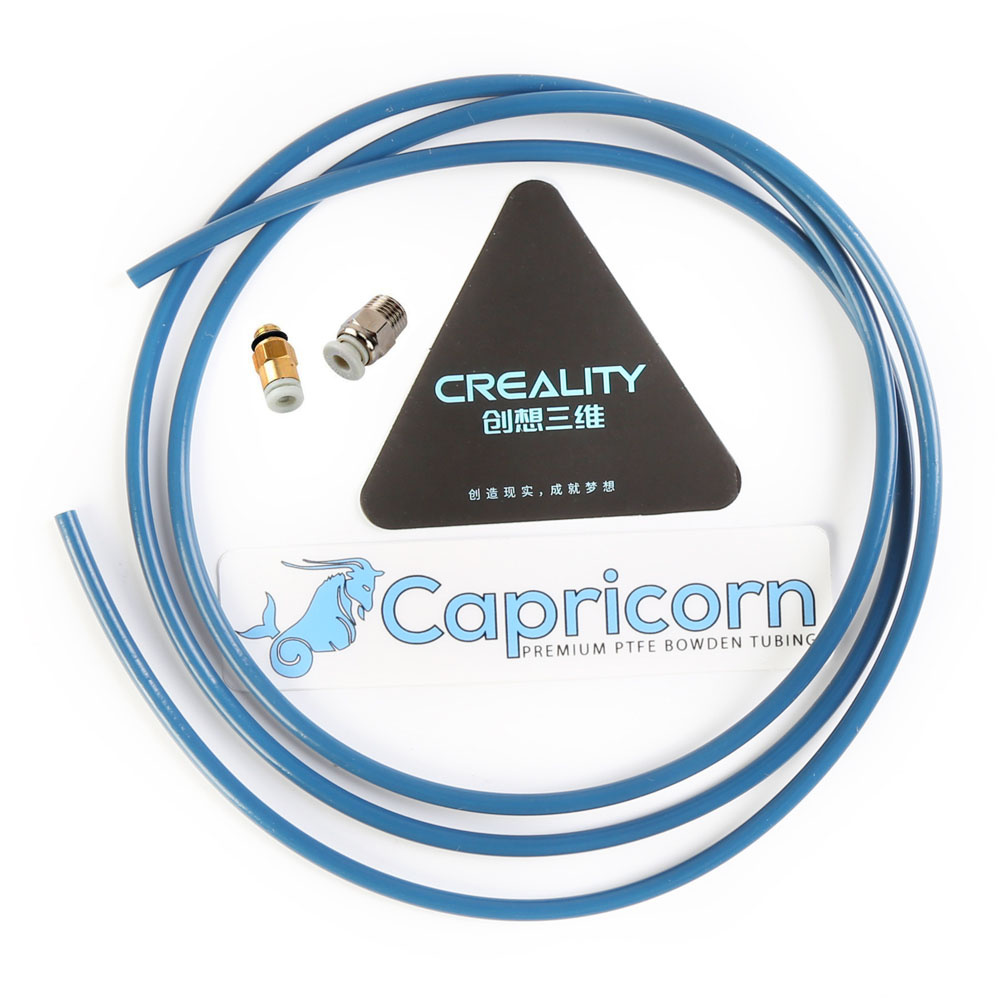
Although changing the stock tubing with Capricorn Bowden PTFE Tubing might not appear to be the most necessary upgrade for your Ender, it can have a significant impact. You can print with flexible filaments more easily thanks to the tubing's incredibly accurate interior diameter. This particular tube is one meter long and has been improved with a special mixture of high-performance chemicals.
- - Official Creality V4.2.7 Motherboard - $39.99 USD
- Creality CR Touch - $39.99 USD
- All Metal Feader- $12.99 USD
- Die Springs- $2.99 USD
- Tempered Glass Build Plate - $21.99 USD
- Bowden PTFE Tubing - $12.99 USD
No comments to display
No comments to display