Print Beds
Many options...
Lots of materials can successfully be used as print bed surfaces, and some of those work with one filament better than another. This list covers the print surfaces I have used to date, some information about them, and my opinions about each.
(BTW, my choice to use 1mm thick sheets to create new print sheets, is based upon my Prusa Mk3s+ printer's inductive bed sensor and it's need to magnetically "see" the steel sheet below the added print surface.)
-
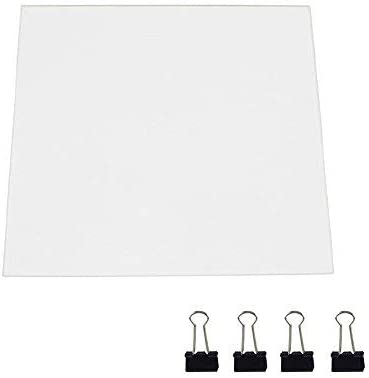
Glass - Float Glass, Tempered Glass, Mirrors, etc.
- Since most filaments stick nicely to glass, any flat glass surface should work for all but the pickiest materials
- Optically flat and shinny bottom print surfaces can be very desirable... but
- Most plastic parts will warp slightly as they change temperature and during use, even if they were optically flat when printed. This warpage is typically minor, but the human eye can see such deviations through reflected light... if someone is looking
- Glass can be chemical etched to produce a semi-gloss bottom print surface
- The semi-gloss hides optical imperfections a bit better
- Etching can take many forms or patterns; a mirrored logo could be etched to "watermark" the bottom surface of printed products
- Thicker glass plates are usually better at evening out bed heater hot spots, but also take longer to heat evenly and are heavier for any printers that move the bed while printing
- Any type of adhesive can be used on glass
- Glass will often chip out when removing prints if there is not enough adhesive used as a separation layer
- My Opinion - Float Glass and Mirrors are equally good and cheaper for anything not requiring ~130+ degrees Celsius, Borosilicate Glass aka: Pyrex/Tempered Glass is required for high temperature printing on glass plates
-
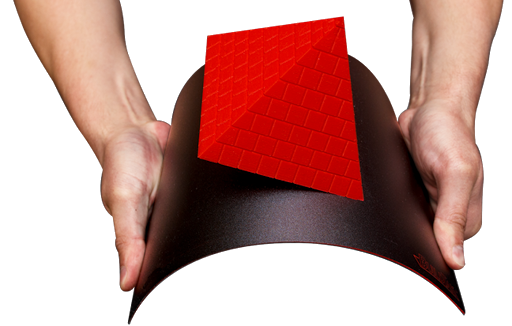
BuildTak Textured Polycarbonate Sheet
- Worked for PLA, TPU, PETG(Some PETG prints left marks on bed surface)
- Maximum Bed Temperature 100c
- Textured surface gives AMAZING adhesion for most materials
- Removing while still warm prevents tearing the BuildTak surface
- Will degrade faster than PEI/PEX type materials
- Can be refreshed with 500 grit sandpaper as it ages for longer life, but texture will be removed
- Any type of adhesive can be used, and would prevent over sticking to the bed, reducing wear
-
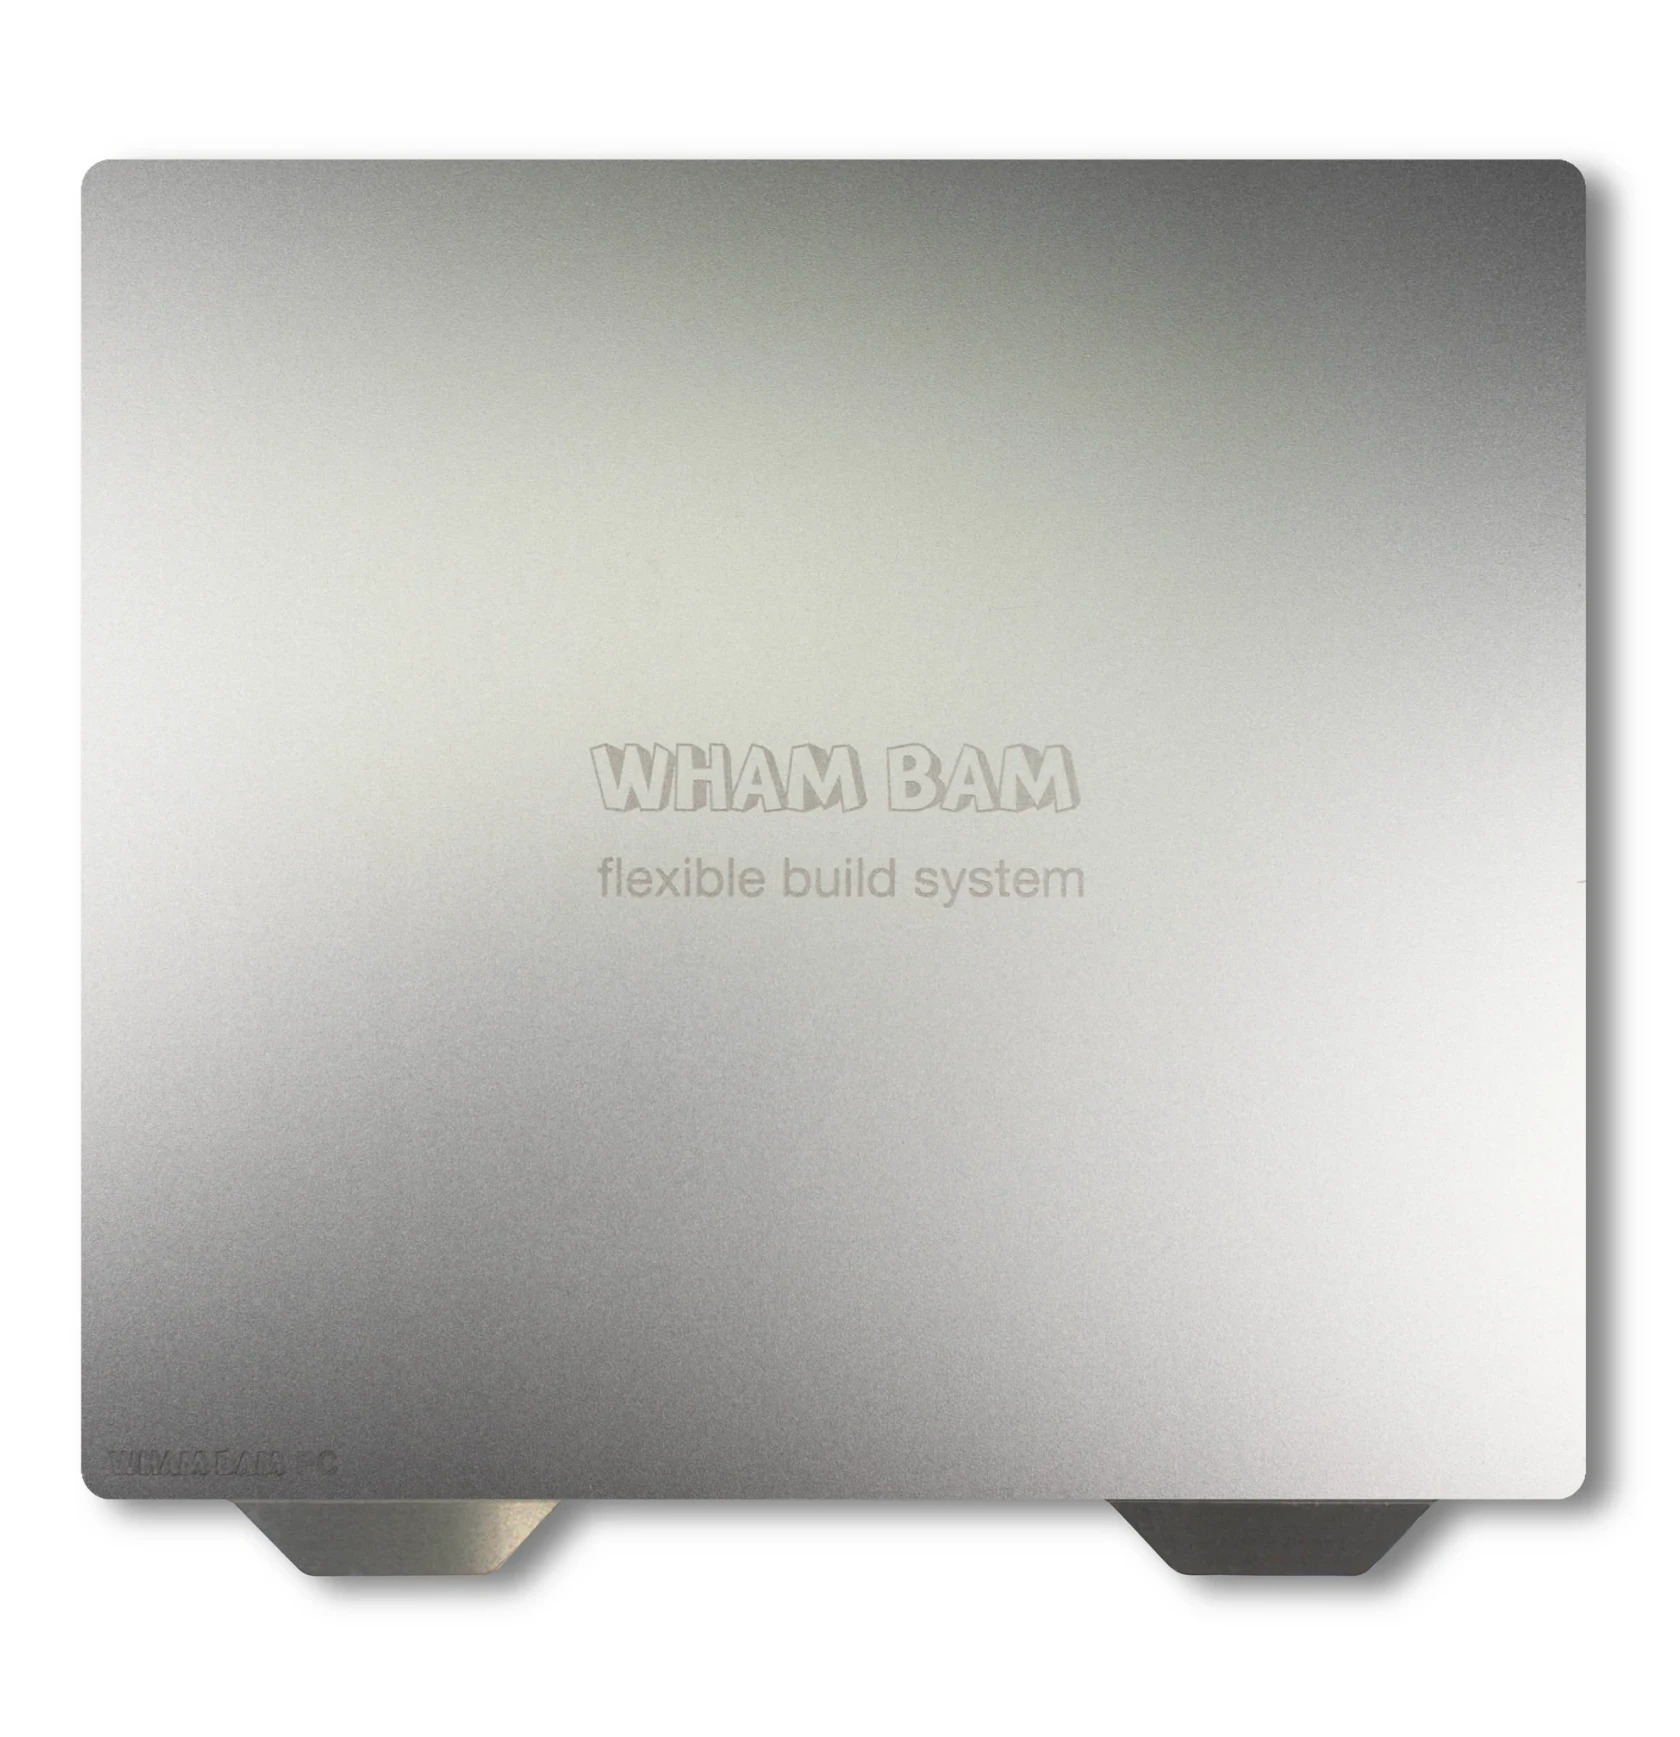
WhamBam - Smooth PC
- Worked for PLA, TPU, and PETG(Some PETG prints left marks on bed surface)
- Maximum Bed Temperature 100c
- Can be refreshed with sandpaper as it ages for longer life
- Any type of adhesive can be used, and would prevent over sticking to the bed, reducing wear
- Manufacturer Statement
-
Bed temps for PLA 40-60°C.
-
The gap for PLA is less important, moderate to high gap.
-
You can lower your bed temperature after the first 10 layers without it coming loose so it’s also good for economy use.
-
You may need a scraper to pry off parts if stuck well, so be careful not to gouge.
-
High-temperature filaments may fuse to the surface so do not squish first layer too much and you may want to use a bit of glue stick as barrier for easier release.
-
TPU also sticks really well to this, so you may want to print with no bed heat and possibly glue stick.
-
Clean between uses with rubbing alcohol (IPA) and steel wool if needed to remove leftover filament.
-
-
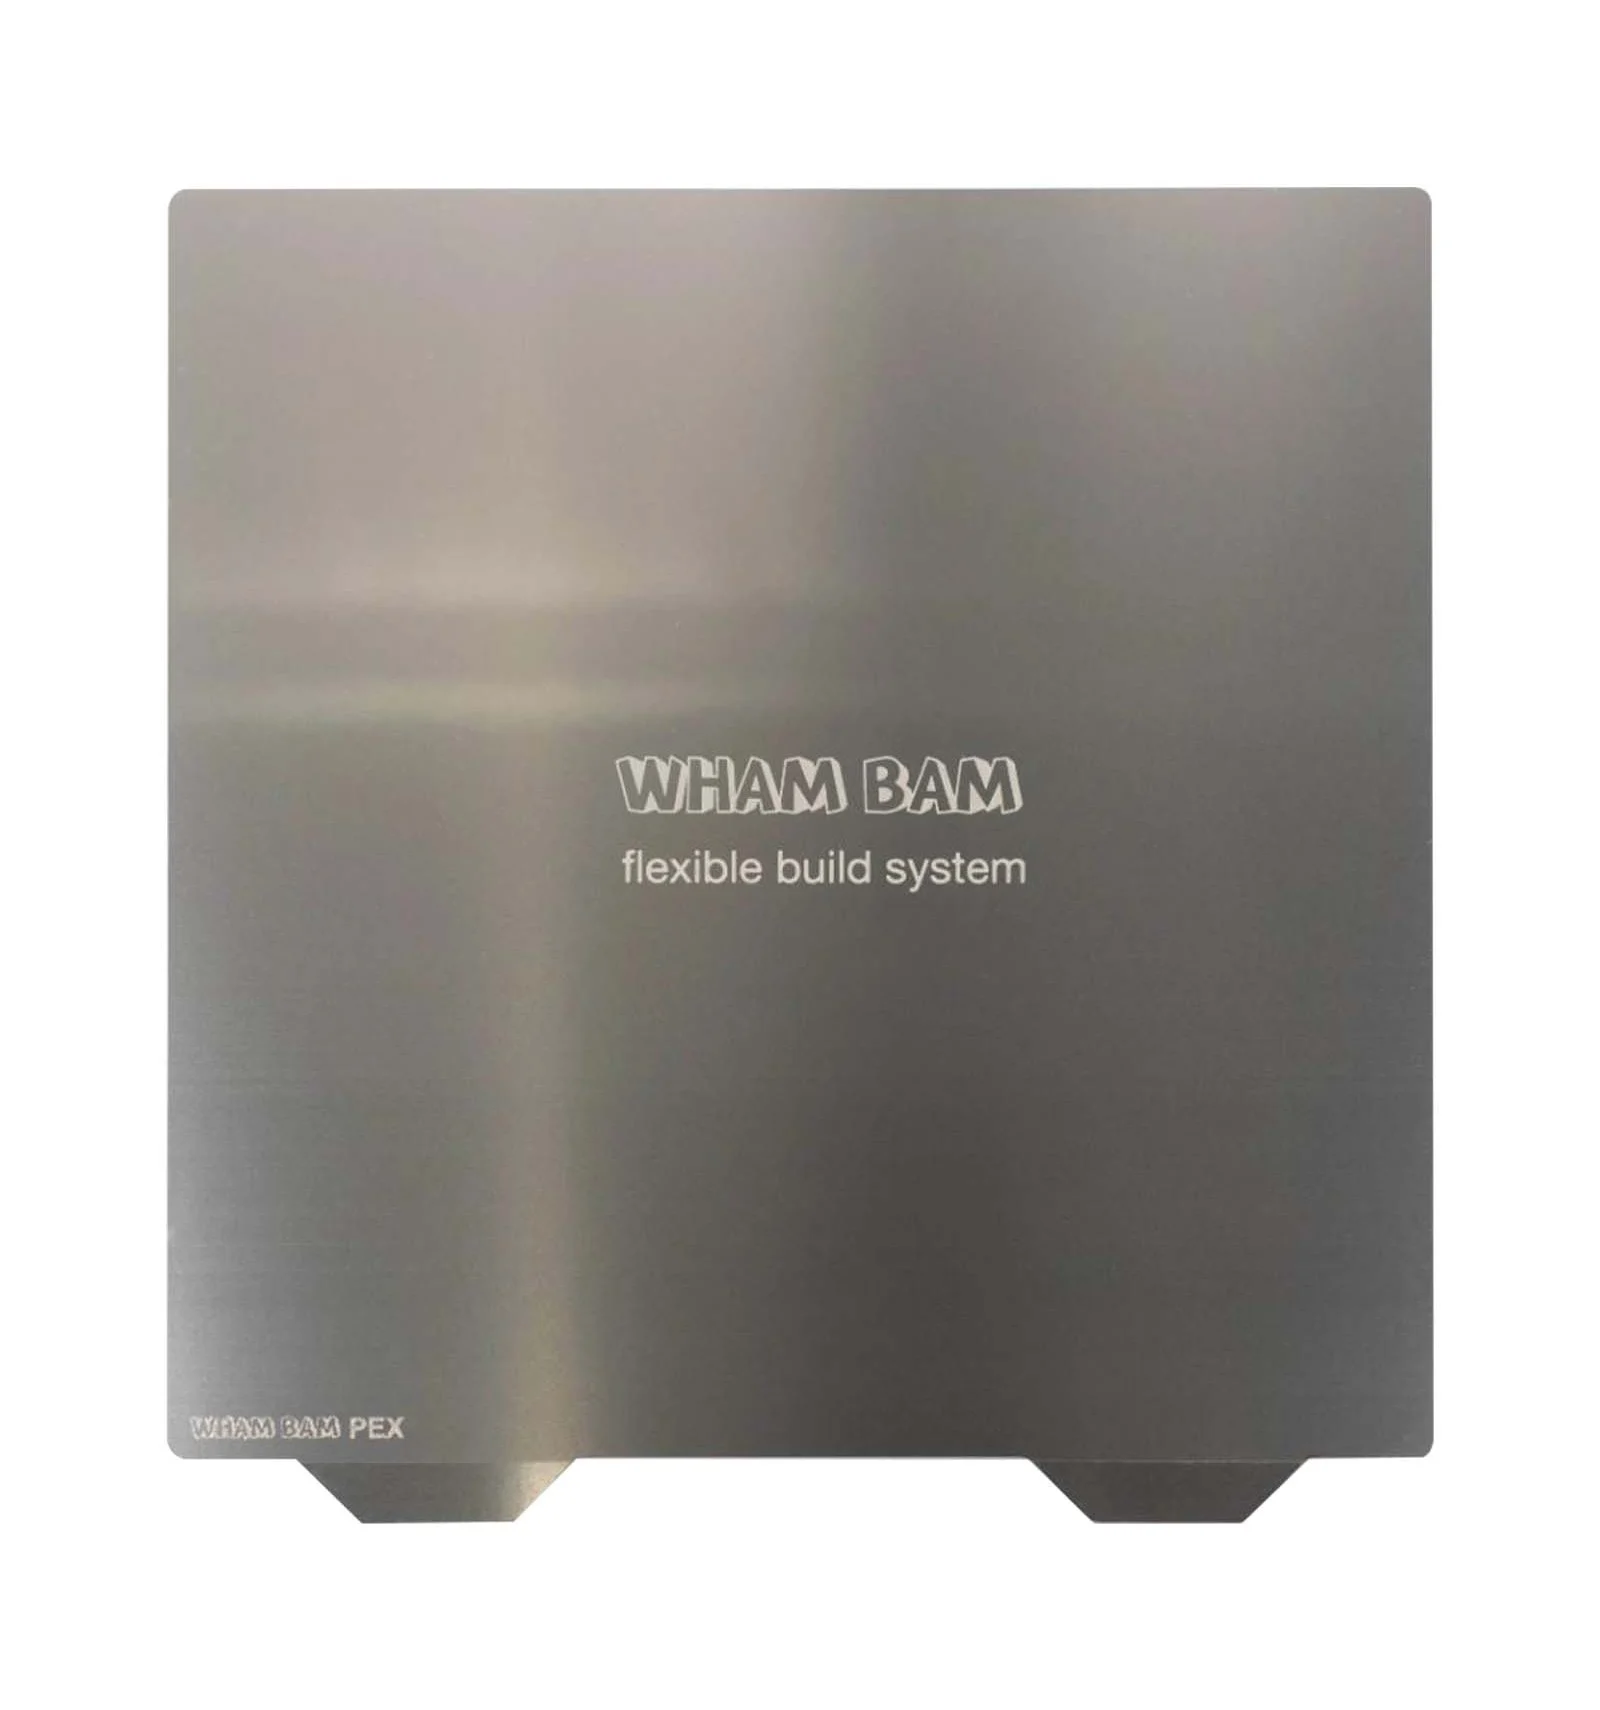
WhamBam - Smooth PEX
- Worked for PLA, TPU, PETG, ABS, ASA, HIPS, PC, PP, PA12, PA6(Some prints left marks on bed)
- Maximum Bed Temperature 150c (3M Adhesive Max Temp)
- Can be refreshed with sandpaper as it ages for longer life
- Non-Acetone adhesives Only!
- No ABS Juice (No Acetone)
- Most adhesives are OK (Magigoo, Vision Miner, Glue Stick, Hair Spray, etc.)
- Manufacturer Statement
-
Bed temps for PLA 70°C, gap PLA as tight as you can get it with full material flow. The first layer must be squished and flat-topped.
-
Bed temps for PETG 70°C, gap PETG moderate. For PETG set the hot end of lower limit to good layer bonding, usually 240-250°C to avoid fusing with surface.
-
Do not use part fan until layer 3-4.
-
Let parts cool completely before popping off, never pry or force parts off or you can take a chunk of your build surface off.
-
Finger oils and dust are prohibitors to adhesion, so keep your beds clean.
-
We have had success printing PLA, PETG, ABS, TPU, PP, and glass or carbon fiber filled PC and Nylon on our PEX build surfaces with no adhesives needed for bond. However for pure Nylon and PC its usually necessary to use a glue stick or Magigoo to get the part to stay down. You will need an enclosure when printing ABS, Nylon, PC and other high shrinkage materials.
- Should your PEI, Powder Painted PEI, or PEX ever lose some of it's grip you can revitalize with acetone (use gloves and eye protection) and steel wool
-
-
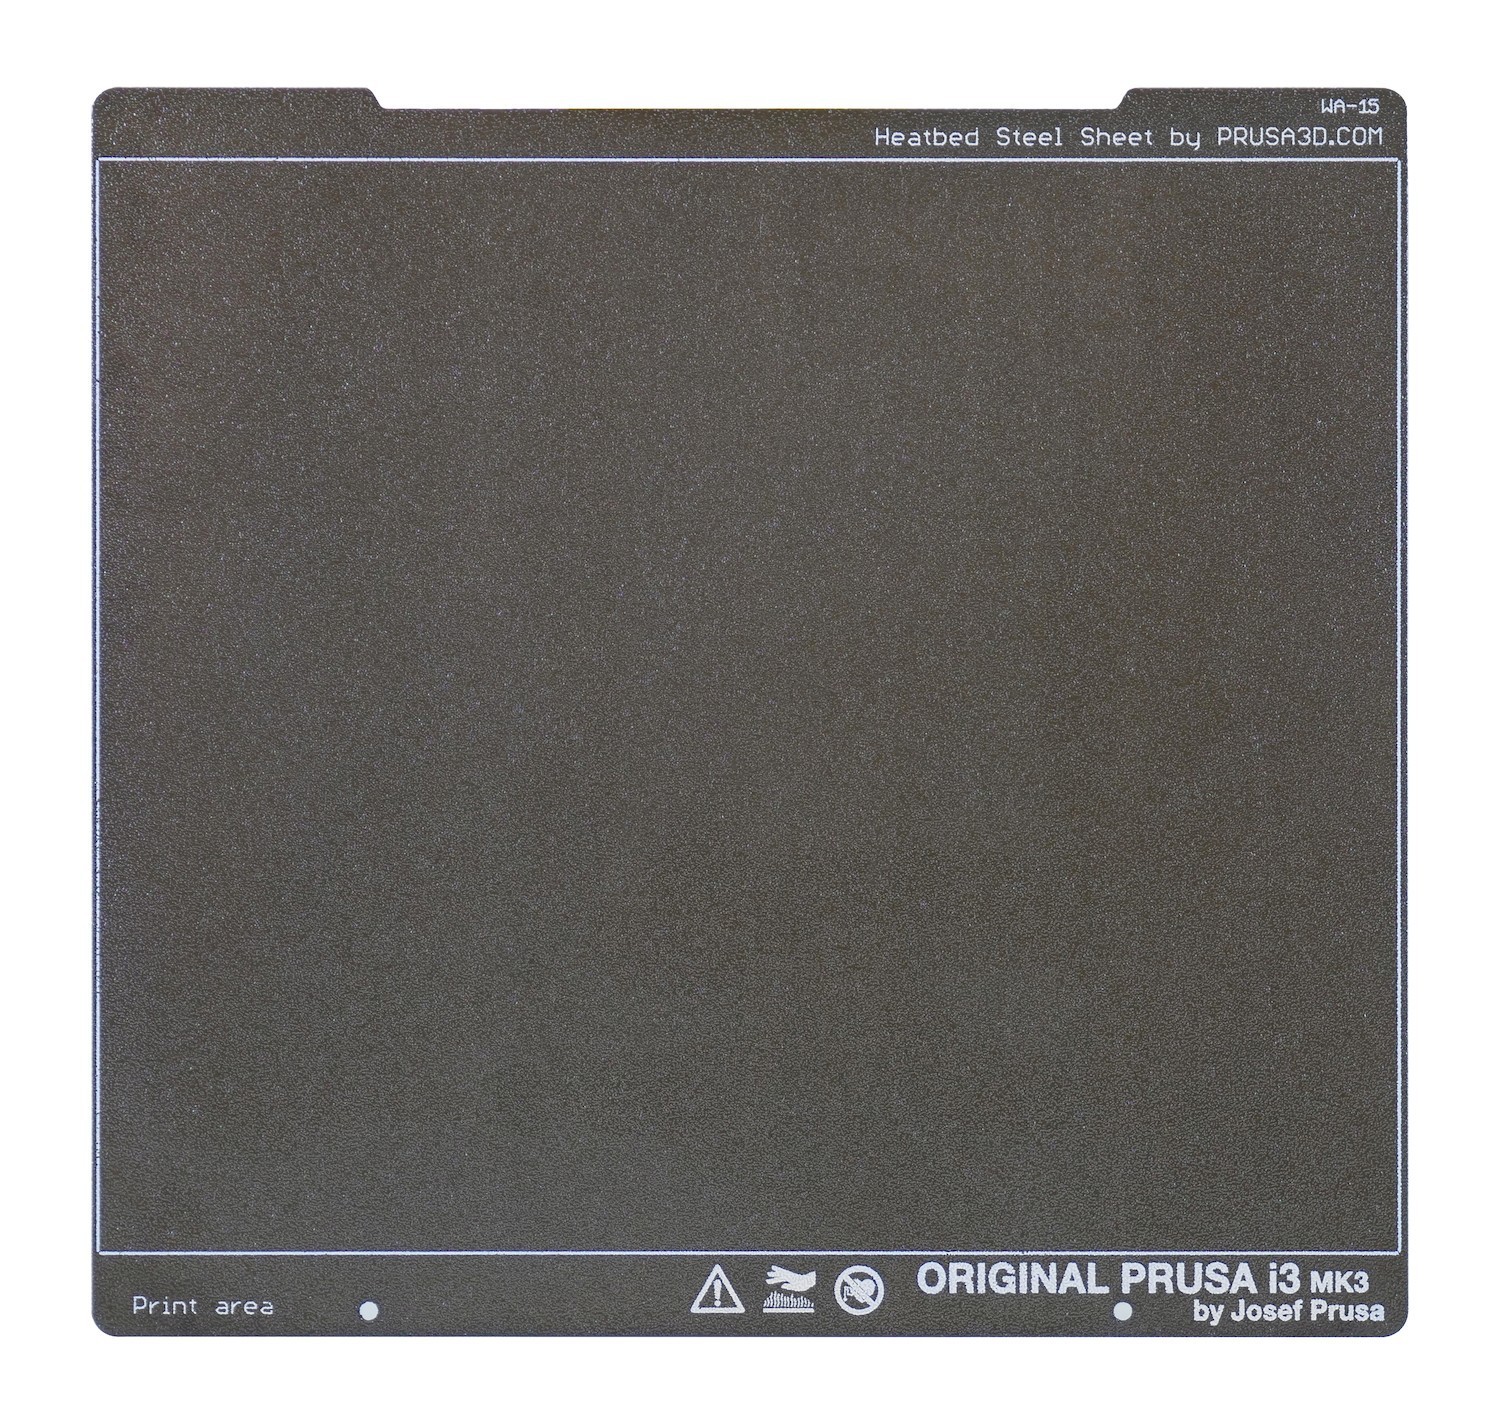
Prusa - Textured PEI
- Worked for PLA, TPU, PETG, ABS, ASA, HIPS, PC, PP, PA6, PA11, and PA12 (No issues on any filaments yet)
- Maximum Bed Temperature 170c (Max Working Temp for PEI)
- Double Sided but will degrade with hard use (Any adhesive seems to reduce wear)
- Prusa's moderately textured surface allows it to be refreshed after , maintaining excellent useful lifetimes
- Non-Acetone adhesives Only!
- No ABS Juice(No Acetone)
- Most adhesives are OK (Magigoo, Vision Miner, Glue Stick, Hair Spray, etc.)
- My Opinion - I love the textured bottom surface regardless of which brand!
-
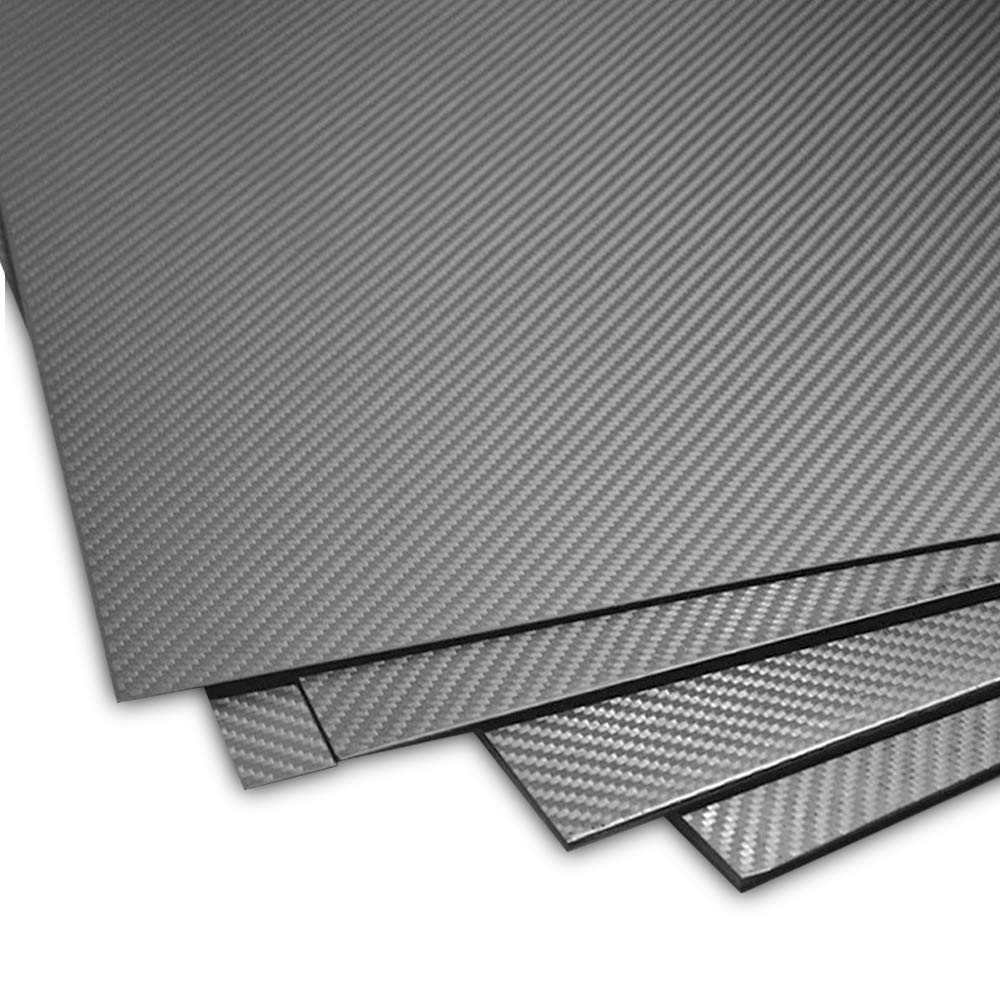
1mm Carbon Fiber Twill - Smooth
- Worked for PLA, TPU, PETG, ABS, ASA, HIPS, PC, PP, PA6, PA11, and PA12 (No issues on any filaments yet)
- Maximum Bed Temperature 150c (3M Adhesive Max Temp)
- Can be refreshed with sandpaper as it ages for longer life
- Any type of adhesive can be used
- Very Flat with a light weave pattern texture showing on print bottoms
- My Opinion - It works for me, almost as if it were a flexible glass sheet (Bottom surfaces not quite as shiny)
-
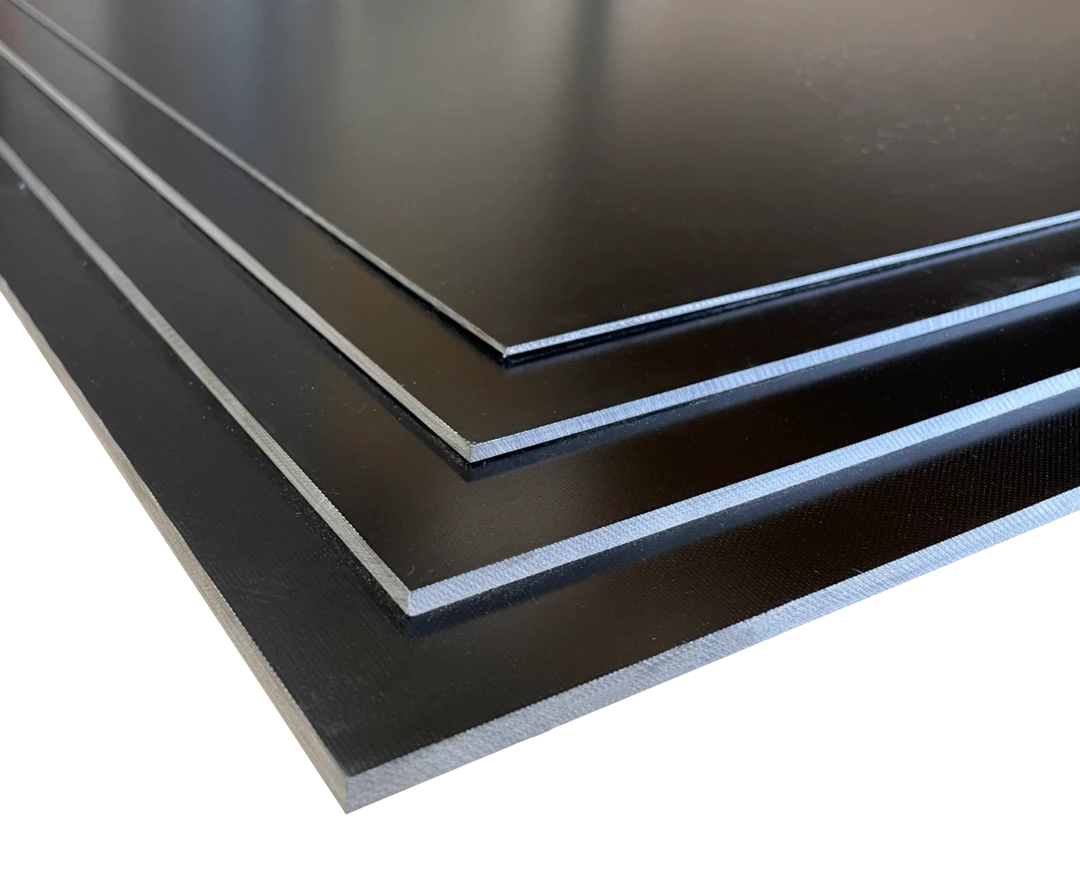
1mm FR-4 (Glass-Reinforced Epoxy Laminate) - Satin
- SHOULD work for any filament (My experience was not good, but many other people have had success!)
- Maximum Bed Temperature 150c (3M Adhesive Max Temp)
- Can be REPEATEDLY refreshed with sandpaper as it ages for a very long life
- The material is very durable and would likely last much longer compared to a PEI/PEX/PC/etc. surface
- Any type of adhesive can be used (very few solvents can hurt this stuff IE: circuit boards)
- Begins Very Flat, but mine had a waxy surface finish that no filament would stick to
- Sanded with p500 paper to refresh the surface (circular scratch pattern)
- Washed with several solvents between sanding (Ethanol, Methanol, Isopropanol, Acetone, Xylene, etc.)
- Same finely textured surface finish on bottom of prints with thin print adhesives
- My Opinion - I MUST be doing something wrong! Everyone I know, that has used true FR-4 print surfaces, love and use it regularly...
- Adhesives were required to even consider having any material stick down to it.
- I also tried a friend's USED and working print sheet of the same material... it sucked for me, but still works great for the owner...must be me.
-
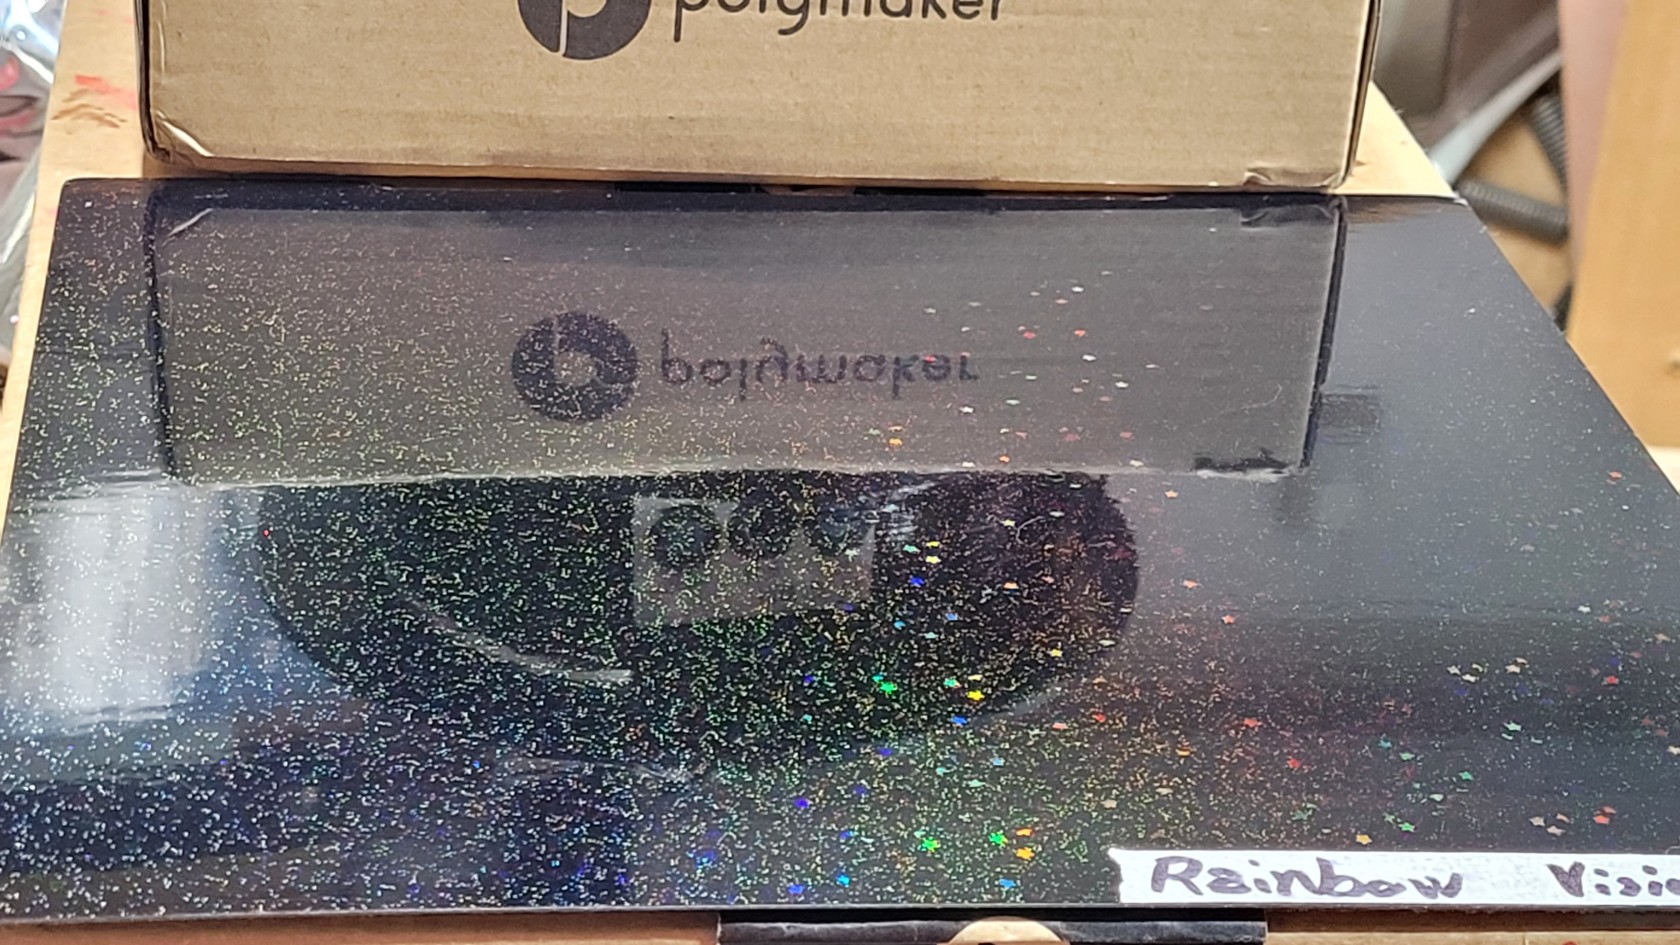
Rainbow Texture PEY / Powder Coat Textured PEI Spring Steel Sheet
- The imprinted texture is both striking and subtle, it appears similarly holographic compared to a CD or DVD
- This pattern appears more subtle on Lighter colors, but testing continues...
- Silk and other "effect" materials don't seem to add anything extra to this pattern
- This will be a low temperature sheet (<80c) at least until this cool surface has past it's usefulness
- PLA works great, though I did use Vision Miner adhesive
- Not sure if I want to try PETG at all, until it already has blemishes...
- Could bond and destroy this side of the sheet on a single print!
- Muting the imprinted effect is a concern with thicker adhesives used as separation layer
- I have not tried the powder coated textured PEI side yet...
- Aggressive textured surface, this style usually trades its excellent adhesion for a somewhat reduced lifetime
- My Opinion - This adds a beautiful something extra to a glassy bottom surface, well worth the <$20 price tag
- The imprinted texture is both striking and subtle, it appears similarly holographic compared to a CD or DVD
-
Weave Texture PET / Powder Coated Textured PEI Spring Steel Sheet
- New to me
- I am looking forward to printing a faceplate of some sort, just to see how the faux-carbon fiber weave texture transfers onto the print surface
- I'm intending to keep this under the 100 degree Celsius maximum temperature, at least until the rainbow surface has worn out... then I can peel the PET off and use the PEI side for higher temperatures
- New to me
-
Fracture Texture PET / Powder Coated Textured PEI Spring Steel Sheet
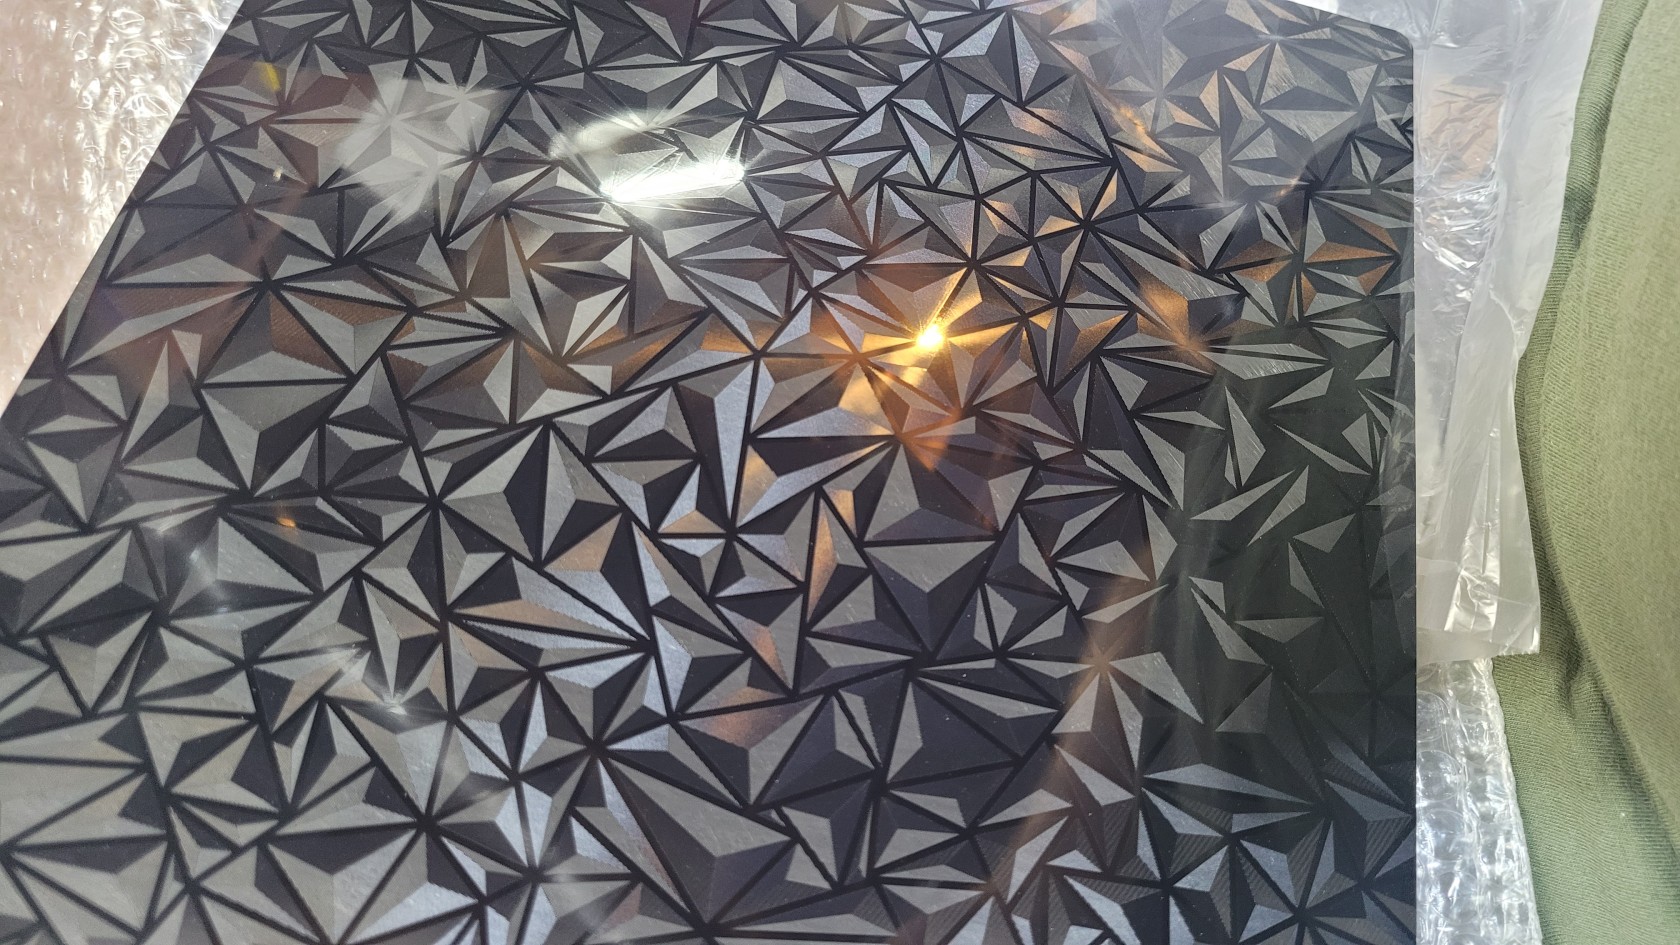
- I can easily see and feel the plate texture, the ridges can be felt with a finger nail
- This texture is much easier to see on any color and can be similarly be felt with a finger nail
- This texture is much easier to see on any color and can be similarly be felt with a finger nail
- This will be a low temperature sheet (<80c) at least until this cool surface has past it's usefulness
- PLA works great, though I did use Vision Miner adhesive
- Not sure if I want to try PETG at all, until it already has blemishes...
- Could bond and destroy this side of the sheet on a single print!
- Muting the imprinted effect is a concern with thicker adhesives used as separation layer
- I have not tried the powder coated textured PEI side yet...
- Aggressive textured surface, this style usually trades its excellent adhesion for a somewhat reduced lifetime
- My Opinion - The "random" triangular pattern looks great, well worth the <$20 price tag
- I can easily see and feel the plate texture, the ridges can be felt with a finger nail

