UV Resin printers
There are several types and styles of Resin Printer: SLA, MSLA, DLP, etc. The commonality among all "Resin Printers", is their use of an ultraviolet radiation source to solidify an ultraviolet sensitive liquid resin into a useful part. MSLA uses a clear bottom tub with a UV lamp under an LCD to mask each layer for exposure, where as DLP typically uses a UV laser and mirrors on motors to draw the exposure into the resin.
- Personal Protective Equipment for Resin Printing
- Other Useful Equipment for Resin Printing
- Solvents for cleaning Resin Prints
- Post-processing Resin Prints
- Raspberry Pi Zero W as a Wifi connected SMB available USB Drive
- Nicks-Fix "Continuous IPA Filtration" system
Personal Protective Equipment for Resin Printing
Most UV resins do NOT "dry" even if left out long term; they require UV to cure. That drop that splashed behind a table will still be wet the next time a ball rolls behind the same table.
This is the stuff that keeps me and everyone else safe.
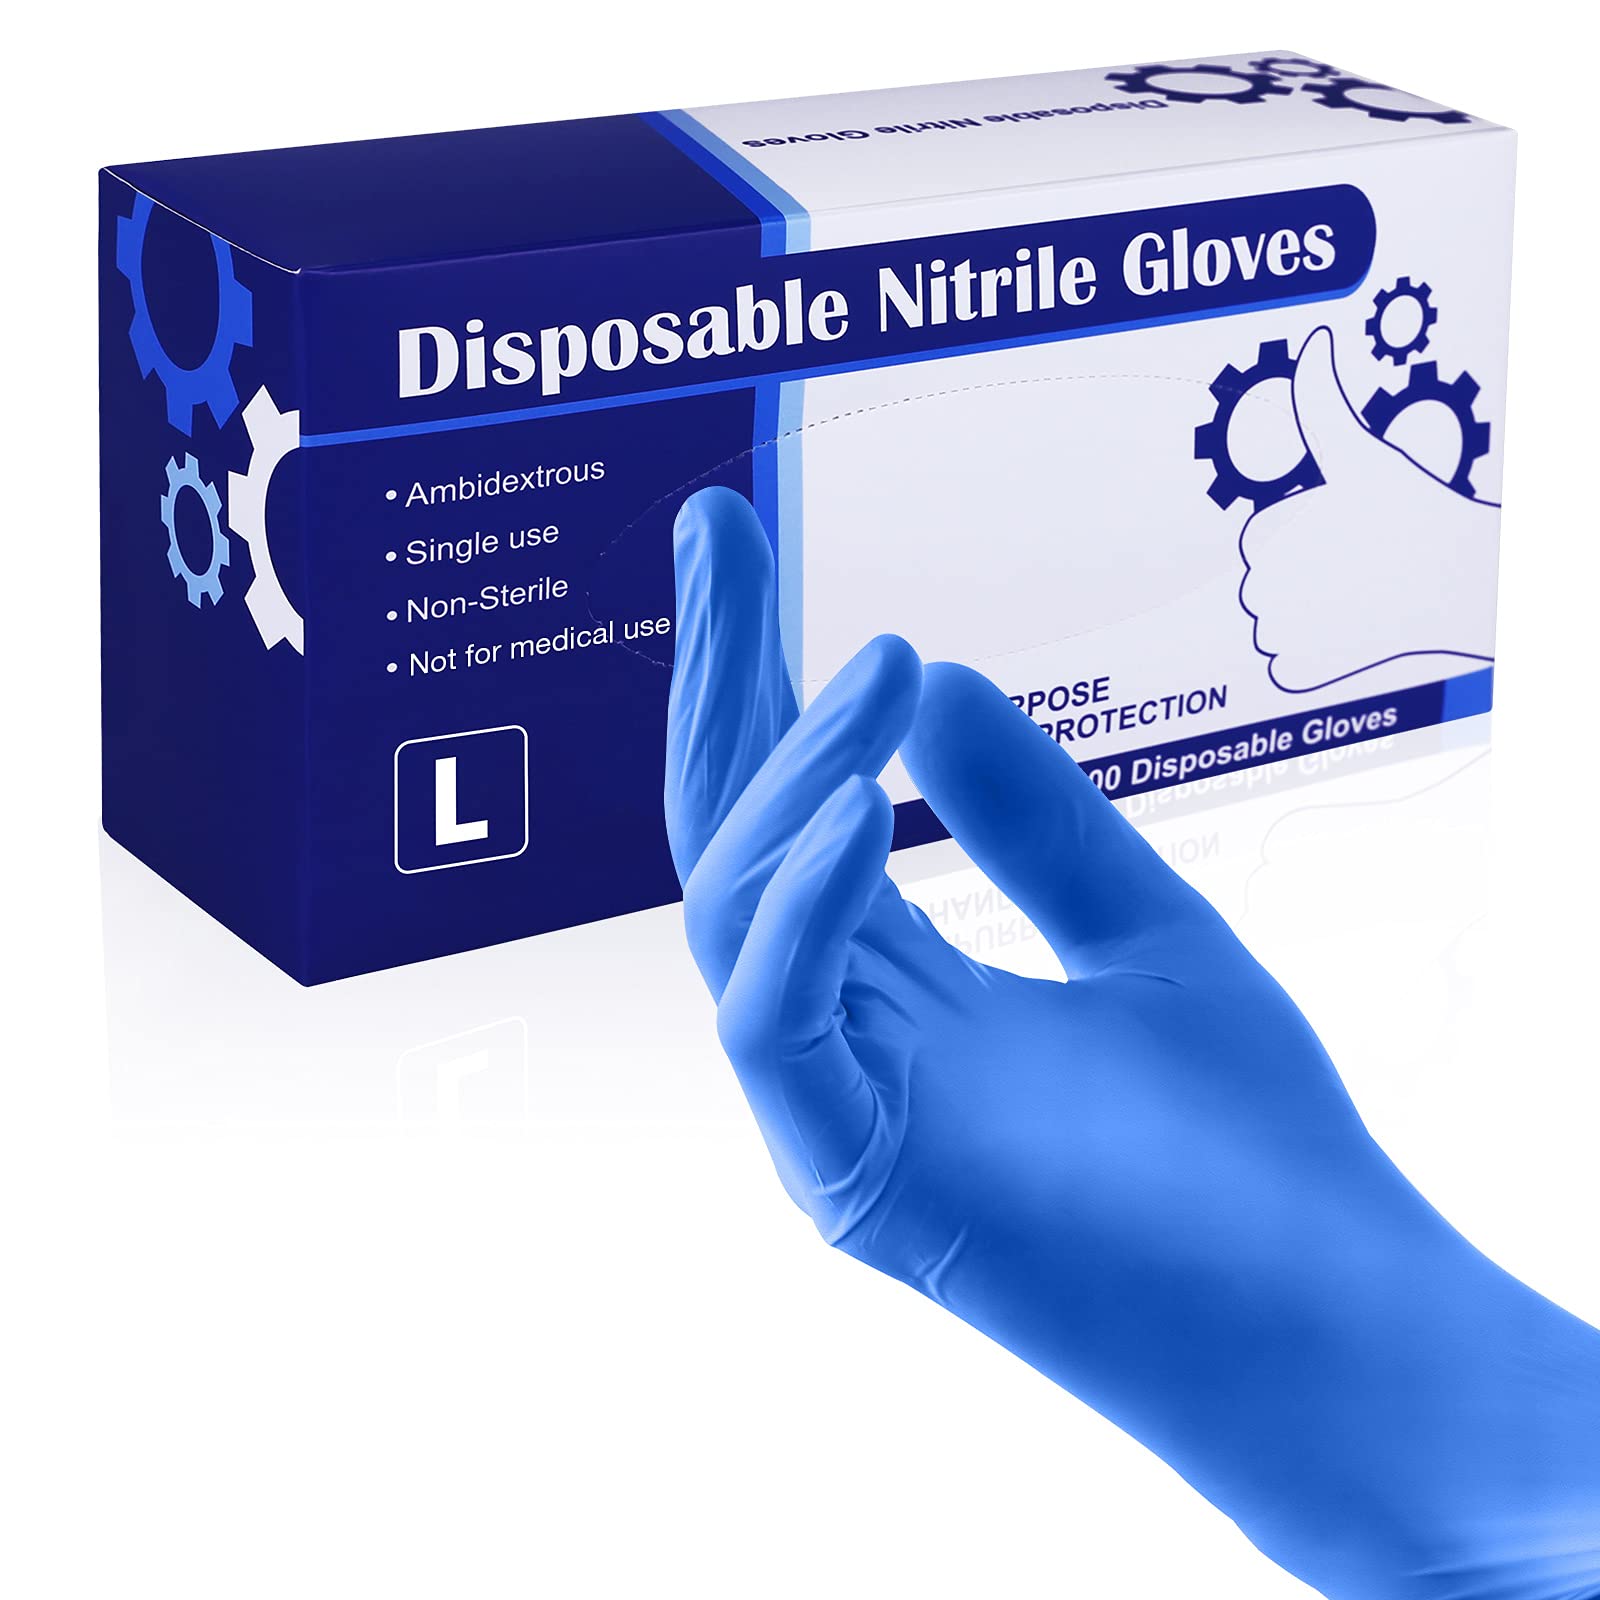
Gloves
-
Disposable Nitrile gloves are extremely convenient
- Always New, Always clean
- Seems wasteful if using them often (maybe 4-5 pairs for a single print)
-
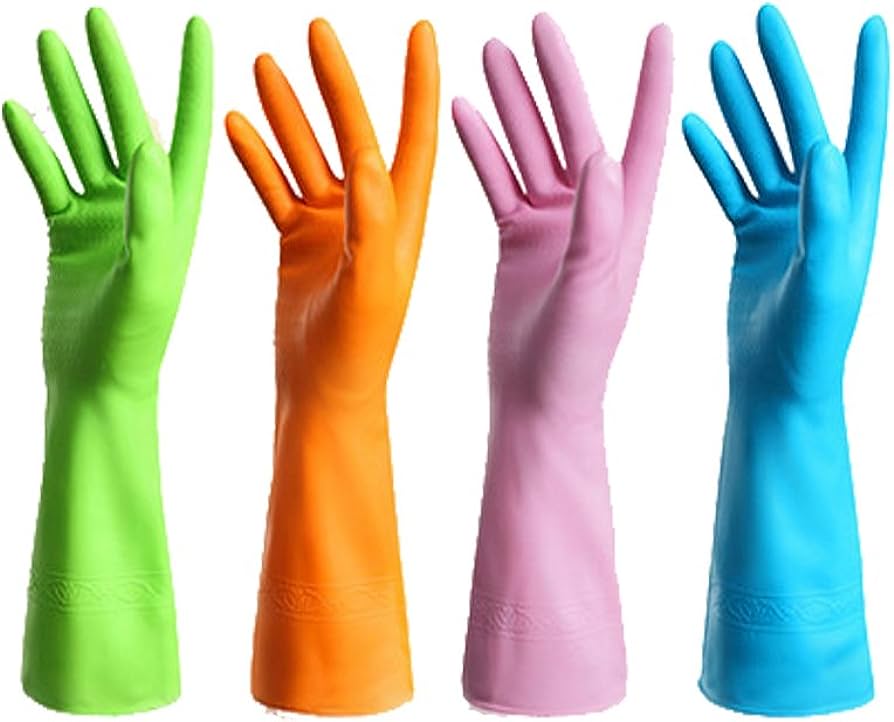
Re-Usable Nitrile gloves can be a good choice for higher volumes
- Washable in the same solvent being used for the prints
- Much less convenient, but more cost effective
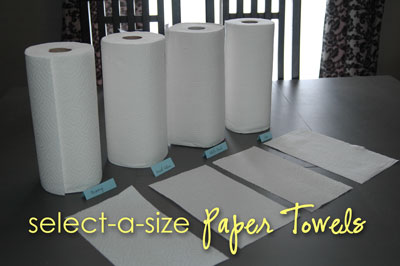
Towels
-
Disposable Select-A-Size style Paper Towels
- These are half length paper towels that I tear in half or thirds, for smaller wipes on smaller drops and spills
-
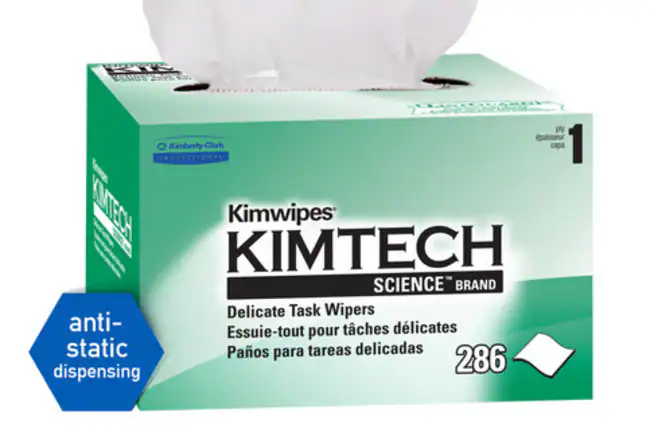
Kimtech Science Wipes
- Completely lint free, these are awesome for wiping the glass and FEP/Non-FEP print surfaces
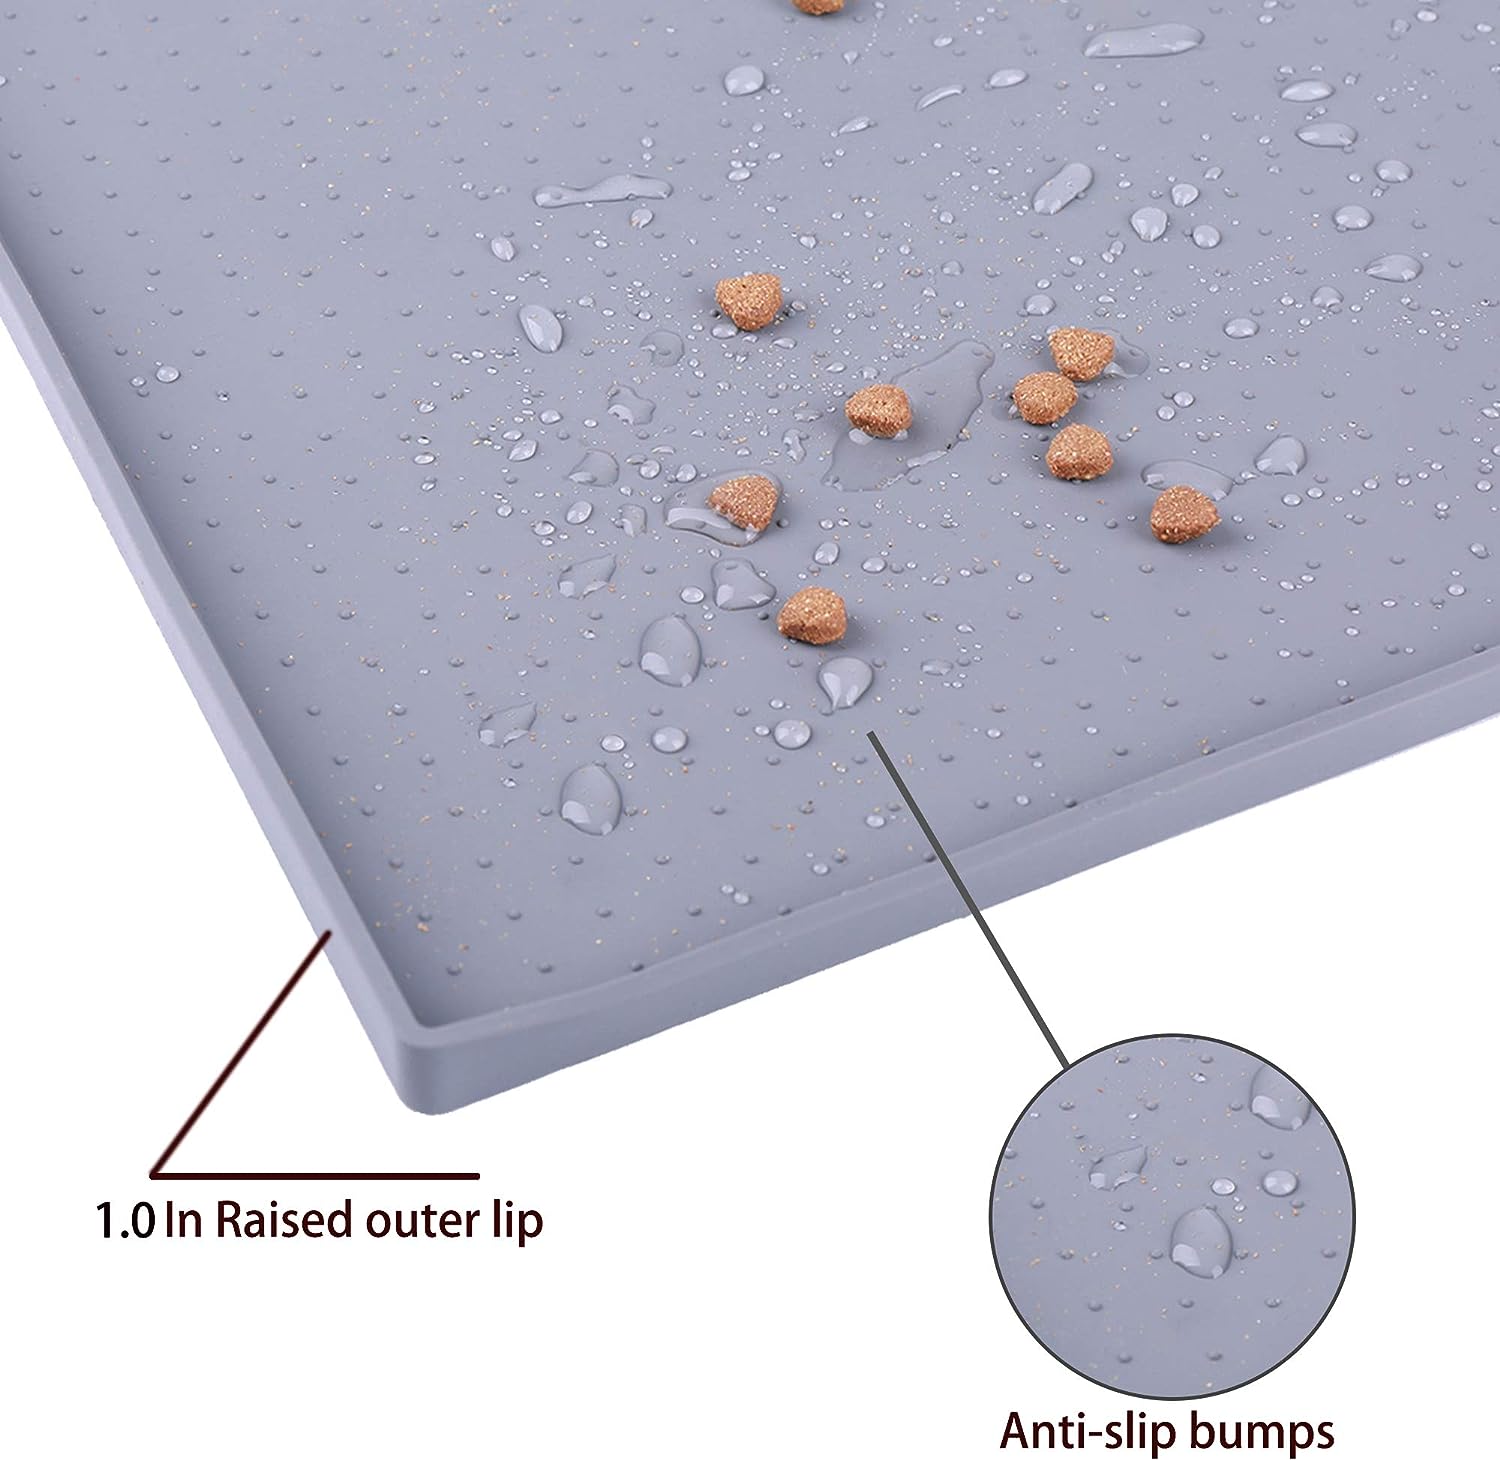
Silicone Dog Food Mats
- These can be a cost effective way to protect work surfaces
- Best thing ever for resin, use UV light to cure any spilled resin then peel it off the silicone mat into the trash can
- Textured bottom is better for items that should be able to slide; smooth silicone can often feel sticky
- Mats containing a significant lip along the edges are desirable, just to ensure no resin runs off onto the floor
- I have one that covers my entire surface (32"x24"), one on top for just the printer (24"x16"), one on top for the bottle stand/funnel/filter (24"x16"), and extras to lay out elsewhere as needed (19"x12")
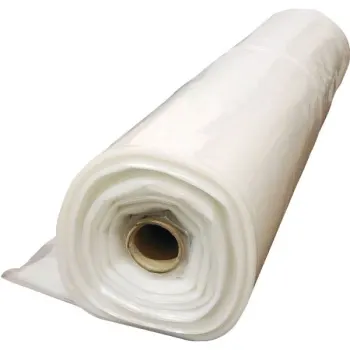
Plastic Drop Cloth
- Very cheap insurance when using resin in a home
- Resin + LivingThings = BAD
- Stretching out a drop cloth over the whole path from work area to outside takes maybe 30 seconds
- Rolling it back up and stuffing it in a bag takes closer to a minute
- Most affordable plastic sheet material is acceptable, but 3 mill thickness is recommended for repeated use
- I reuse mine until a spill is found, then it goes outside to cure and ultimately to the trash
- Sharp edges on bits of hardened resin can poke holes in any drop cloth, and holes are also bad
- Cleaning a soiled drop cloth is not recommended
- Too much risk; if there is residue left on the top and it gets rolled up, worst case it gets put out upside down next use... now the residue is on the floor
- Too much risk; if there is residue left on the top and it gets rolled up, worst case it gets put out upside down next use... now the residue is on the floor
Other Useful Equipment for Resin Printing
These things can ease aspects of the resin printing process and make them more convenient
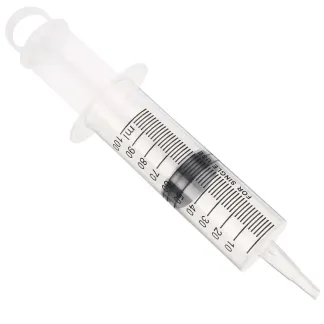
Syringe
- Any Syringe that is 50ml or larger would be great for adding or removing resin from a build vat
- I used a short (~1" or 25mm) piece of silicone rubber tubing attached to the syringe, makes a soft non-marring tip to prevent damaging the build surface
- When vat gets closer to empty, tilt the VAT and only touch the build surface in the corner with the rubber tube
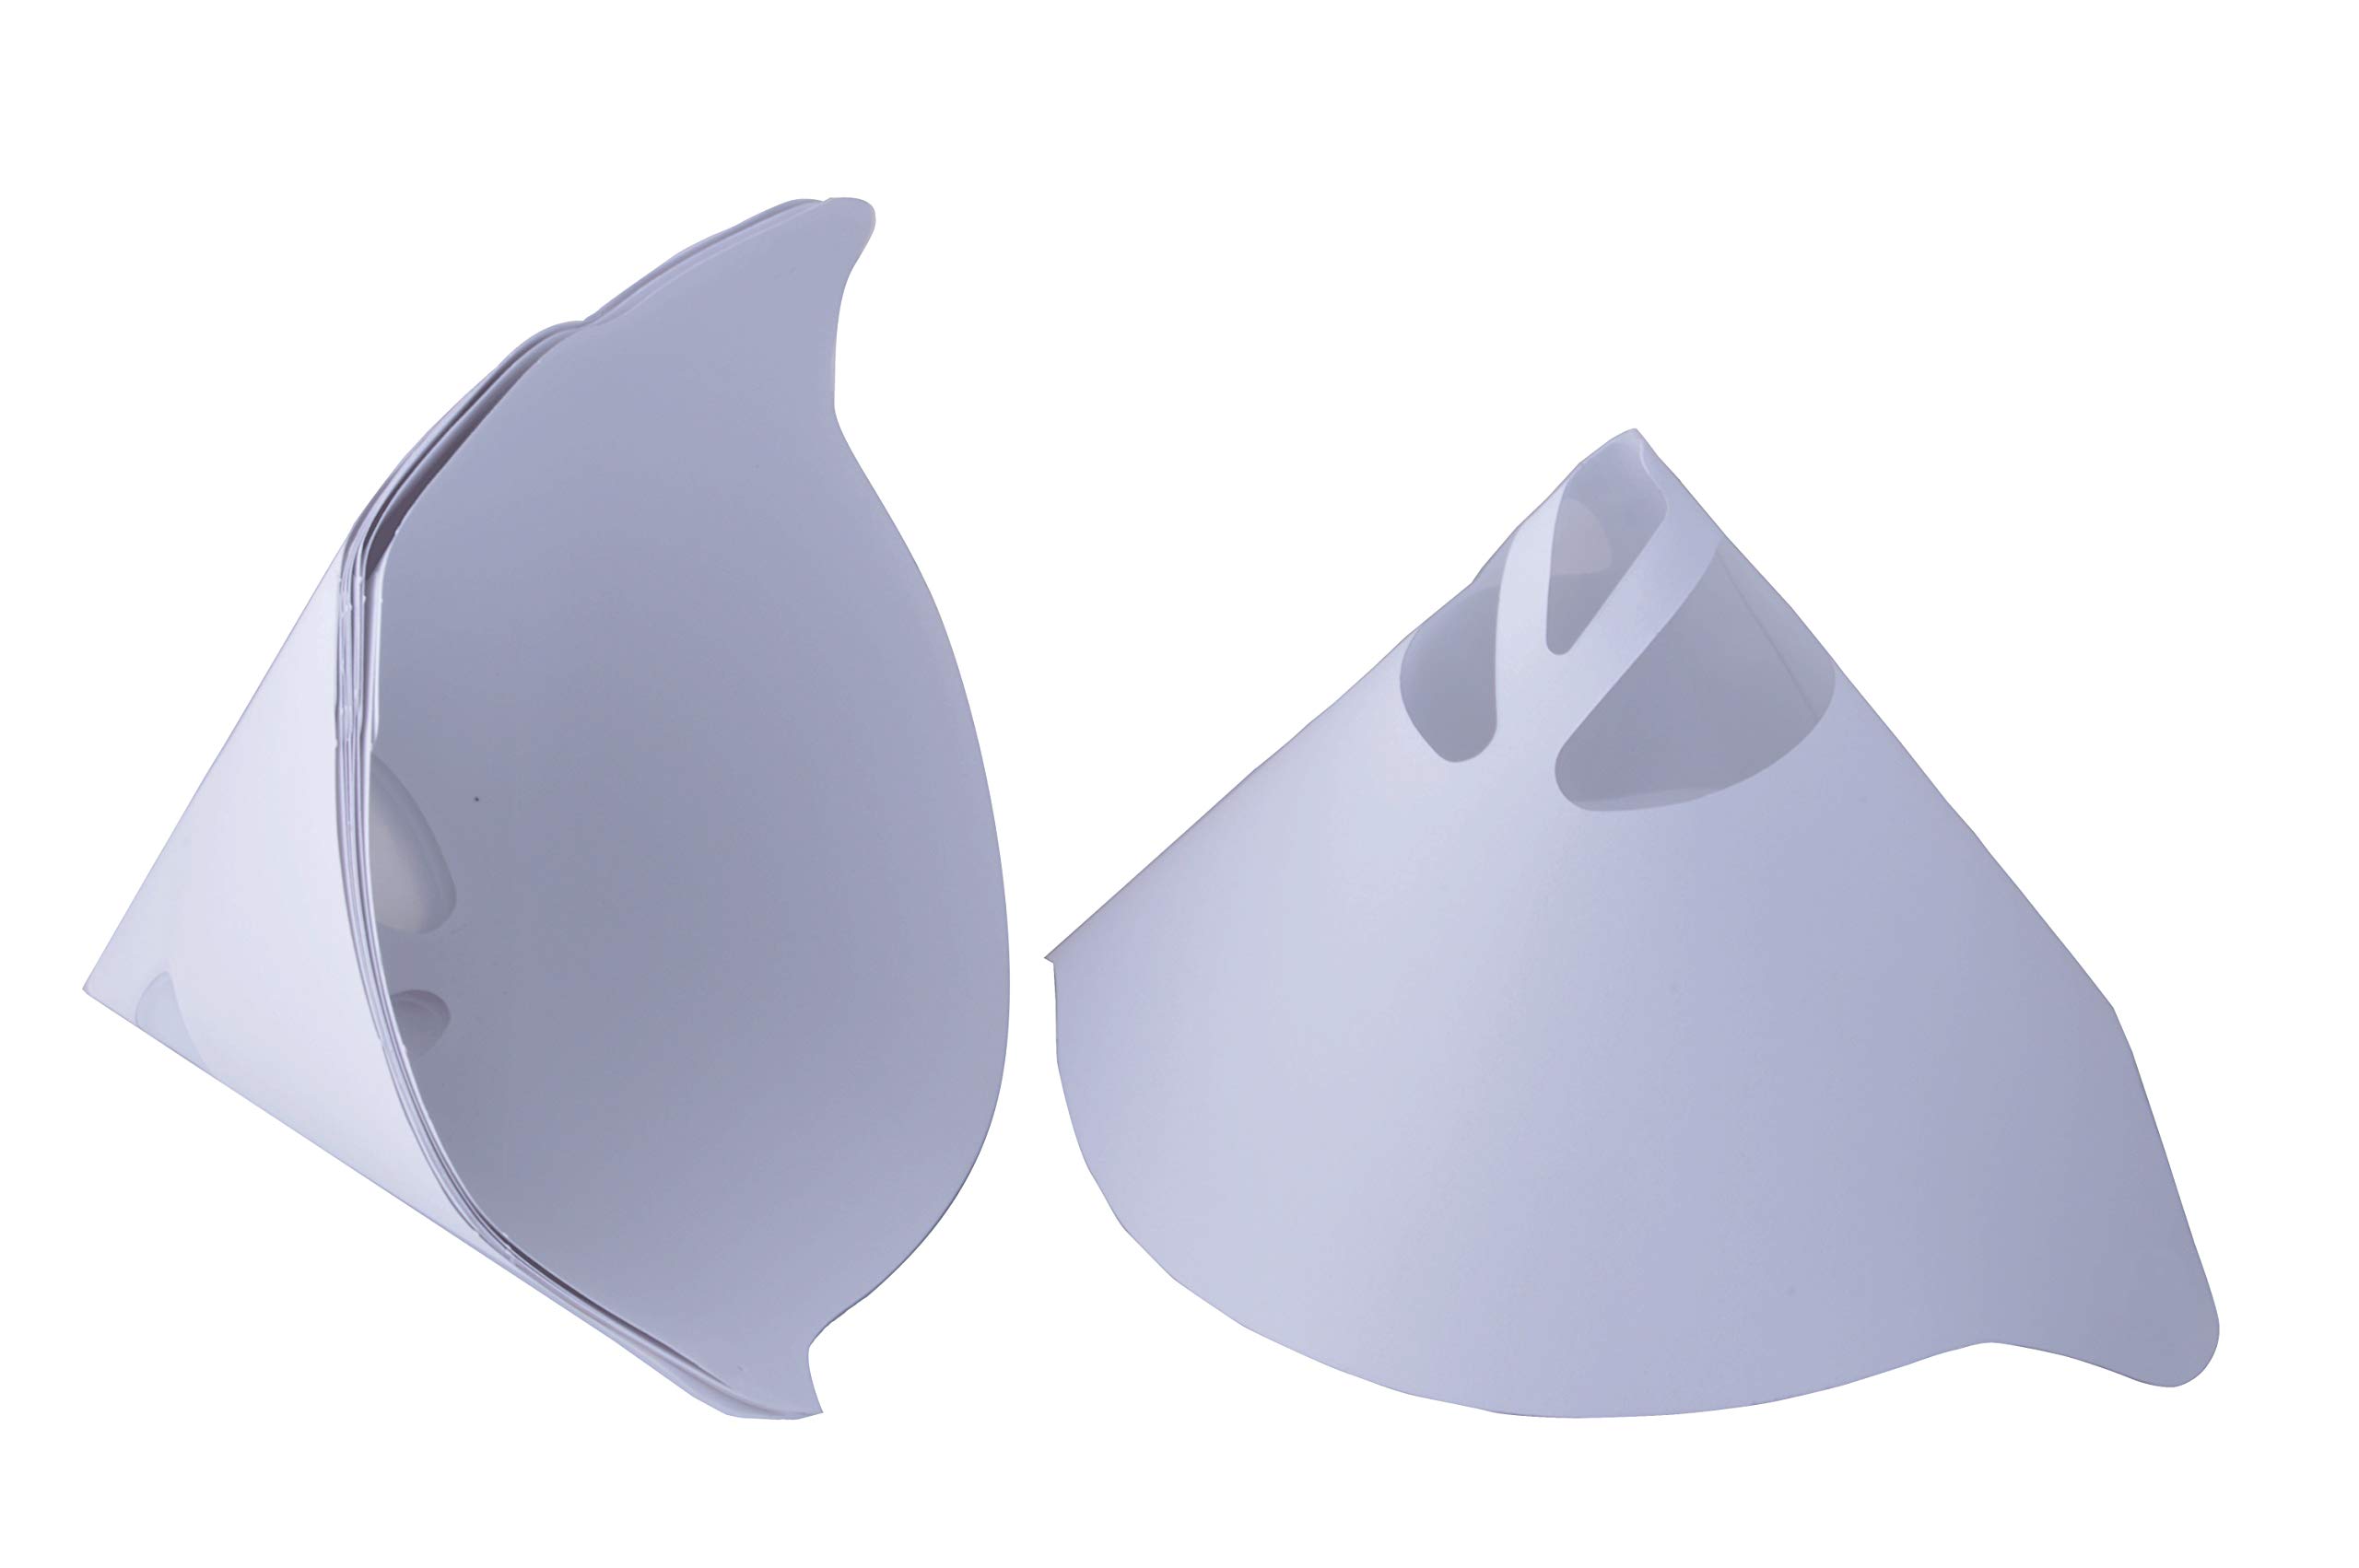
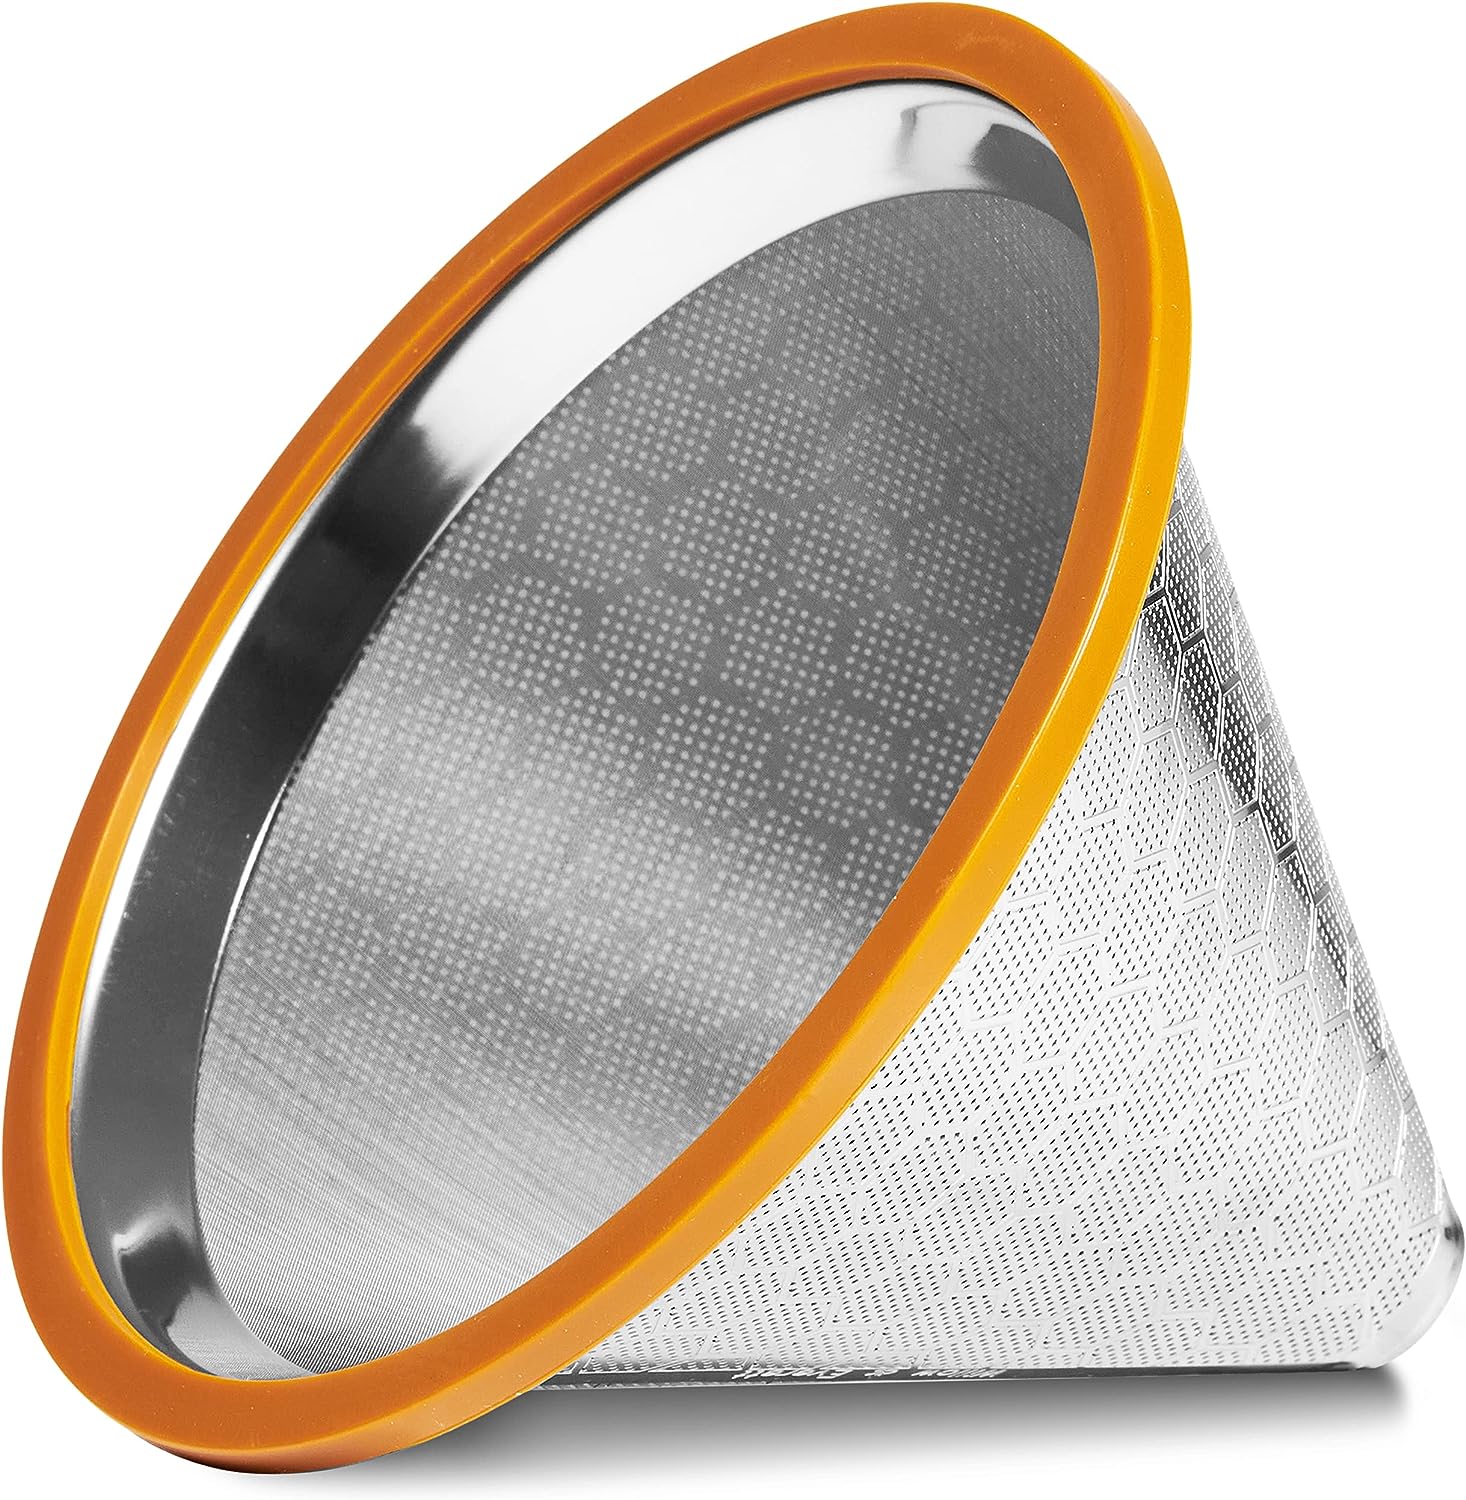
Filters
- Anytime resin is being poured back into its original bottle, it MUST be filtered
- This catches any pieces of cured resin that might have broken loose in the vat
- Better to filter every time resin is bottled than to break something when a scrap gets in the wrong place
- Do NOT use paper Coffee Filters …unless spending weeks filtering resin sounds like fun?
-
Disposable Paper paint filters
- Convenient because they are disposable, no cleaning filters
- Can be picked up at any Home Improvement or Paint store
- Would be an added operating cost, but ~$30USD for 1000 filters is quite affordable
- Larger mesh sizes (Lower mesh numbers) are faster for thick resins
-
Reusable Metal/Plastic mesh filters
- These are more of a pain, since they MUST be cleaned EVERY time!
- I chose a re-usable stainless steel coffee filter, but the ultrafine mesh makes filtering super slow!
- Now considering the move back to paper filters; I don't like washing dishes either...
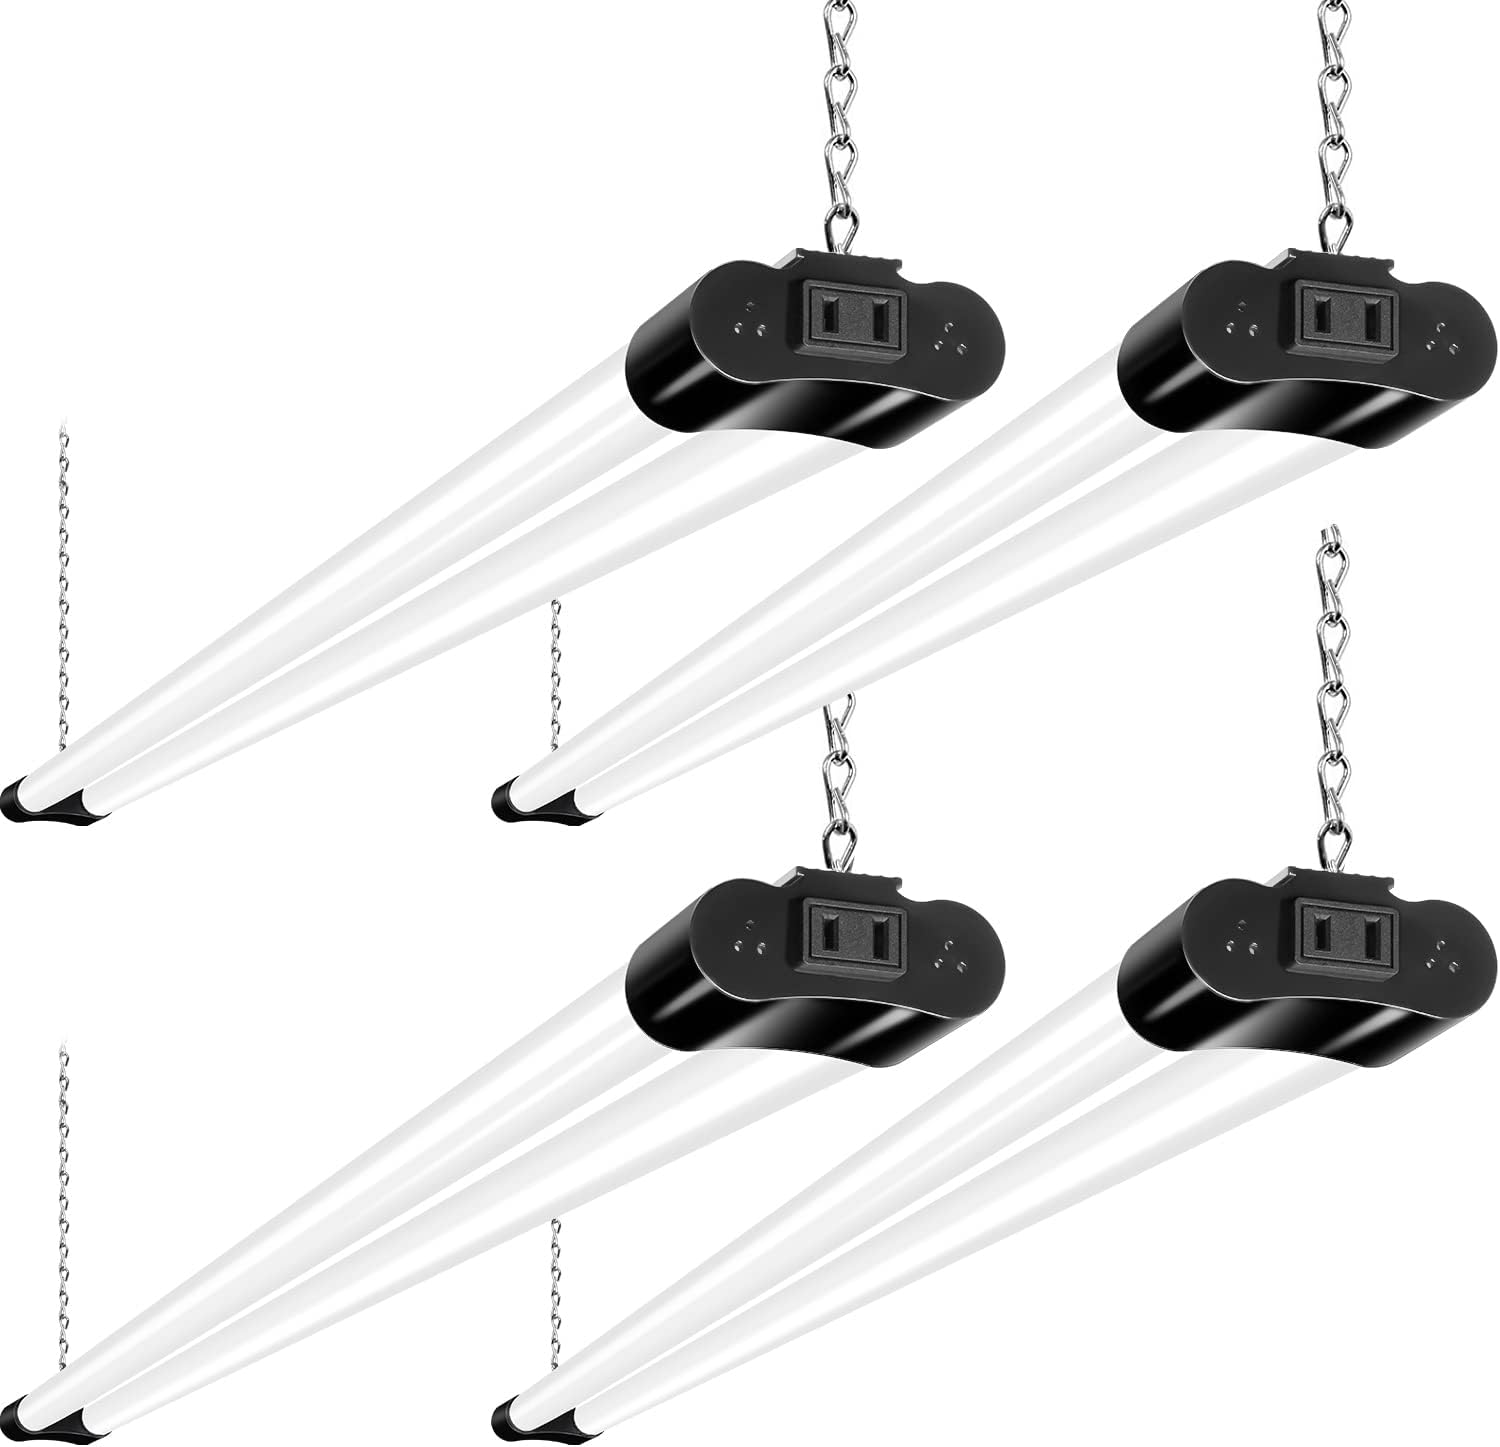
Non-UV lighting
- Both Incandescent and Fluorescent lights produce small amounts of UV light
- A 4 pack of these lights costs roughly the same as a good bottle of resin... Bright lights everywhere!
- UV sensitive resin is not affected by White LED lights; these don't produce radiation in the UV spectrum, that costs extra!
- I chose to install some cheap 4ft LED shop light fixtures from Amazon @ ~$10 each
Solvents for cleaning Resin Prints
Something to rinse away the remaining uncured resin so the printed model can be fully cured without additional blemishes.
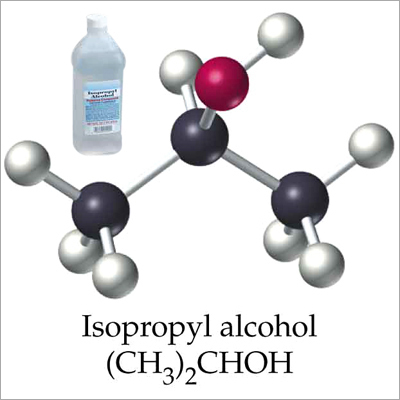
Isopropyl Alcohol, Isopropanol, Rubbing Alcohol
- This is the most commonly and easily available alcohol in the US, every drug store and market carries this alcohol
- Works adequately to clean normal resins
- Elegoo Standard resins
- Elegoo ABS-Like resins
- Works poorly to clean some other resins
- Siraya Tech Blu - Nylon Black
- Many people complain about the smell being more objectionable compared to Ethyl Alcohol
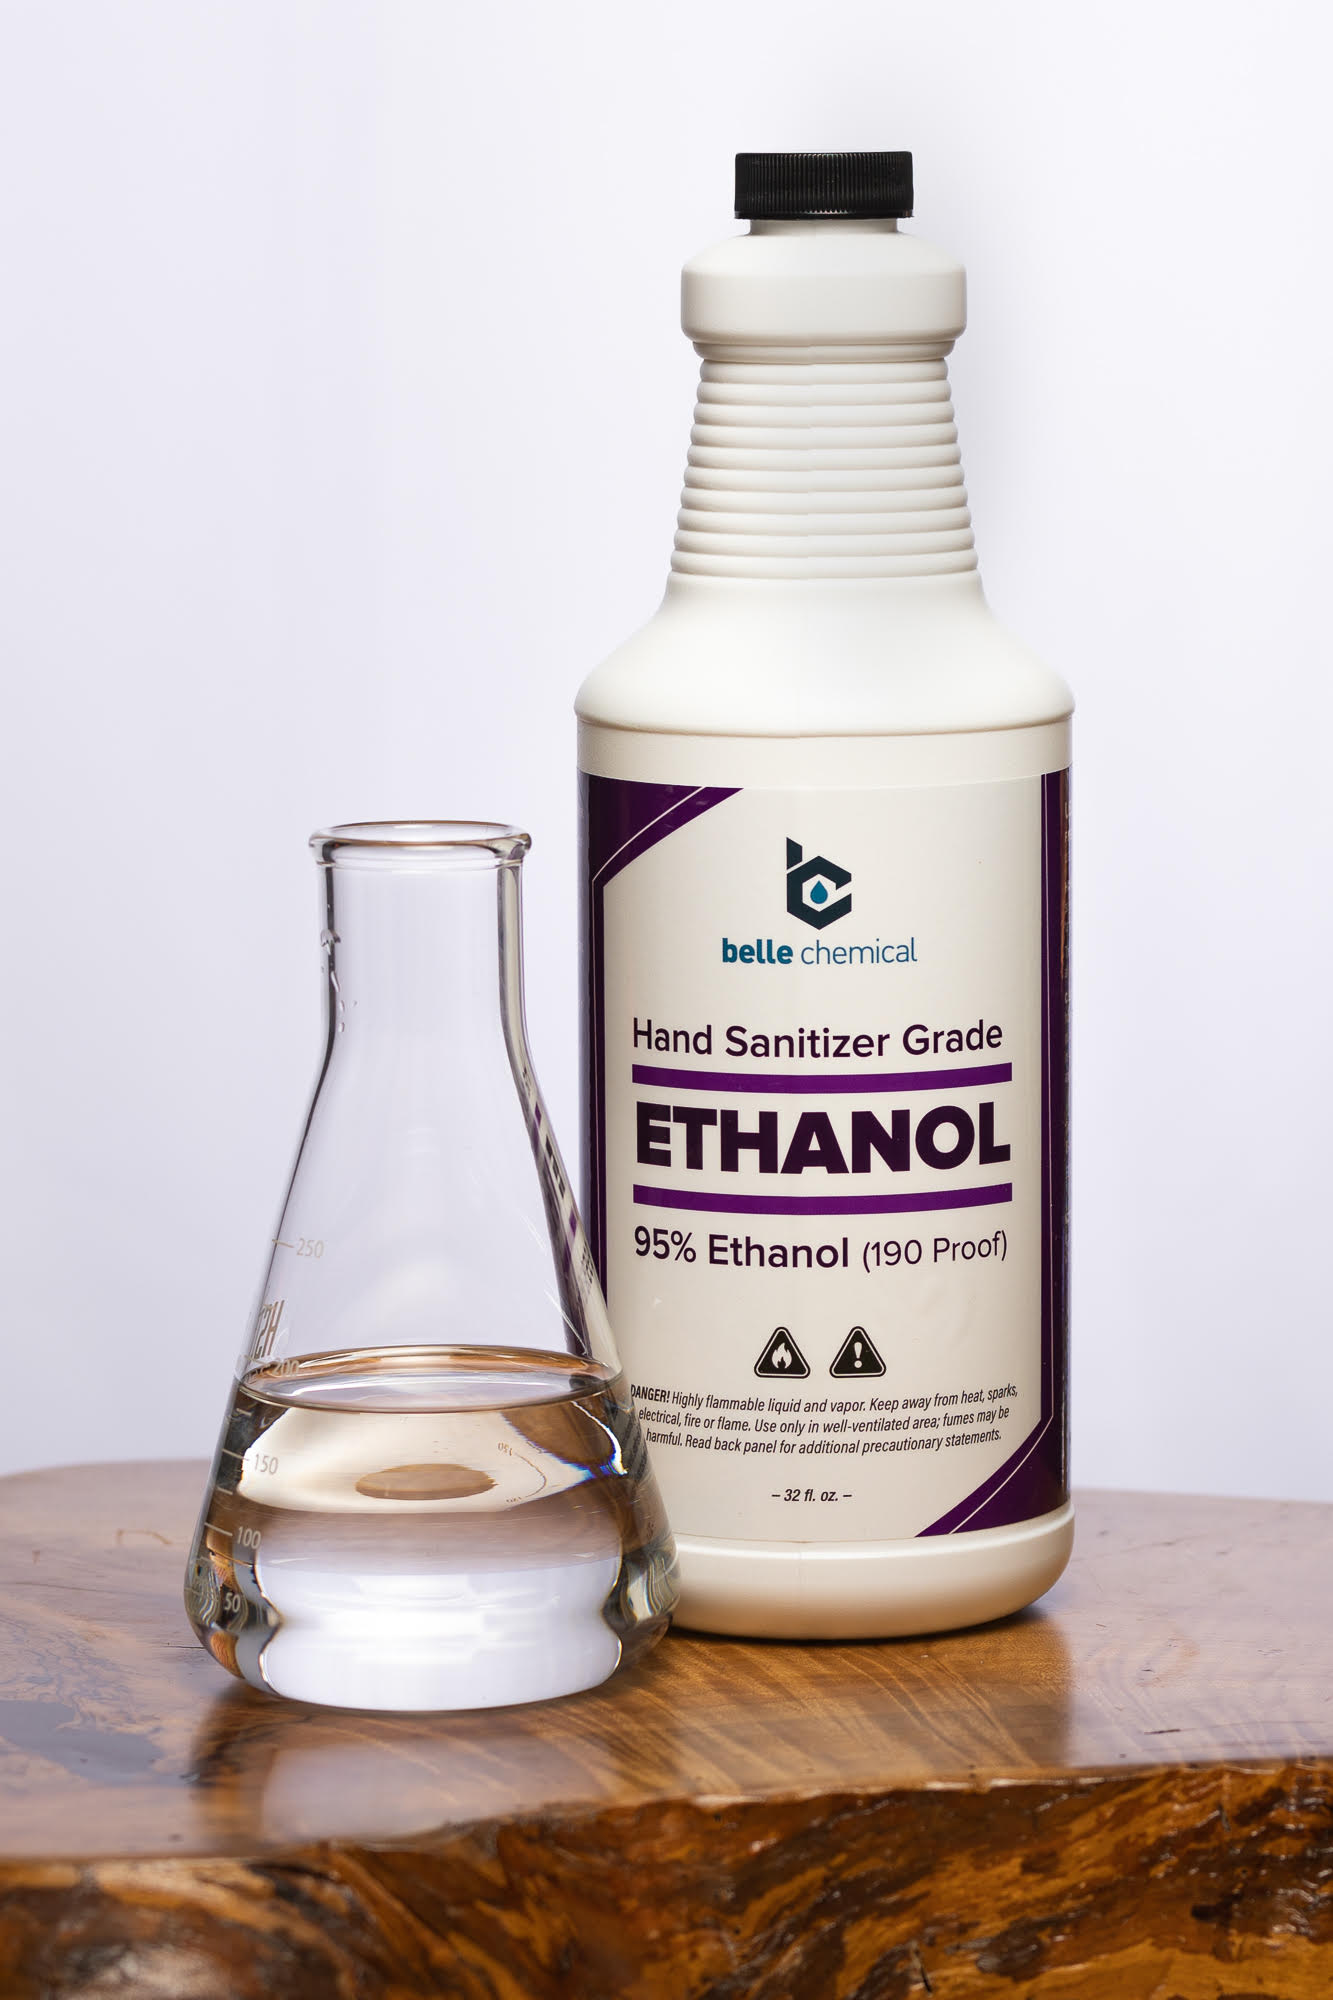
Ethyl Alcohol, Ethanol, Liquid Courage
- Available in the US at most Home Improvement, Paint Supply, or Hardware stores (Liquor stores are too expensive!)
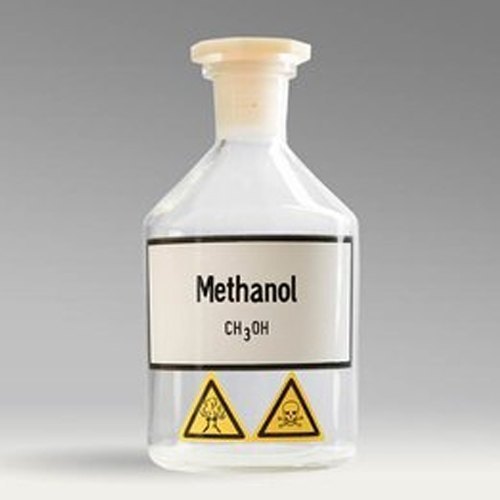
- Alcohol found in Drinking Liquor, but often "denatured" by adding poisonous Methanol to prevent human consumption
- Works great to clean all resins I have tried!
- Cleans better than Isopropyl but Ethyl can degrade or destroy the plastic on some washing stations
- Using anhydrous alcohol didn't seem to make any difference in my testing, 120-200 proof seemed similar enough
Water, Agua, Rain
- The most available solvent on the planet, and safe enough to drink!
- My experience with water soluble resins is limited
- Resin containing water can NOT be dumped anywhere
- Can be taken to Hazmat disposal facility
- Can be left in the sun to dry and cure if the quantity isn't too large
Methyl Alcohol, Methanol, Wood Spirits
- This is a new idea to me, we will see if it bears fruit when I am able to test it
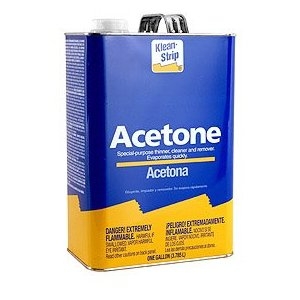
Acetone, Fingernail Polish Remover
- This is a new idea to me, we will see if it bears fruit when I am able to test it
Other solvents such as Xylene, Mineral Spirits, Paint Thinner, etc.
- This is a new idea to me, we will see if it bears fruit when I am able to test it
Post-processing Resin Prints
Once a part is printed, the cleaning and finishing processes begin...
Washing
- Obtaining any reasonable final quality requires cleaning and such, but how that gets done is anyone's choice
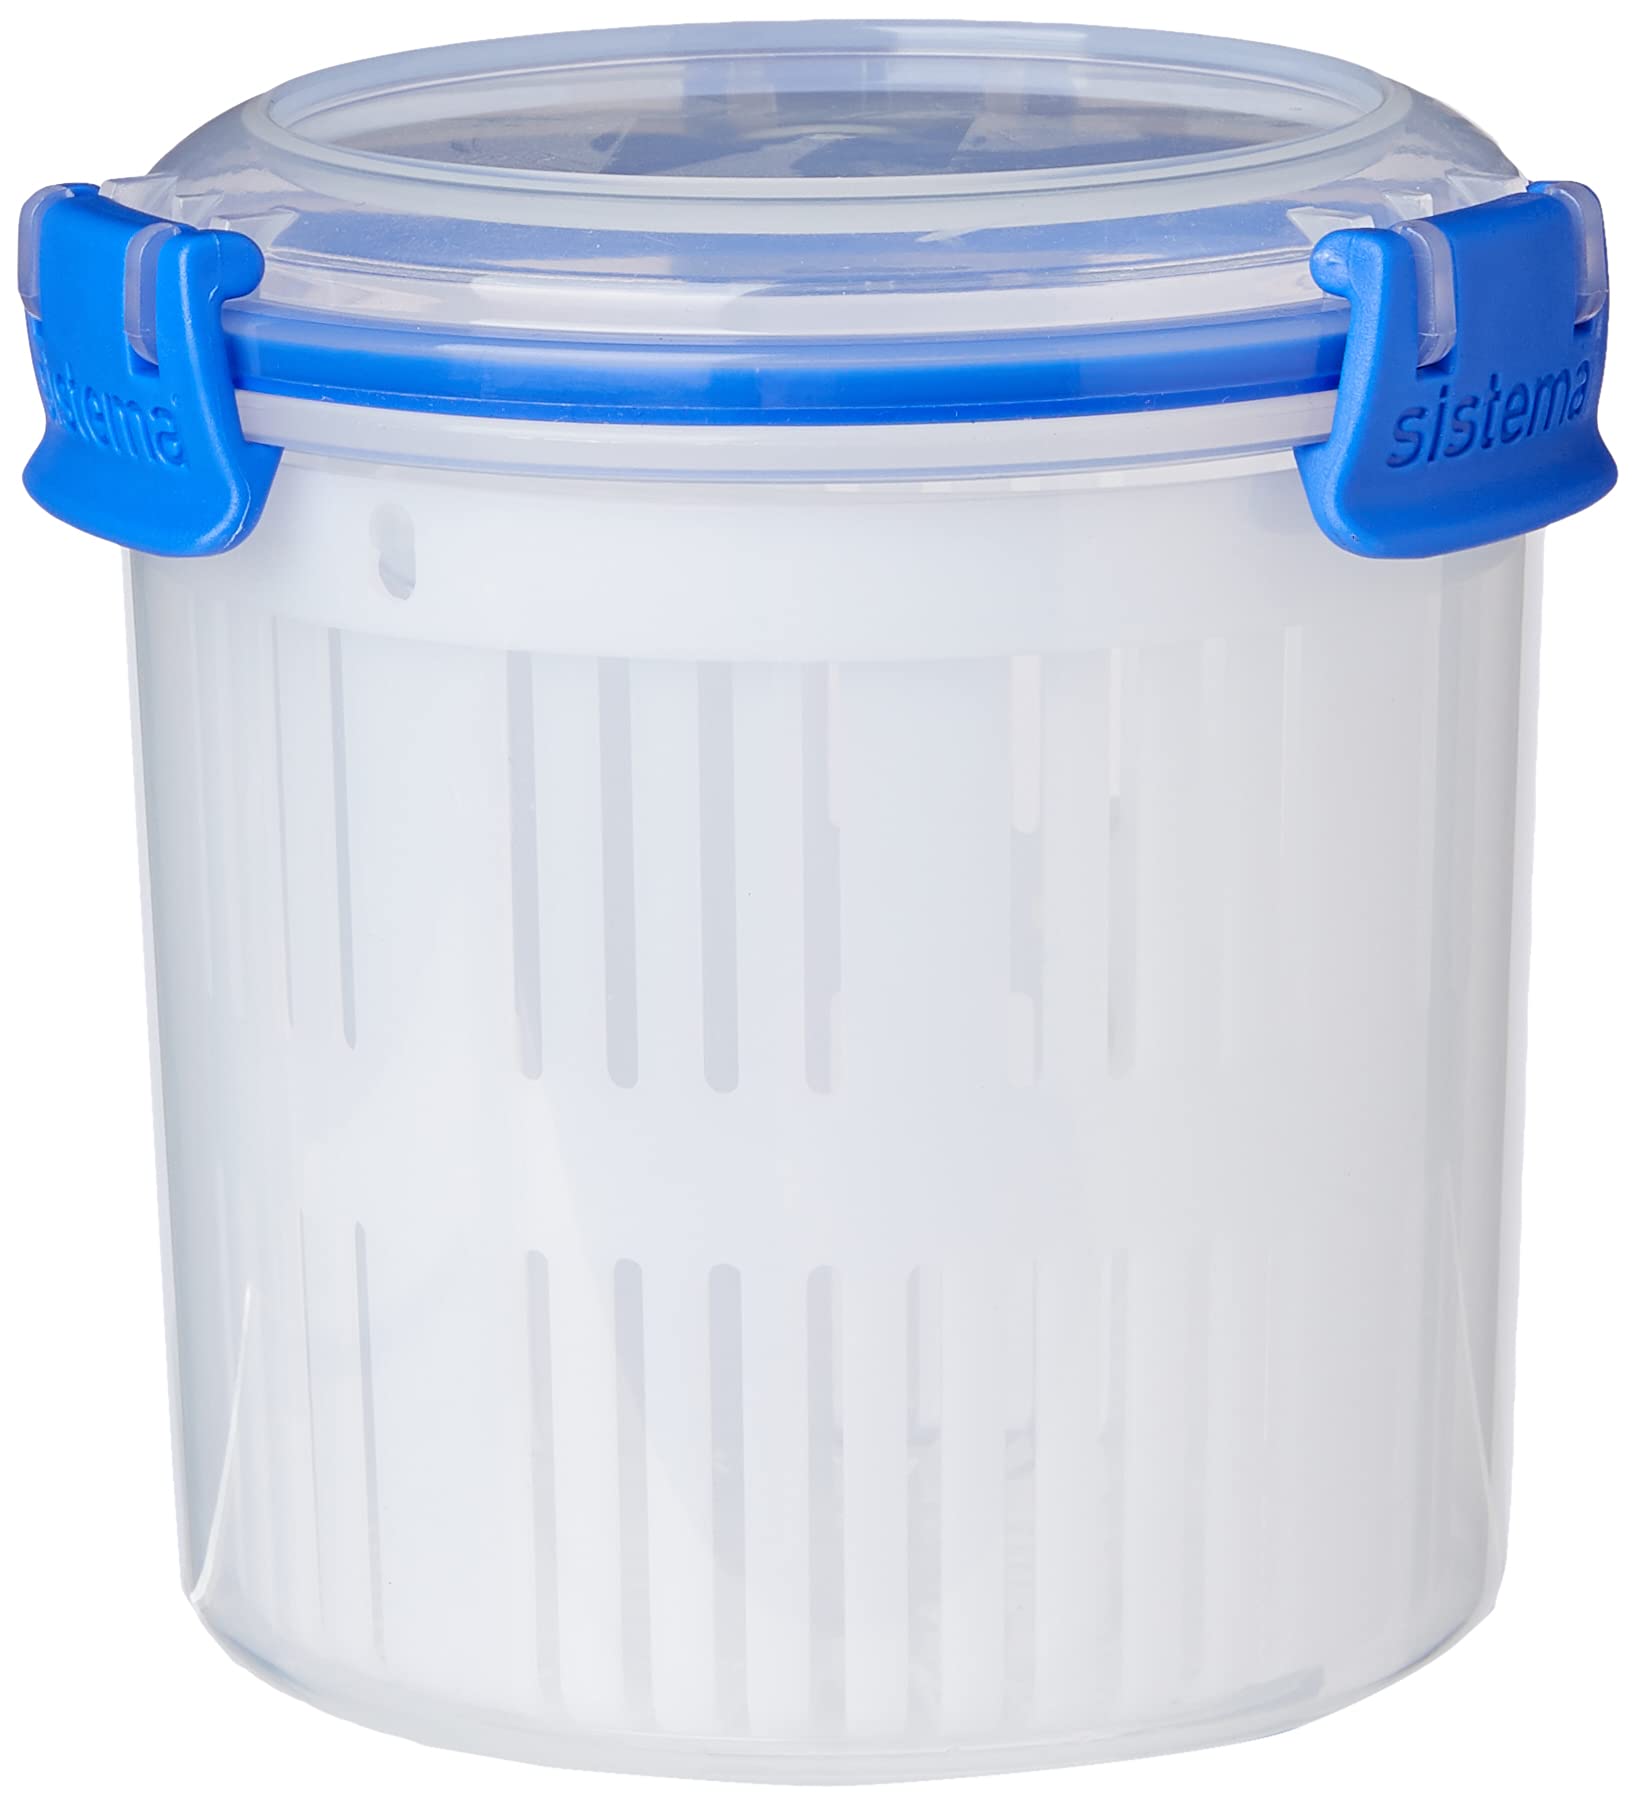
Dunk Buckets
- Nearly free since everyone has access to an airtight container that could hold the solvent
- Once resin or resin containing solvent has touched the container it can NEVER be used for food EVER again!
- Strainers that fit inside the container of solvent are very convenient for cleaning small parts
- Containers with lids that seal well enough to shake and agitate the solvent without leaking are awesome!
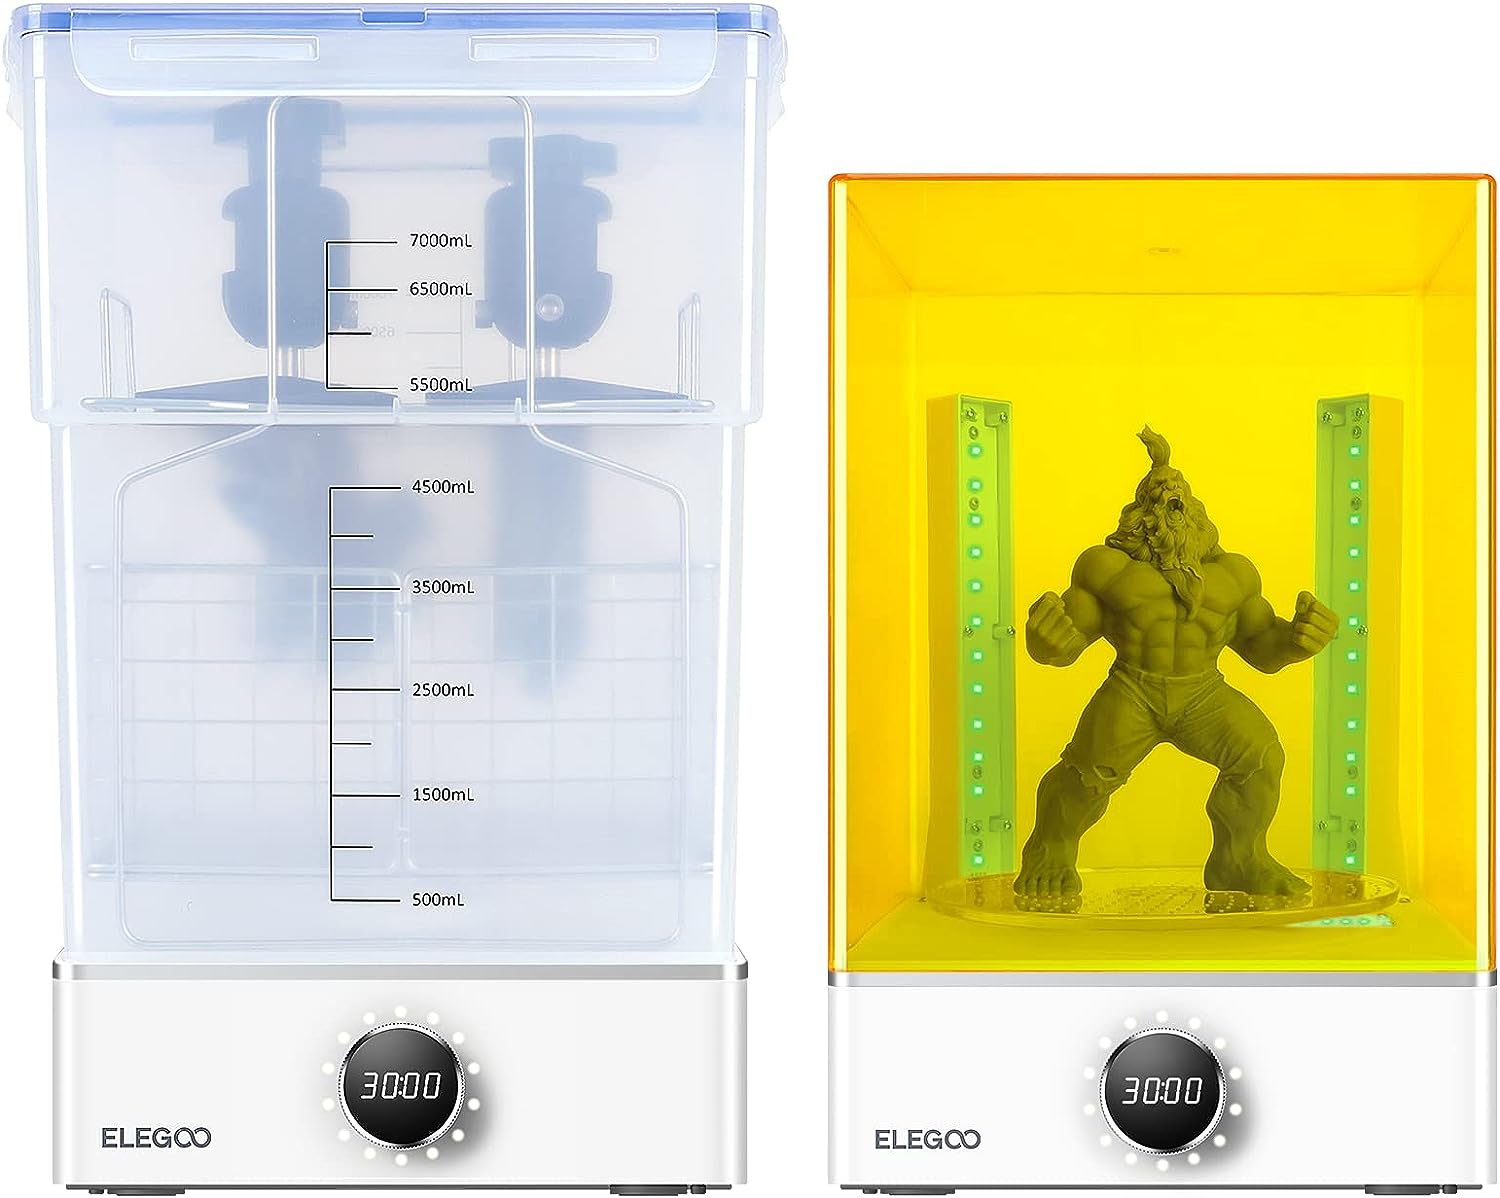
Resin Washing Machines
- Can be pricey at >$100 USD for the simplest washing stations
- Mega convenient and easy, but not a Fix-All for cleaning
- If parts are not "pre-rinsed" before being put inside a wash station, the solvent will foul much more quickly and need replacement or refreshment in a very short time
- My "ELEGOO Mercury X Bundle Wash and Cure Station Set" was $200 USD when purchased and takes nearly 2 gallons (7.5l) of solvent
- My first 2 gallons of solvent only lasted me 2 weeks
- I didn't pre-rinse the parts before putting them in
- My first 2 gallons of solvent only lasted me 2 weeks
- Some resins can absorb pigments from the solvent if present
- Putting a light colored part in strongly colored solvent can result in unpredictable color absorption
- I prevent contamination by using new or color specific containers of solvent for some resins or just specific prints
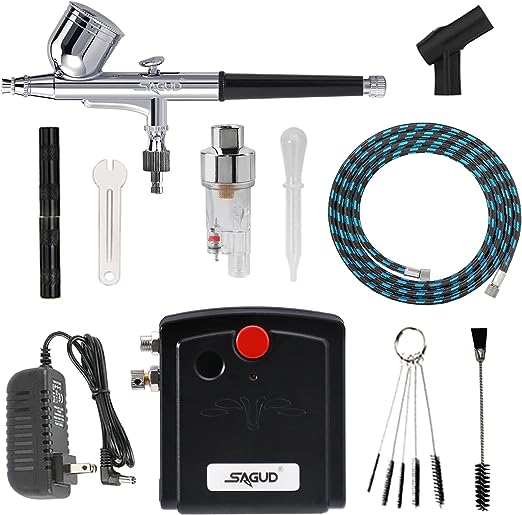
Compressed Air
Blowing any resin or solvent from within the tiny crevices of a printed part, is a great way to ensure the highest quality finished product. This also means wearing an apron or smock to cover the body and a face shield to keep splattered resin off our faces.
Air Brushes <10PSI
- Fairly low pressure is good to prevent splattering solvent everywhere
- Lower pressures make the drying process take longer
- Very low risk of air jet breaking delicate printed features
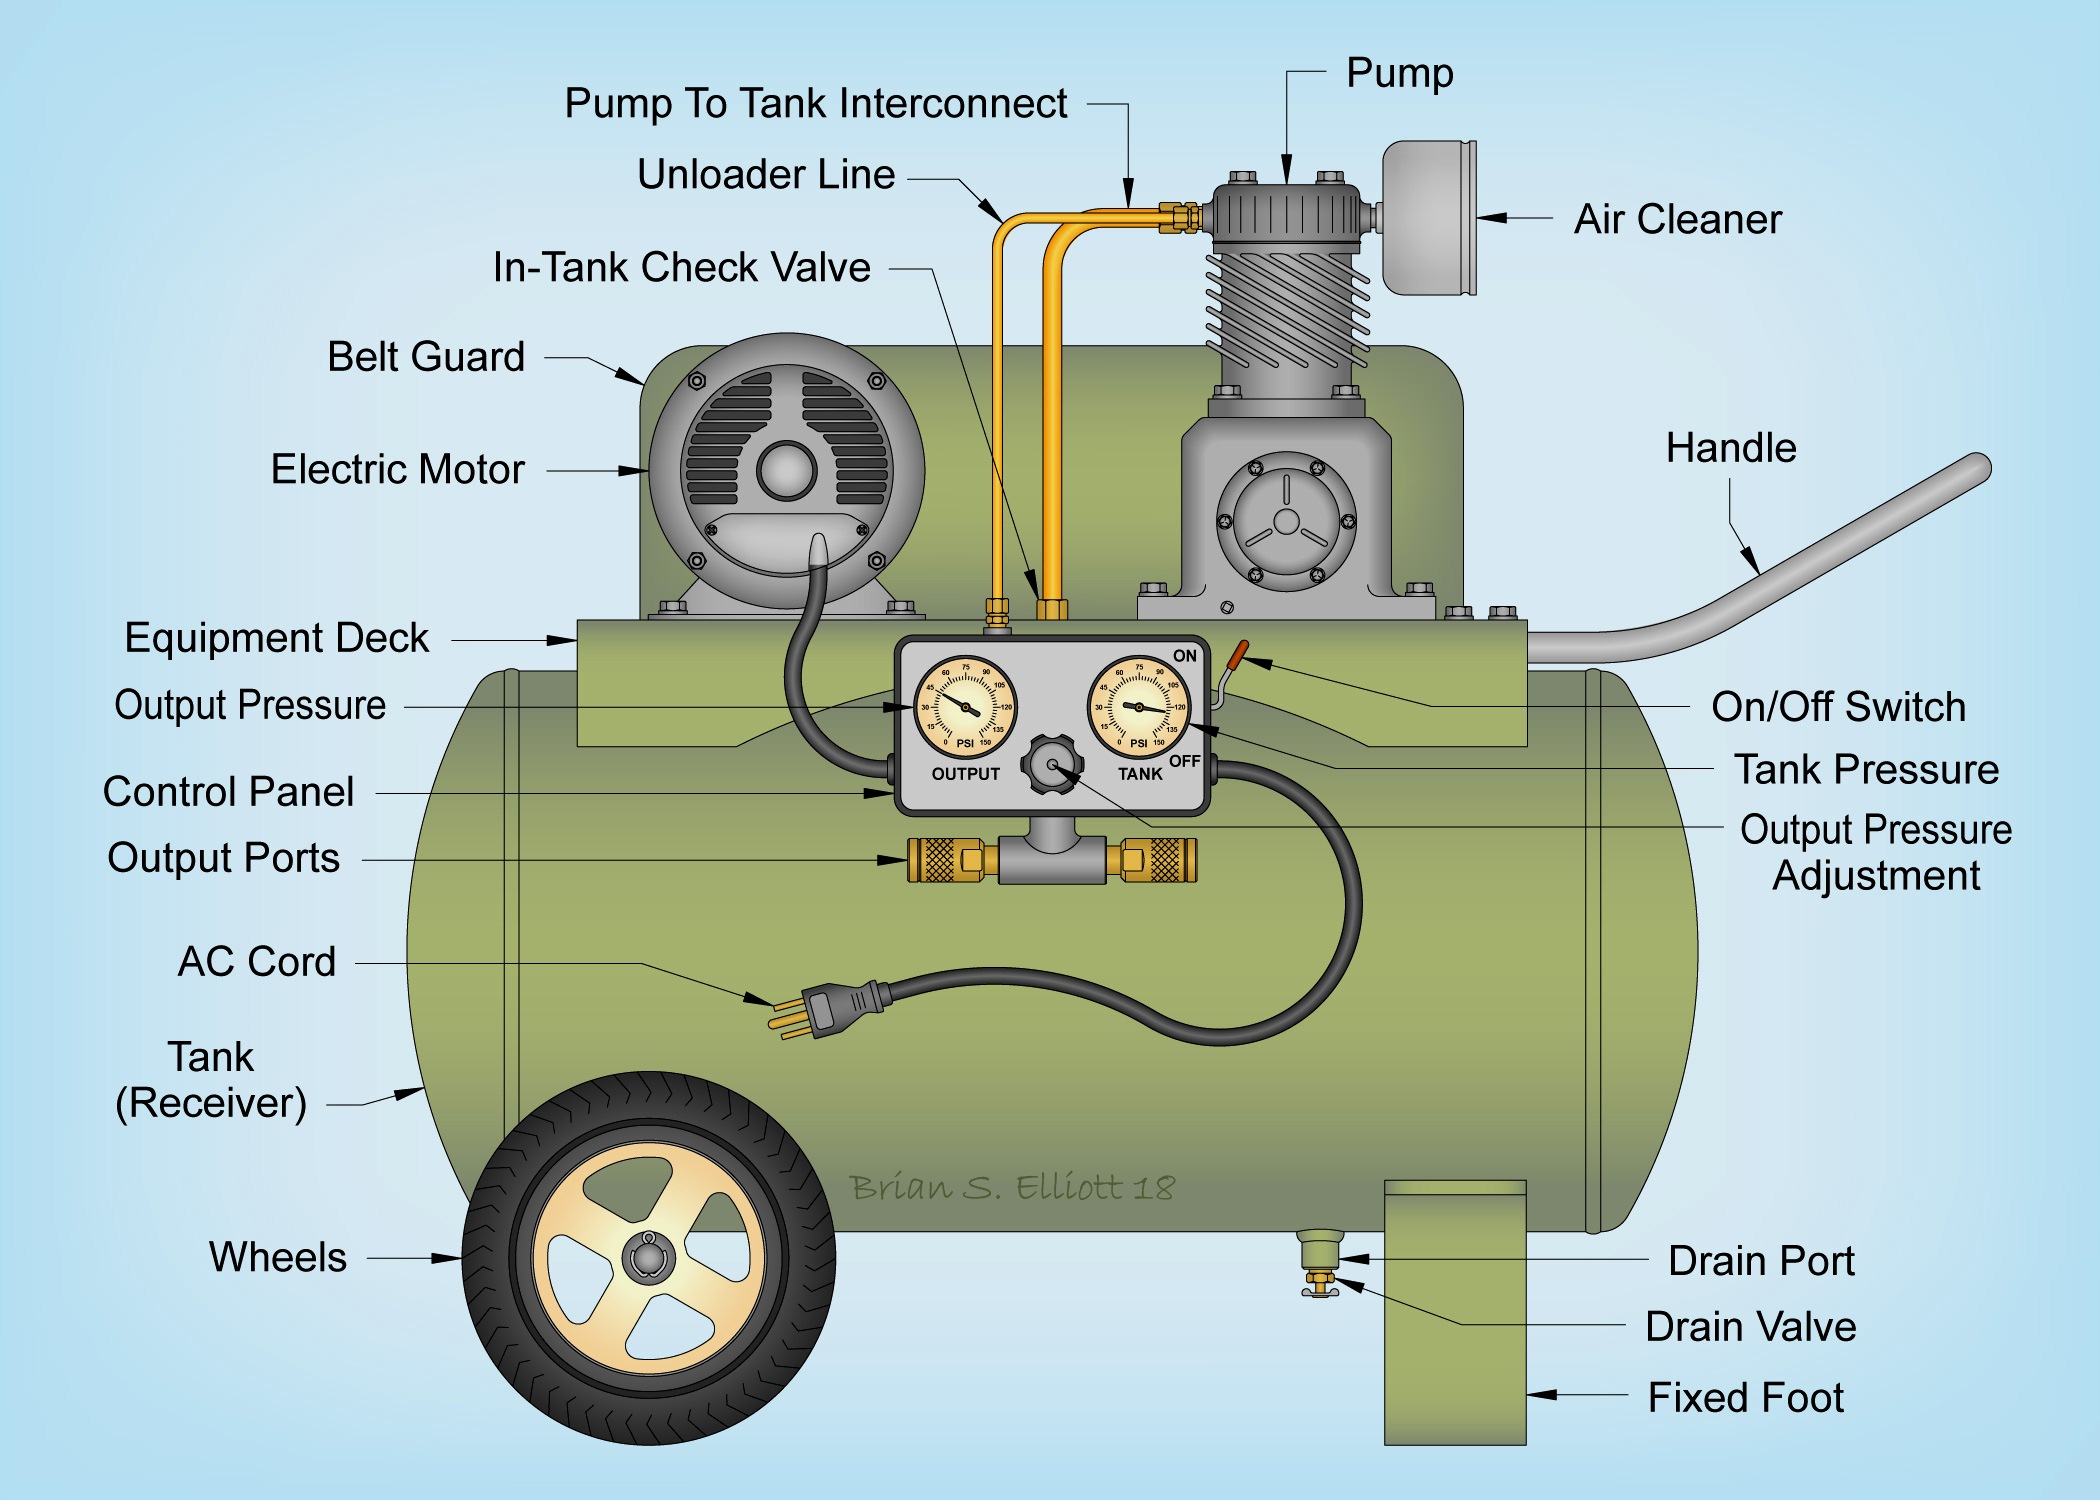
Air Compressor <100PSI
- Higher volume and pressure levels are a double edged sword; fragile features can be destroyed by high pressure air
- Makes very quick work of drying parts without fragile details to break
- Buying a compressor, regulator, hose, and nozzles just for resin cleaning might be cost prohibitive
Heated Drying Chambers
This is not truly necessary and doesn't have to be complicated. Our goal is to warm the printed, cleaned, and forced air dried part enough to dry any remaining solvent that might be hidden somewhere. Letting a printed, cleaned, and forced air dried part just sit to dry thoroughly overnight is a perfectly reasonable option, heat just makes it FASTER.
Home Made hot boxes
- Fire Extinguisher - cause life happens and is very cheap insurance!
- Thermometer of some kind is nice, so we know the parts aren't getting too hot
- Possible heat sources
- Hair dryer
- Heat gun
- Print chamber heater
- Power supplies
- Space heater
- almost any other heater...
- Possible enclosures
- Styrofoam drink cooler
- Cardboard box
- Wooden box or crate
- Tent
- Bucket
- Barrel
- anything that will safely contain whatever heat is being added
In the summertime, I have draped a black trash bag over a chair to cover my parts left on the seat. When the chair was left outside in the sun for a few hours everything underneath came out plenty dry and warm.
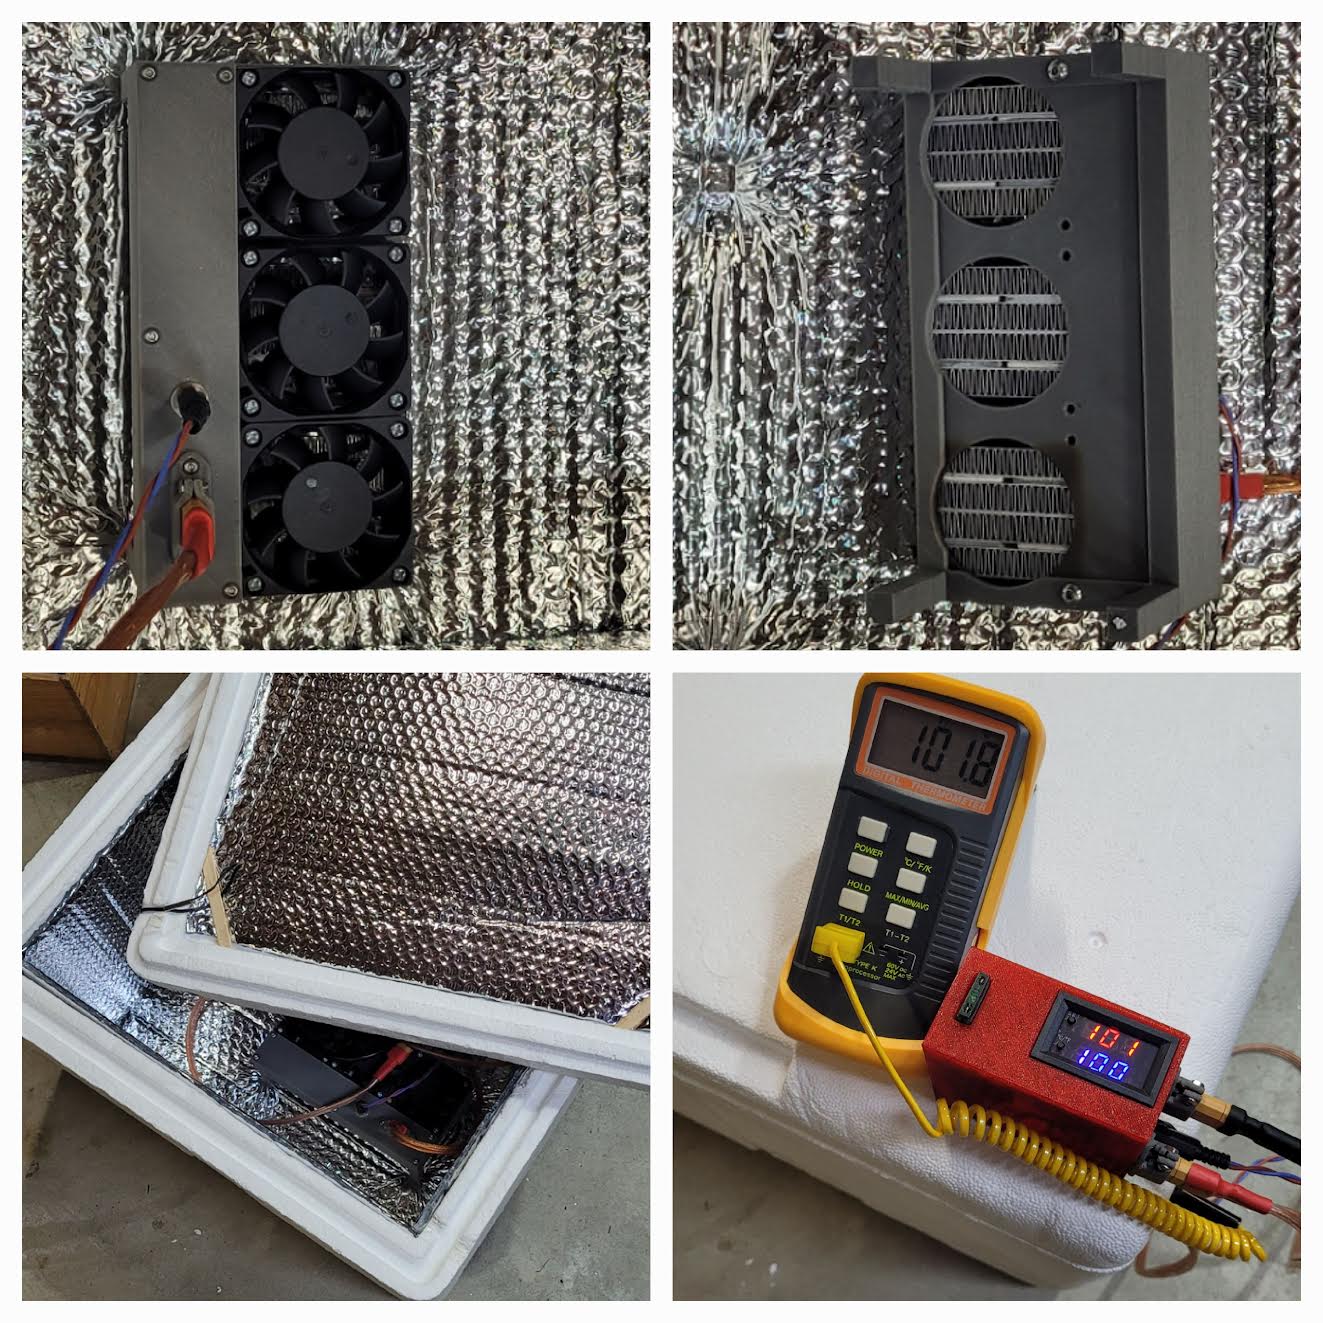
The PTC controller/sensor, 100W 12v heating element, and fan are the same parts used in the Resin Chamber Heater (at 3x scale):
Heated washing or curing machines
- Some Wash & Cure stations include a heating feature to aid in drying speed
- This additional automation can be both a boon and a curse
- Automation is awesome! Who doesn't love less work?
- If there is resin or solvent trapped somewhere, it can leak out during the automated drying and/or curing process making the dried resin harder to wash off again... if it didn't get cured onto the part like melted wax down the side of a candle.
Curing
Parts that have been printed, washed, and dried are still not up to their final material properties such as: strength, toughness, elasticity, etc. Parts must be thoroughly cured by using the same Ultraviolet light that was used to create them, except now we want to "soak" them in the UV light over a longer duration.
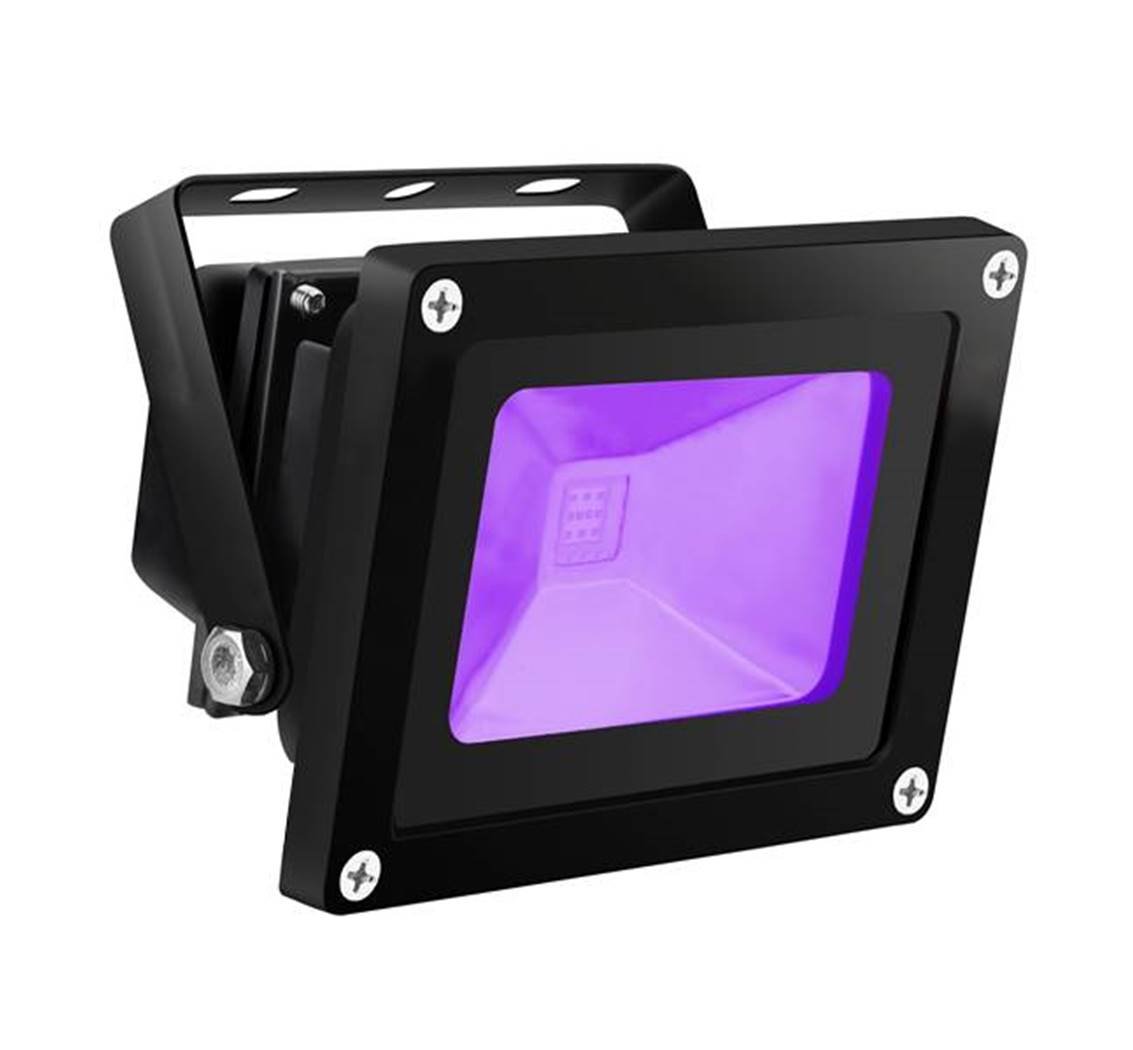
UV Lights
- Any UV light source in the 350nm to 425nm range can be used to cure resin prints
- Flashlights, Flood Lights, LED Strips, UV Keychains, etc. will ALL work adequately with varying effort
- Outside in the Sun is always a reasonable option but can sometimes be too harsh for certain colors or materials
- We don't want to "burn" or over cure some of the more sensitive resins
- White, Clear, Yellow, etc. can discolor or cloud if over cured or cured with too much intensity
- Many have claimed that certain resins will warp if over cured but I have yet to have that issue
- MY PARTS, typically warp for some OTHER reason... like user error!
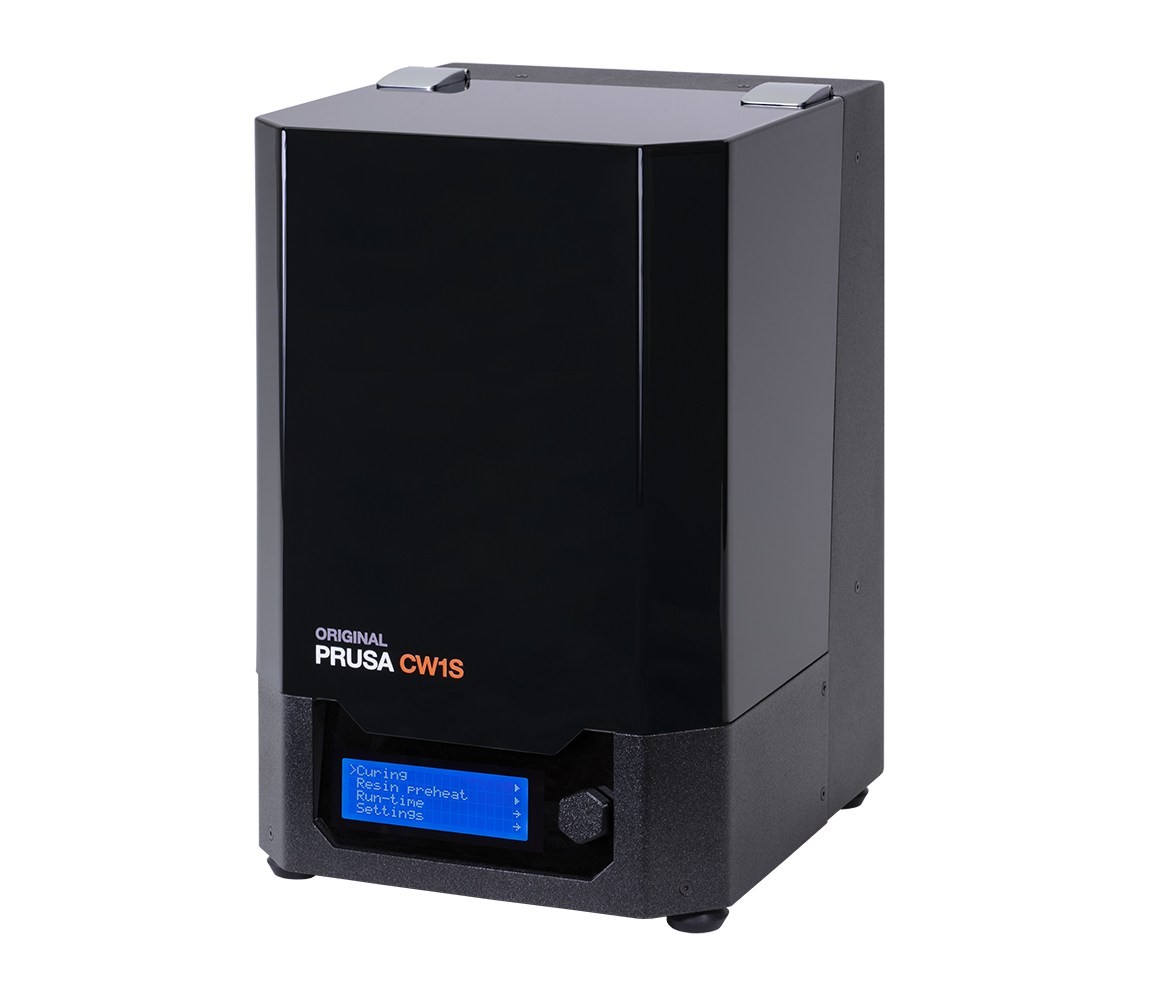
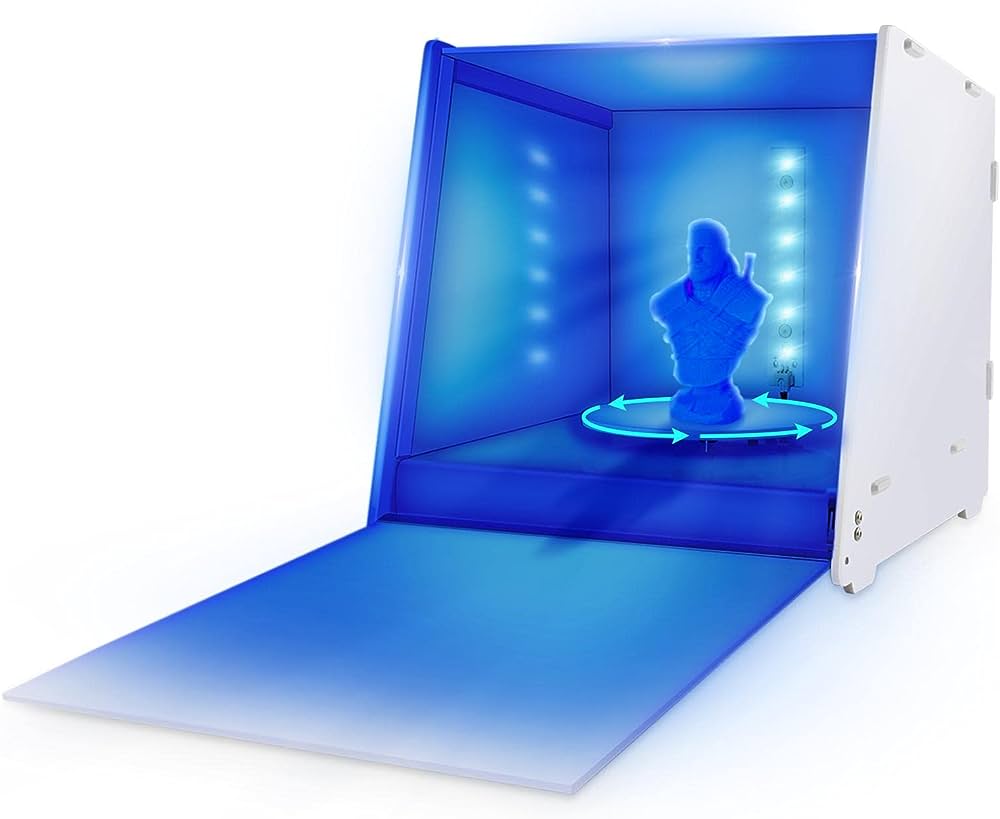
Curing Machines
- Their speed and convenience are excellent strengths, but there is always a cost for convenience
- Most machines have great features like timers, turntables, side lights, under lights, top lights, etc.
- This is another big thing that has to have a home in the work area... I need a bigger work area!
Raspberry Pi Zero W as a Wifi connected SMB available USB Drive
This is NOT my work, I started at: https://makerfun3d.com/pizerow-wifi-thumbdrive-send-photon-files-over-the-network and downloaded the 400meg zip file containing a preconfigured SD Image. After burning the image file onto the SD card I created an empty file on the "boot" partition named "ssh". That enabled me, after booting up the pi, to log in over SSH and use "sudo raspi-config" to configure the wireless network; I left everything else as default.
This turns the Raspberry Pi Zero W into a WIFI connected, network shared (SMB) USB thumb drive. I used an old micro USB charging cable to connect the OTG port on the Pi to the USB port of the 3D printer or other computer.
The 2.4GHz WIFI, SMB sharing, and Raspberry Pi Zero W itself, all contribute to a very SLOW but fully functional experience when transferring files to/from the Pi. Once the files are available from the Pi's USB OTG port, the performance has been comparable to any cheap USB 2.0 thumb drive: slow but useable.
This process takes less than 5 minutes:
- Save the sliced "print file" to the shared network folder on the Pi's SD card (Begin Transfer)
- Turn on the printer's chamber heater
- Shake and pour resin into the VAT (Transfer completed)
- Plug the Pi's OTG USB cable into the Printer
- Select the desired file using the printer interface
- Tell it to Print Now!
Nicks-Fix "Continuous IPA Filtration" system
The alcohol used to wash UV resin printed parts can get slimy as snot in no time at all; fortunately this issue now has a solution!
Who
Nick Wilson of the Youtube channel https://www.youtube.com/@nicks-fix posted a video about a new Continuous IPA Filtration system he had created. The breakthrough for me was seeing someone pair up the cheap water filters with an alcohol safe diaphragm pump to handle the pressure needed to use those cheap filters! (...and WHY didn't I think of that?)
Resin Printer Mods and Continuous IPA Filtration!
https://www.youtube.com/watch?v=DfM1CXBOZns
The Basics
- Expose the resin containing alcohol to a UV light source
- Creates a suspension of really tiny & very hard to remove, plastic particles within the alcohol
- Creates a suspension of really tiny & very hard to remove, plastic particles within the alcohol
- Separating out these minuscule lightweight plastic bits is harder than one might expect
- All of the other separation methods had some significant negative, from added cost or labor to increased exposure to chemicals
- Nick's design used a diaphragm pump to push this nasty alcohol solution through some easily changeable water filters
Background
I have made many unsatisfactory attempts to reclaim some usable alcohol from the resinous sludge left behind after washing resin prints. The only reliable solution found to date is exposing the mix to UV light, which fortunately & unfortunately hardens each super tiny dissolved particle of resin, creating a gel like plastic/alcohol suspension that is not fun to separate and less fun to use.
- Cheese cloth - Soaks up the alcohol and can be wrung out to separate the solids
- LOTS of time and effort splashing contaminated alcohol around
- Filter paper - Clogged almost immediately and didn't really trickle through even over time as I previously expected
- No real additional drainage even when left in a sealed container for a month; it lost more to evaporation/condensation inside the box than drainage through the filter
- I would have expected at least some wicking, but even that did not seem to occur here
- Cotton cloth - Used to "wick" from higher "dirty" container to lower "clean" container
- This does work, but takes too long for my taste
- Waiting - Settling out solids takes longer than I am willing to wait
- 90 days was not even a start!!!
- Barely clearing up at the top, the particles seem happy wherever they are in suspension
- Vacuum filtering caused far too much loss of alcohol with my setup
- I'm clearly not a chemist
- Chemical flocculants or coagulants
- Alum is known to be a common coagulant used to neutralize the surface charge of particles, letting them clump or floc together and sink
- I chose not to use any chemical additives that might aid in the precipitation of particles out of solution
- My equipment cleaning routine uses the same alcohol, which leaves contamination as a risk
- Introducing another chemical could ultimately affect the predictability of my resin printed parts
- My equipment cleaning routine uses the same alcohol, which leaves contamination as a risk
What
- Silicone tubing - flexible and mostly resistant the these specific chemicals
- Gets alcohol from dirty container through the UV exposure and into the filters
- Returns the cleaner alcohol back into a clean container
- OR could be used to simply recycle from and to the same container making it progressively cleaner
- Hose barbs - hollow threaded fitting with a nozzle for the hose to slide over
- Connects filters or pump to the silicone tubing
- Plumbing Nipples - Hollow tube with threads on each end
- Connects filters to each other
- Connects pump to filter
- Diaphragm pump - Liquid pump capable of moving alcohol without degradation
- Santoprene diaphragm resists alcohol and resins
- Pushes our alcohol through the system
- 3x - 10" x 2.5" water filter elements - 5 micron, 1 micron, and 1/2 micron stages
- 5 micron - Does not clog as quickly as finer filters, so similar to a pre-filter
- 1 micron - Using this as the final filter left a dusty haze on prints after a while
- 0.5 micron - Turns out Nick was correct, this takes out everything I can detect EXCEPT COLOR
- UV LED strips or other strong UV source
- 405nm is ideal but close is probably close enough
- Don't forget to cover these LEDs with something to prevent UV light from curing things we don't want cured
- Gaffer tape was my chosen solution
Why
Nick's continuous filter system enables me to run resin prints through my wash and cure station without additional alcohol rinses.
- Easily changeable filters
- These water filters are fairly easy to change without getting contaminated alcohol everywhere
- Replacement filters are reasonably priced at local hardware stores
- Better overall use of resources
- Isopropyl alcohol requires boiling for it's concentration/creation requiring roughly 50MJ of energy per US gallon
- 5 micron paper sediment filters each require roughly 4MJ of energy to manufacture
- 1 micron filtering doubles to 8MJ required to replace both filters
-
- Each set of filters can filter many gallons of alcohol (don't know how many liters of printed resin yet)
-
- Human time savings
- My previous workflow (15 minute minimum):
-
-
- <1min - Parts have already been dripping for at least a few minutes, Tilt parts 45 degrees and drip for another few minutes
- <2min - Rinse in gooey slimy alcohol to get most of the excess resin off (Nasty alcohol)
- <variable> - Remove supports
- <2min - Run through a 30 minute wash cycle (medium cleanliness alcohol)
- <5min - Hand spray with New alcohol (unused alcohol)
- <5min - Dry with compressed air
- 30 min - Curing cycle in curing machine
-
-
- New workflow (8 minute minimum):
-
-
- <1min - Parts have already been dripping for at least a few minutes, Tilt parts 45 degrees and drip for another few minutes
- <variable> - Remove supports
- <2min - Run through a 30 minute wash cycle (clean? alcohol)
- <5min -Dry with compressed air
- 30 min - Curing cycle in curing machine
-
My solution
Beginning with a "popcorn tin" (aka: larger metal can with removable close fitting lid), I added UV led strip in a spiral down a cardboard tube in the middle of the can. The silicone tubing was then wrapped in a single layer tight spiral up the inside of the can, using the pressure of the tubing to hold itself up against the walls of the can. No adhesives used to hold the tubing in place, but I was careful to avoid any kinks in the tubing that would restrict the flow. This idea intends to exploit the shiny metal surface inside the can, hoping to gain some additional exposure from bouncing reflections inside; No clue if this helps, hinders, or is pointless but it sounded good.