Filament printers
Printers that use rolls of plastic string to feed an automated glue gun that moves on a gantry to squish out layers of plastic into a desirable form
- Printing Adhesives
- Print Beds
- Filament Printer Rolling Cart
- Material Comparisons
- Squish!
- Why use Carbon Fiber composite filament?
- Limited experiences with nozzles and wear
- Filament 3D Printing Material Types
- Links to resources for 3D printing Filaments
Printing Adhesives
Build plate adhesives I have tried...
-
ABS Juice/Slurry
- Made by dissolving ABS plastic bits in liquid Acetone
- No hard rules here, some folks prefer theirs thicker, some thinner, both worked for me
- Works perfect for ABS, ASA, and HIPS, but no other materials seemed to like it in my tests
- Best on glass but also worked on shiny carbon fiber sheet print surfaces without issue
- Often left ugly "brim or elephants foot like" bottom edges which added post processing time
- Never use on print surfaces made from PEI, PEX, Ultem, etc. since those materials are sensitive to Acetone and could be destroyed permanently
- Use - Spread as even a coat of adhesive as possible over the area to be printed on and wait until the liquid is ENTIRELY dry before heating the build plate...Acetone is nasty stuff!
- My Opinion - Not a favorite but mostly because I like textured PEI print surfaces
- Made by dissolving ABS plastic bits in liquid Acetone
-
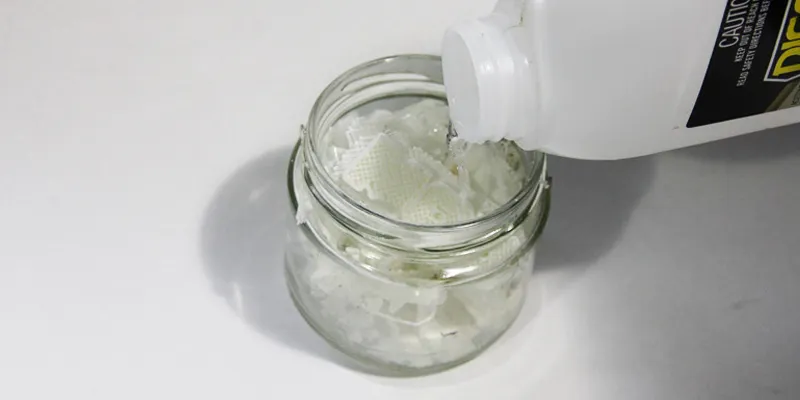
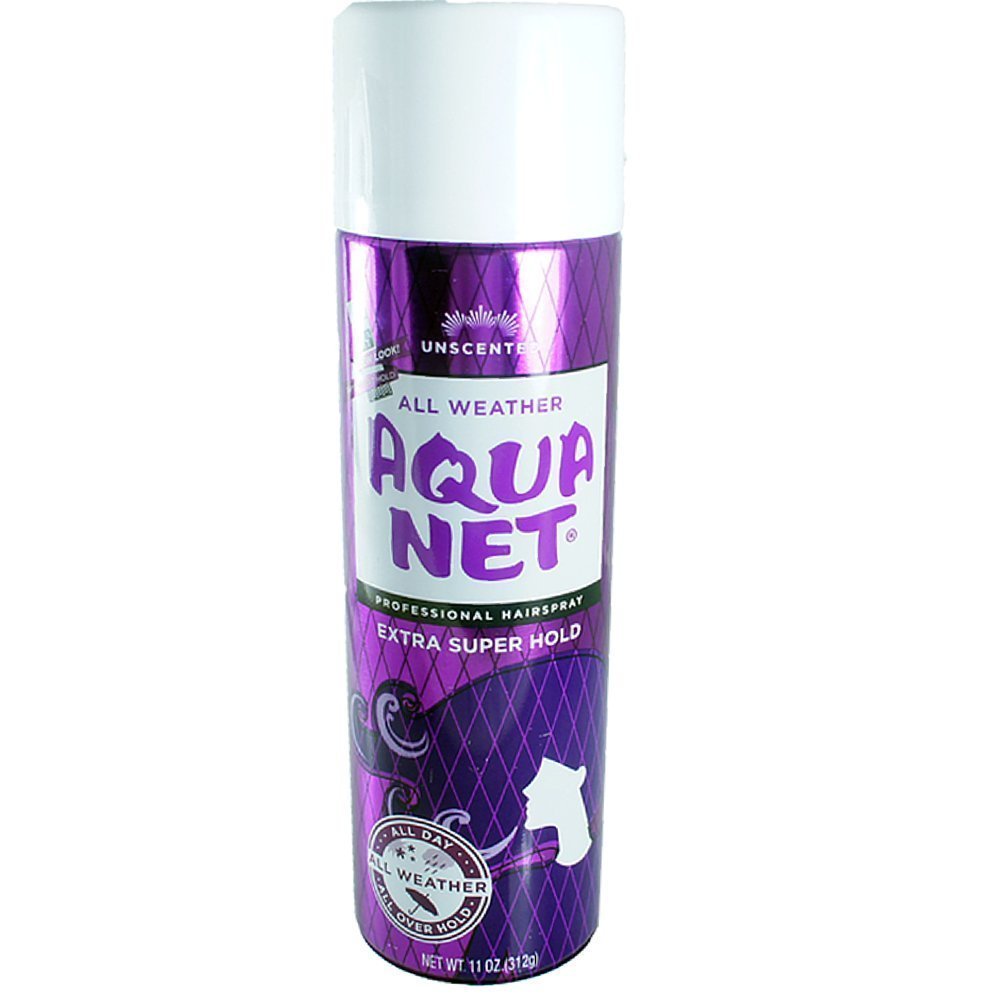
Aqua Net Unscented Extra Super Hold Hairspray
- Worked for most materials, but some Polycarbonates didn't stick for me
- This was probably just me
- Worked erratically on all materials until I let the hairspray dry entirely before heating the build plate
- Not sure why this helped...
- Use 1 - Spray an even coat on the print surface and allow to dry before heating the bed and beginning the print
- Use 2 - Spray on hairspray as above, let it dry, razor blade scrape it off the glass, Spray another coat of hairspray, let it dry, razor scrape if off the glass before heating the bed and beginning the print
- My Opinion - Not a fan if I have other choices but it definitely works (I don't like overspray on stuff)
- Worked for most materials, but some Polycarbonates didn't stick for me
-
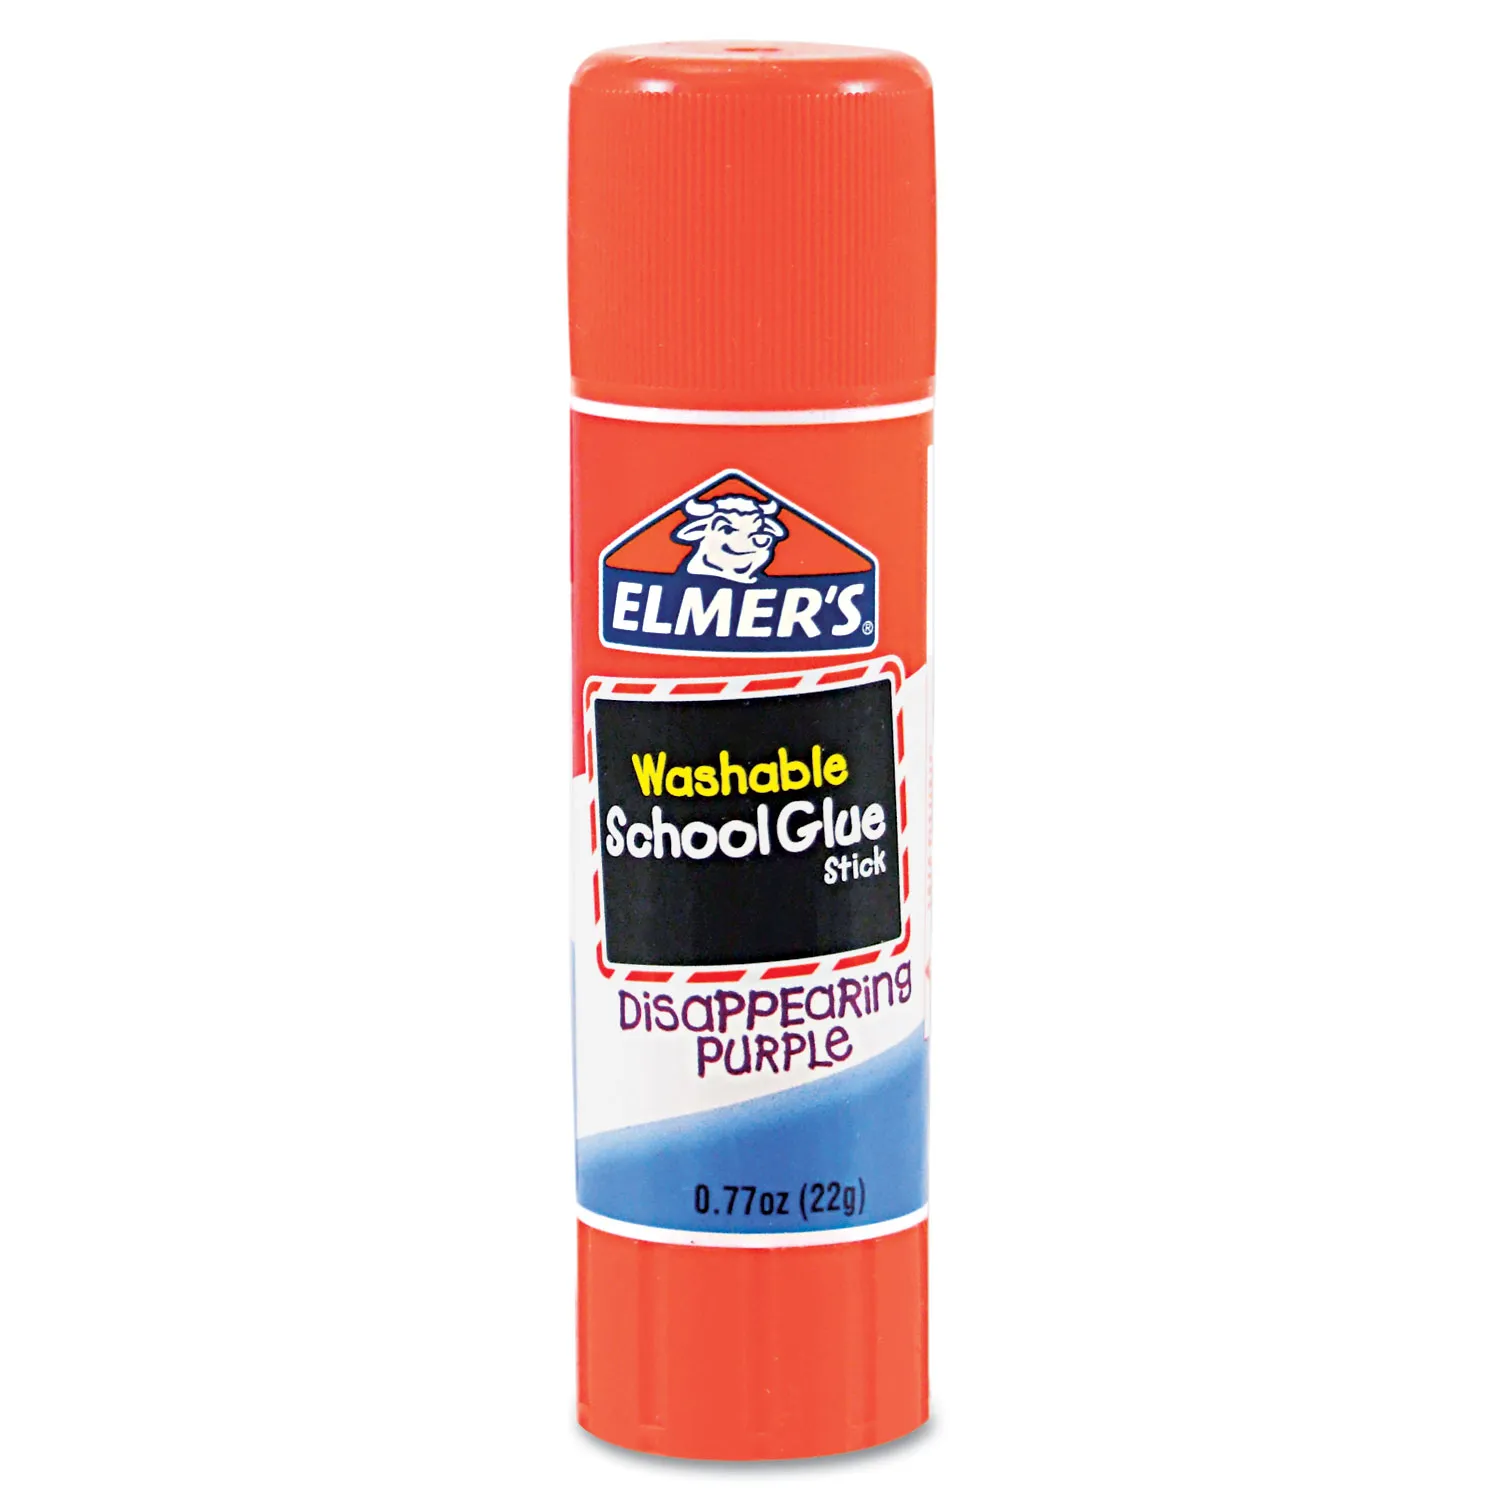
Glue Sticks
- Worked for almost all materials, except PolyEthylene and PolyPropylene didn't stick at all
- A few PolyCarbonates and PolyAmides wouldn't stick for me
- Could be me, but might also be those specific brand/model/lot# rolls I tried
- A few PolyCarbonates and PolyAmides wouldn't stick for me
- If the build plate is not cleaned or scrapped fairly regularly (maybe 5-10 prints) with soap & water or a razor blade, the bottom surface of prints can begin to elephants foot and look fairly uneven in places
- The glue layer builds up thicker in some places because bits of glue often peel away with prints irregularly
- I use water and a piece of paper towel to dilute and spread the glue into a uniform coat every few prints
- This doesn't FIX the problem, but can extend the mean time between washes for a given print surface
- BEST VALUE of all 3D printing adhesives
- I paid about $20 for 60 glue sticks like 5 years ago...and still have more than half the box!
- All brands I tried worked identically well for me; cheaper is apparently fine?
- Use 1 - Rub on as even a coat as possible on the print surface in a single orientation (all swipes line up like stair steps), wait a few minutes for the glue to dry, then rotate the bed (or your hand) and repeat at a 90 degree angle to ensure a uniform and even coat
- Use 2 - Rub on glue as above, let it dry thoroughly, razor blade scrape it off the glass, rub on another couple coats of glue stick, let it dry, and razor scrape if off the glass again before beginning the print (recommended technique by Vision Miner)
- My Opinion - I like glue stick...but I like other adhesives more.(happy face) Works for nearly everything except not working AT ALL for PolyEthylene or PolyPropylene
- Worked for almost all materials, except PolyEthylene and PolyPropylene didn't stick at all
-
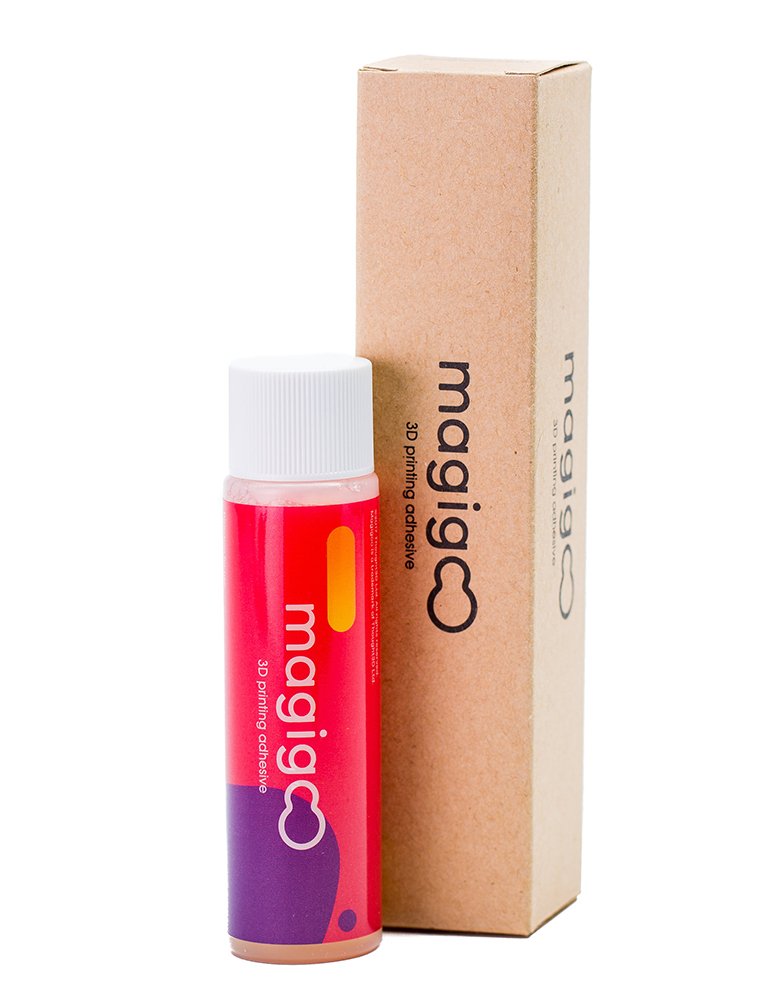
MagiGoo (Regular/Original)
- Worked for most materials, but a few types of PLA I had wouldn't stick to this stuff (Probably just me)
- Did not last as long as other adhesives; after maybe 2 or 3 prints it tends to peel up with the print
- It leaves no visible artifacts on the bottom of the prints(even after dozens of re-applications)
- Sticky to the touch if left on the part, but rinses off the bottom of prints with cool running water
- Use - Press the sponge applicator down onto a cool bed, and swipe one way to coat then swipe perpendicular for a second coat to ensure an even and complete coat...and add another perpendicular coat if 2 wasn't enough
- Shiny build surfaces will show the swipe marks from the adhesive on the bottom of the finished part
- My Opinion - I use this for PETG, and it works great for that
- Worked for most materials, but a few types of PLA I had wouldn't stick to this stuff (Probably just me)
-
MagiGoo (PP)
- Works better than anything else I have tried for Polypropylene
- Did not last as long as other adhesives; after maybe 1 or 2 prints it seems to stop working
- Looks like something is still there but doesn't stick, have to wash and reapply
- It leaves no visible artifacts on the bottom of the prints, but I wash the surface with dish soap and water before reapplying
- Sticky to the touch if left on the part, but rinses off the bottom of prints with hand soap and water
- Use - Press the sponge applicator down onto a cool bed, and swipe one way to coat then swipe perpendicular for a second coat to ensure an even and complete coat...and add another perpendicular coat if 2 wasn't enough
- Shiny build surfaces will show the swipe marks from the adhesive in the bottom of the finished part
- My Opinion - I always use this for PolyPropylene filaments
- Works better than anything else I have tried for Polypropylene
-
MagiGoo (PC)
- Works as well as anything else I have tried for Polycarbonate
- Did not last as long as other adhesives; after maybe 2 or 3 prints it tends to peel up with the print
- It leaves no visible artifacts on the bottom of the prints(even after dozens of re-applications)
- Sticky to the touch if left on the part, but rinses off the bottom of prints with hand soap and water
- Use - Press the sponge applicator down onto a cool bed, and swipe one way to coat then swipe perpendicular for a second coat to ensure an even and complete coat...and add another perpendicular coat if 2 wasn't enough
- Shiny build surfaces will show the swipe marks from the adhesive in the bottom of the finished part
- My Opinion - I use this for PolyCarbonates most of the time
- Works as well as anything else I have tried for Polycarbonate
-
MagiGoo (PA)
- Works as well as anything else I have tried for PolyAmide filaments (Think Nylons)
- Did not last as long as other adhesives; after maybe 1 or 2 prints it tends to peel up with the print
- It leaves no visible artifacts on the bottom of the prints(even after dozens of re-applications)
- Sticky to the touch if left on the part, but rinses off the bottom of prints with hand soap and water
- Use - Press the sponge applicator down onto a cool bed, and swipe one way to coat then swipe perpendicular for a second coat to ensure an even and complete coat...and add another perpendicular coat if 2 wasn't enough
- Shiny build surfaces will show the swipe marks from the adhesive in the bottom of the finished part
- My Opinion - I use this for Polyamides most of the time
- Works as well as anything else I have tried for PolyAmide filaments (Think Nylons)
-
Vision Miner
- Worked as well as anything I have tried for PLA and PC, worked for ABS also
- Did NOT work for me on PETG, several brands same problems (Probably just me)
- It leaves no visible artifacts on the bottom of the prints(even after dozens of re-applications)
- Sticky to the touch if left on the part, but rinses off the bottom of prints with just running water
- Use - Dribble a ring of drips around the area to be printed on, then smear as even a coat as possible before it dries
- Dries SUPER Fast as it thins out
- Hardens the included brush, I have better luck using a small sponge to spread the adhesive
- Shiny build surfaces can sometimes show some swipe marks from the adhesive on the bottom of the finished part, but only on very shiny surfaces
- My Opinion - Probably my favorite overall adhesive to date, Works great for me
Print Beds
Many options...
Lots of materials can successfully be used as print bed surfaces, and some of those work with one filament better than another. This list covers the print surfaces I have used to date, some information about them, and my opinions about each.
(BTW, my choice to use 1mm thick sheets to create new print sheets, is based upon my Prusa Mk3s+ printer's inductive bed sensor and it's need to magnetically "see" the steel sheet below the added print surface.)
-
Glass - Float Glass, Tempered Glass, Mirrors, etc.
- Since most filaments stick nicely to glass, any flat glass surface should work for all but the pickiest materials
- Optically flat and shinny bottom print surfaces can be very desirable... but
- Most plastic parts will warp slightly as they change temperature and during use, even if they were optically flat when printed. This warpage is typically minor, but the human eye can see such deviations through reflected light... if someone is looking
- Glass can be chemical etched to produce a semi-gloss bottom print surface
- The semi-gloss hides optical imperfections a bit better
- Etching can take many forms or patterns; a mirrored logo could be etched to "watermark" the bottom surface of printed products
- Thicker glass plates are usually better at evening out bed heater hot spots, but also take longer to heat evenly and are heavier for any printers that move the bed while printing
- Any type of adhesive can be used on glass
- Glass will often chip out when removing prints if there is not enough adhesive used as a separation layer
- My Opinion - Float Glass and Mirrors are equally good and cheaper for anything not requiring ~130+ degrees Celsius, Borosilicate Glass aka: Pyrex/Tempered Glass is recommended for high temperature printing on glass plates

-
BuildTak Textured Polycarbonate Sheet
- Worked for PLA, TPU, PETG(Some PETG prints left marks on bed surface)
- Maximum Bed Temperature 100c
- Textured surface gives AMAZING adhesion for most materials
- Removing while still warm prevents tearing the BuildTak surface
- Will degrade faster than PEI/PEX type materials
- Can be refreshed with 500 grit sandpaper as it ages for longer life, but texture will be removed
- Any type of adhesive can be used, and would prevent over sticking to the bed, reducing wear
-
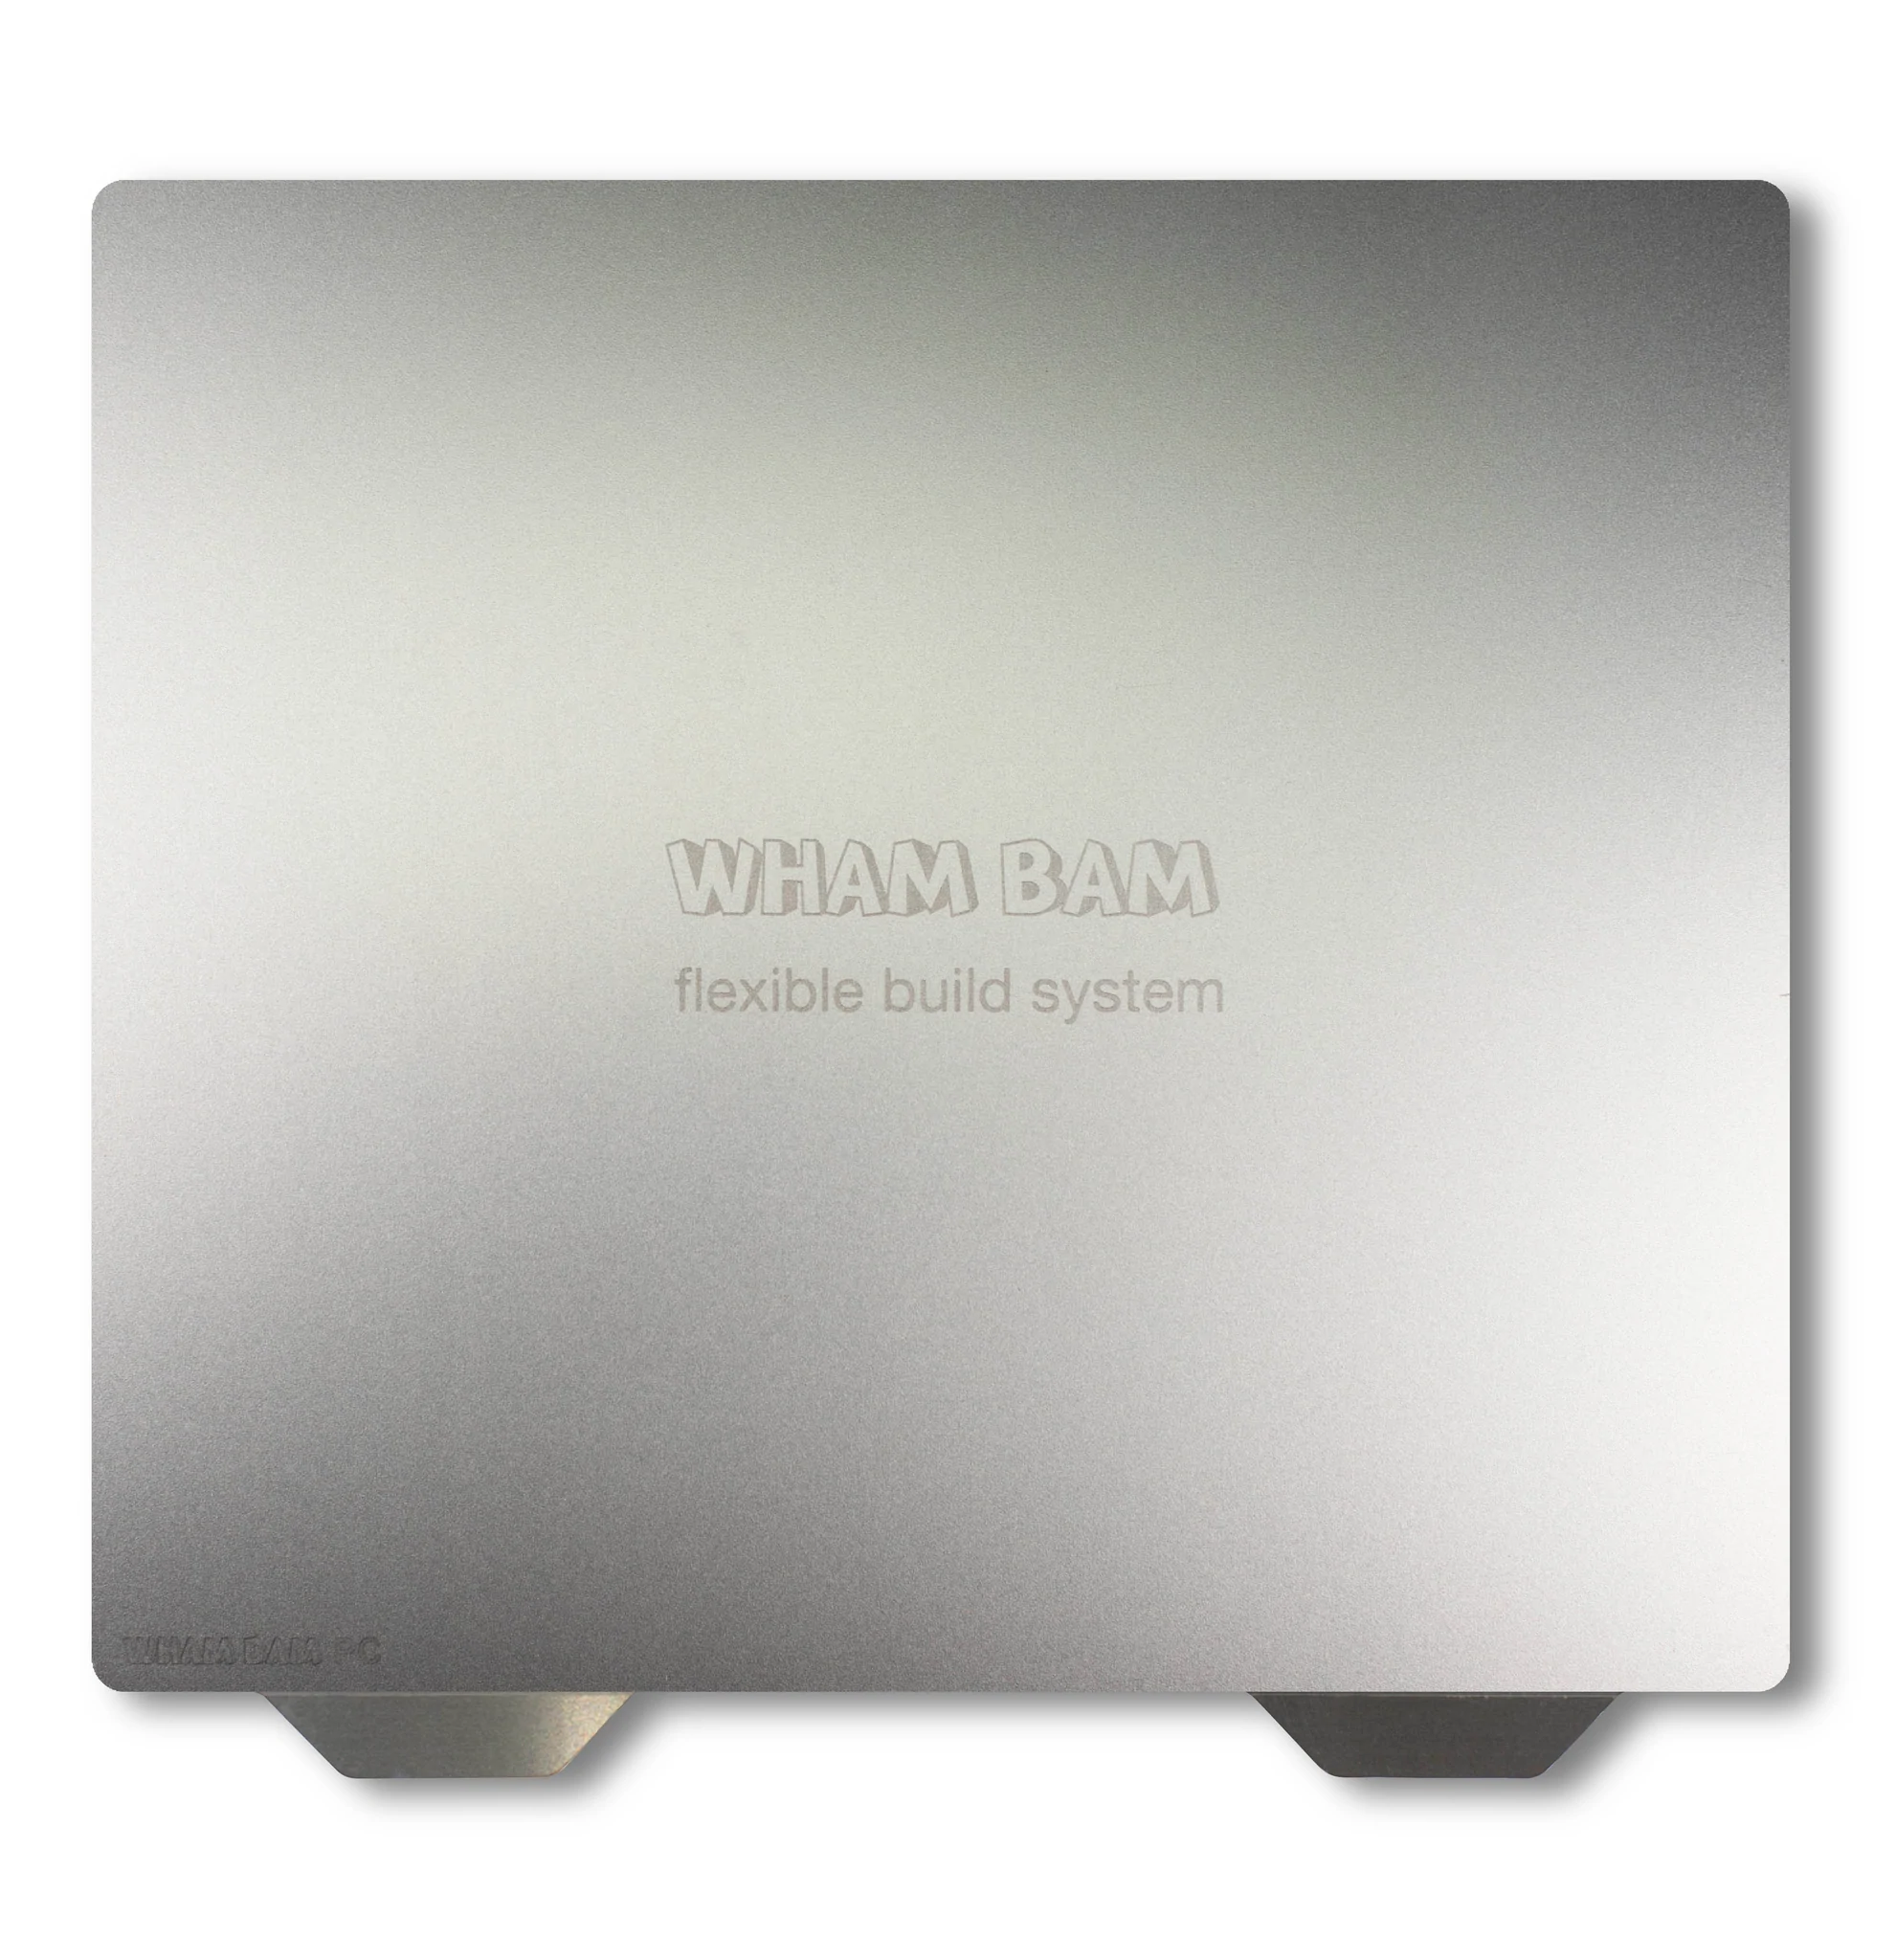
WhamBam - Smooth PC
- Worked for PLA, TPU, and PETG(Some PETG prints left marks on bed surface)
- Maximum Bed Temperature 100c
- Can be refreshed with sandpaper as it ages for longer life
- Any type of adhesive can be used, and would prevent over sticking to the bed, reducing wear
- Manufacturer Statement
-
Bed temps for PLA 40-60°C.
-
The gap for PLA is less important, moderate to high gap.
-
You can lower your bed temperature after the first 10 layers without it coming loose so it’s also good for economy use.
-
You may need a scraper to pry off parts if stuck well, so be careful not to gouge.
-
High-temperature filaments may fuse to the surface so do not squish first layer too much and you may want to use a bit of glue stick as barrier for easier release.
-
TPU also sticks really well to this, so you may want to print with no bed heat and possibly glue stick.
-
Clean between uses with rubbing alcohol (IPA) and steel wool if needed to remove leftover filament.
-
-
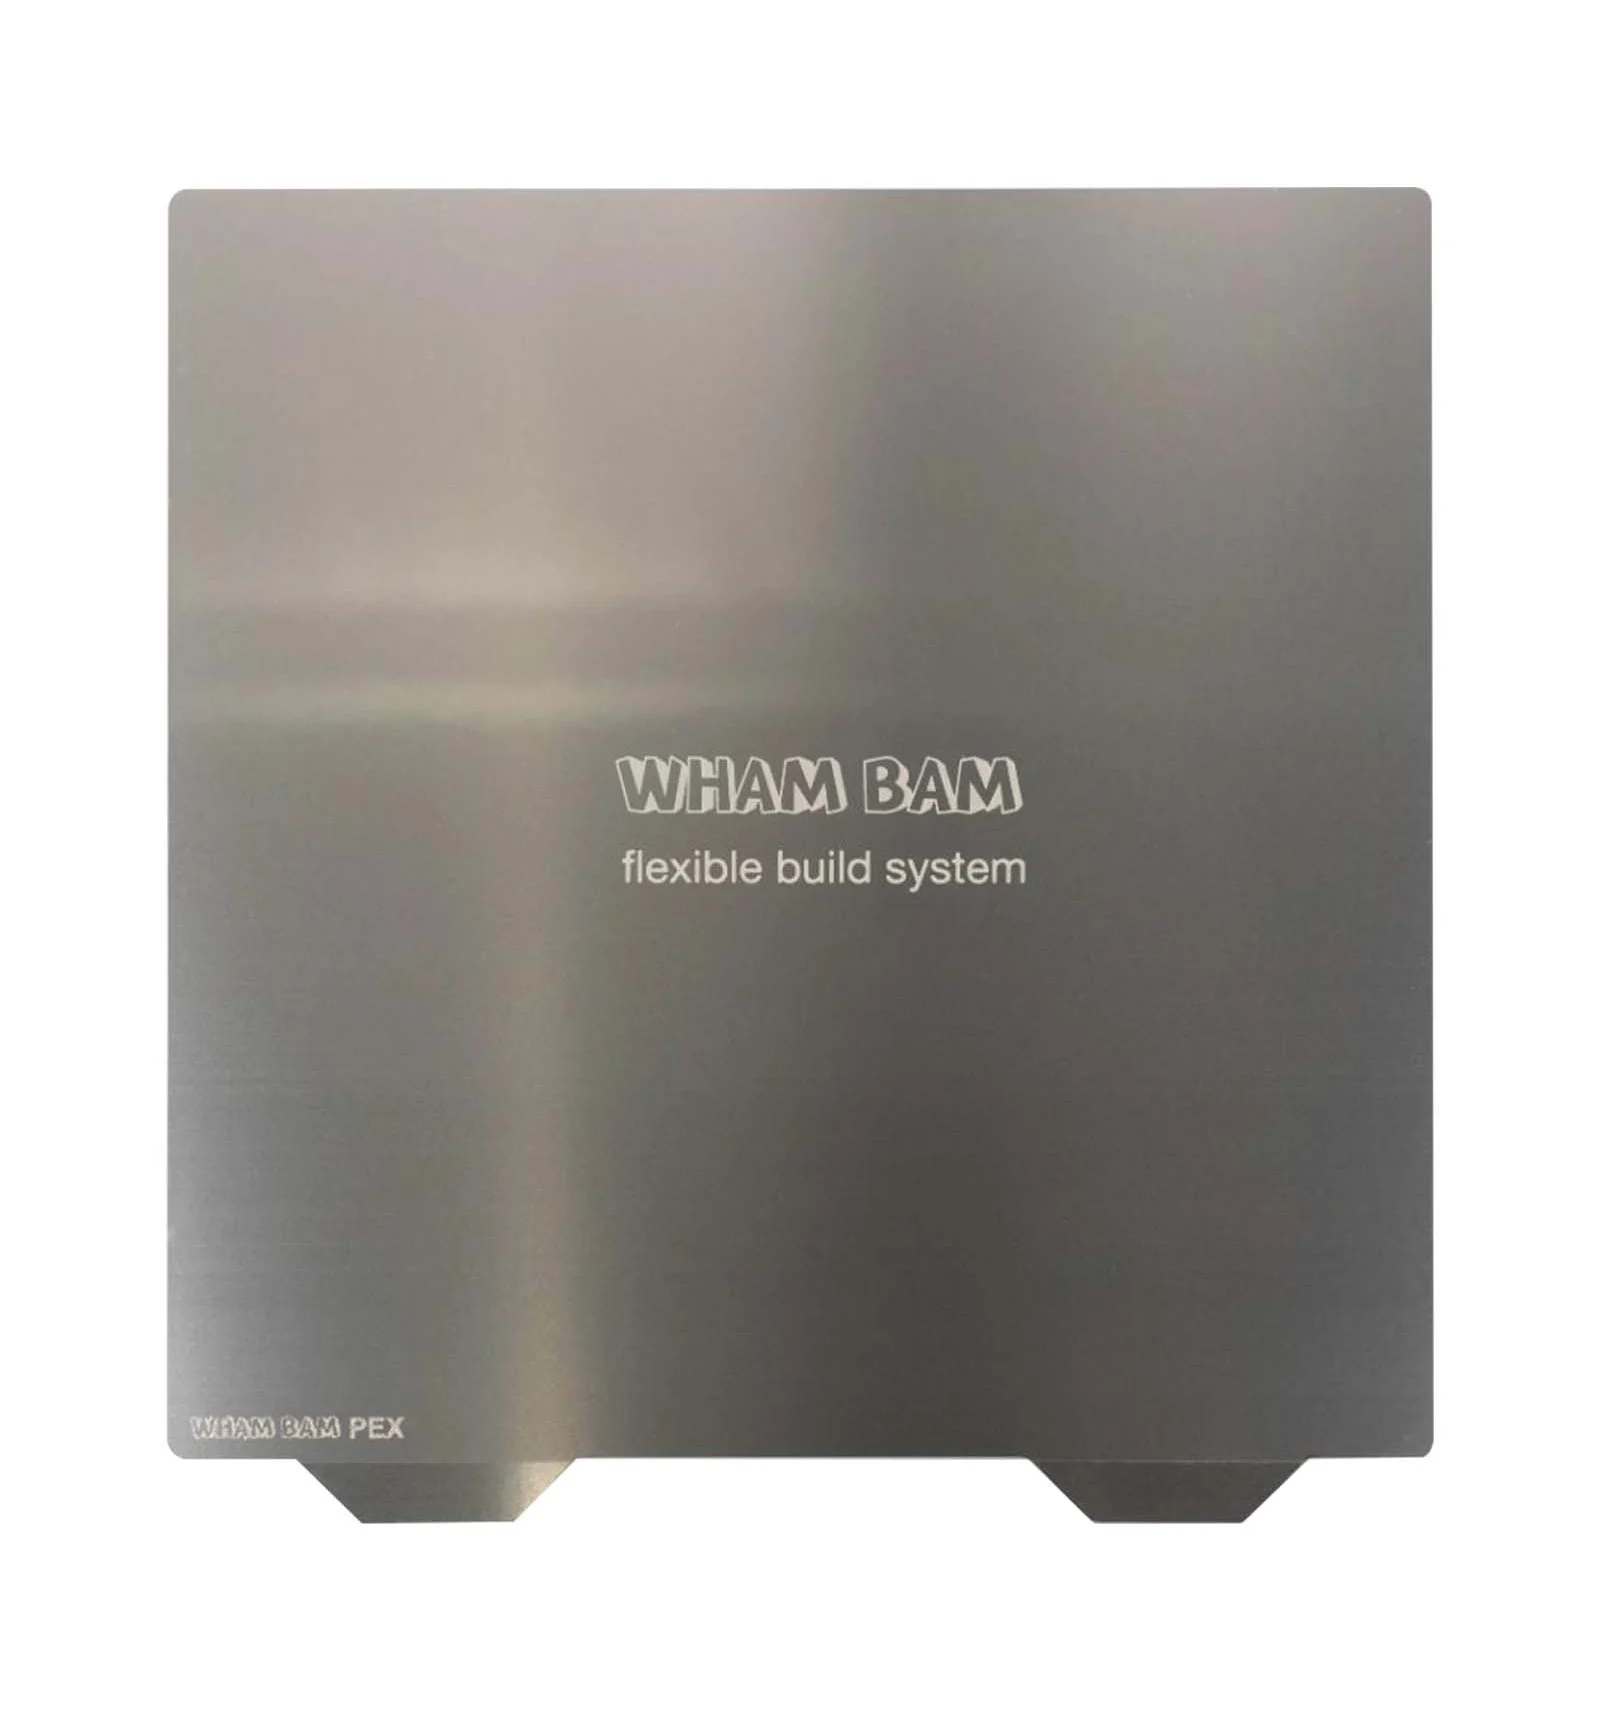
WhamBam - Smooth PEX
- Worked for PLA, TPU, PETG, ABS, ASA, HIPS, PC, PP, PA12, PA6(Some prints left marks on bed)
- Maximum Bed Temperature 150c (3M Adhesive Max Temp)
- Can be refreshed with sandpaper as it ages for longer life
- Non-Acetone adhesives Only!
- No ABS Juice (No Acetone)
- Most adhesives are OK (Magigoo, Vision Miner, Glue Stick, Hair Spray, etc.)
- Manufacturer Statement
-
Bed temps for PLA 70°C, gap PLA as tight as you can get it with full material flow. The first layer must be squished and flat-topped.
-
Bed temps for PETG 70°C, gap PETG moderate. For PETG set the hot end of lower limit to good layer bonding, usually 240-250°C to avoid fusing with surface.
-
Do not use part fan until layer 3-4.
-
Let parts cool completely before popping off, never pry or force parts off or you can take a chunk of your build surface off.
-
Finger oils and dust are prohibitors to adhesion, so keep your beds clean.
-
We have had success printing PLA, PETG, ABS, TPU, PP, and glass or carbon fiber filled PC and Nylon on our PEX build surfaces with no adhesives needed for bond. However for pure Nylon and PC its usually necessary to use a glue stick or Magigoo to get the part to stay down. You will need an enclosure when printing ABS, Nylon, PC and other high shrinkage materials.
- Should your PEI, Powder Painted PEI, or PEX ever lose some of it's grip you can revitalize with acetone (use gloves and eye protection) and steel wool
-
-
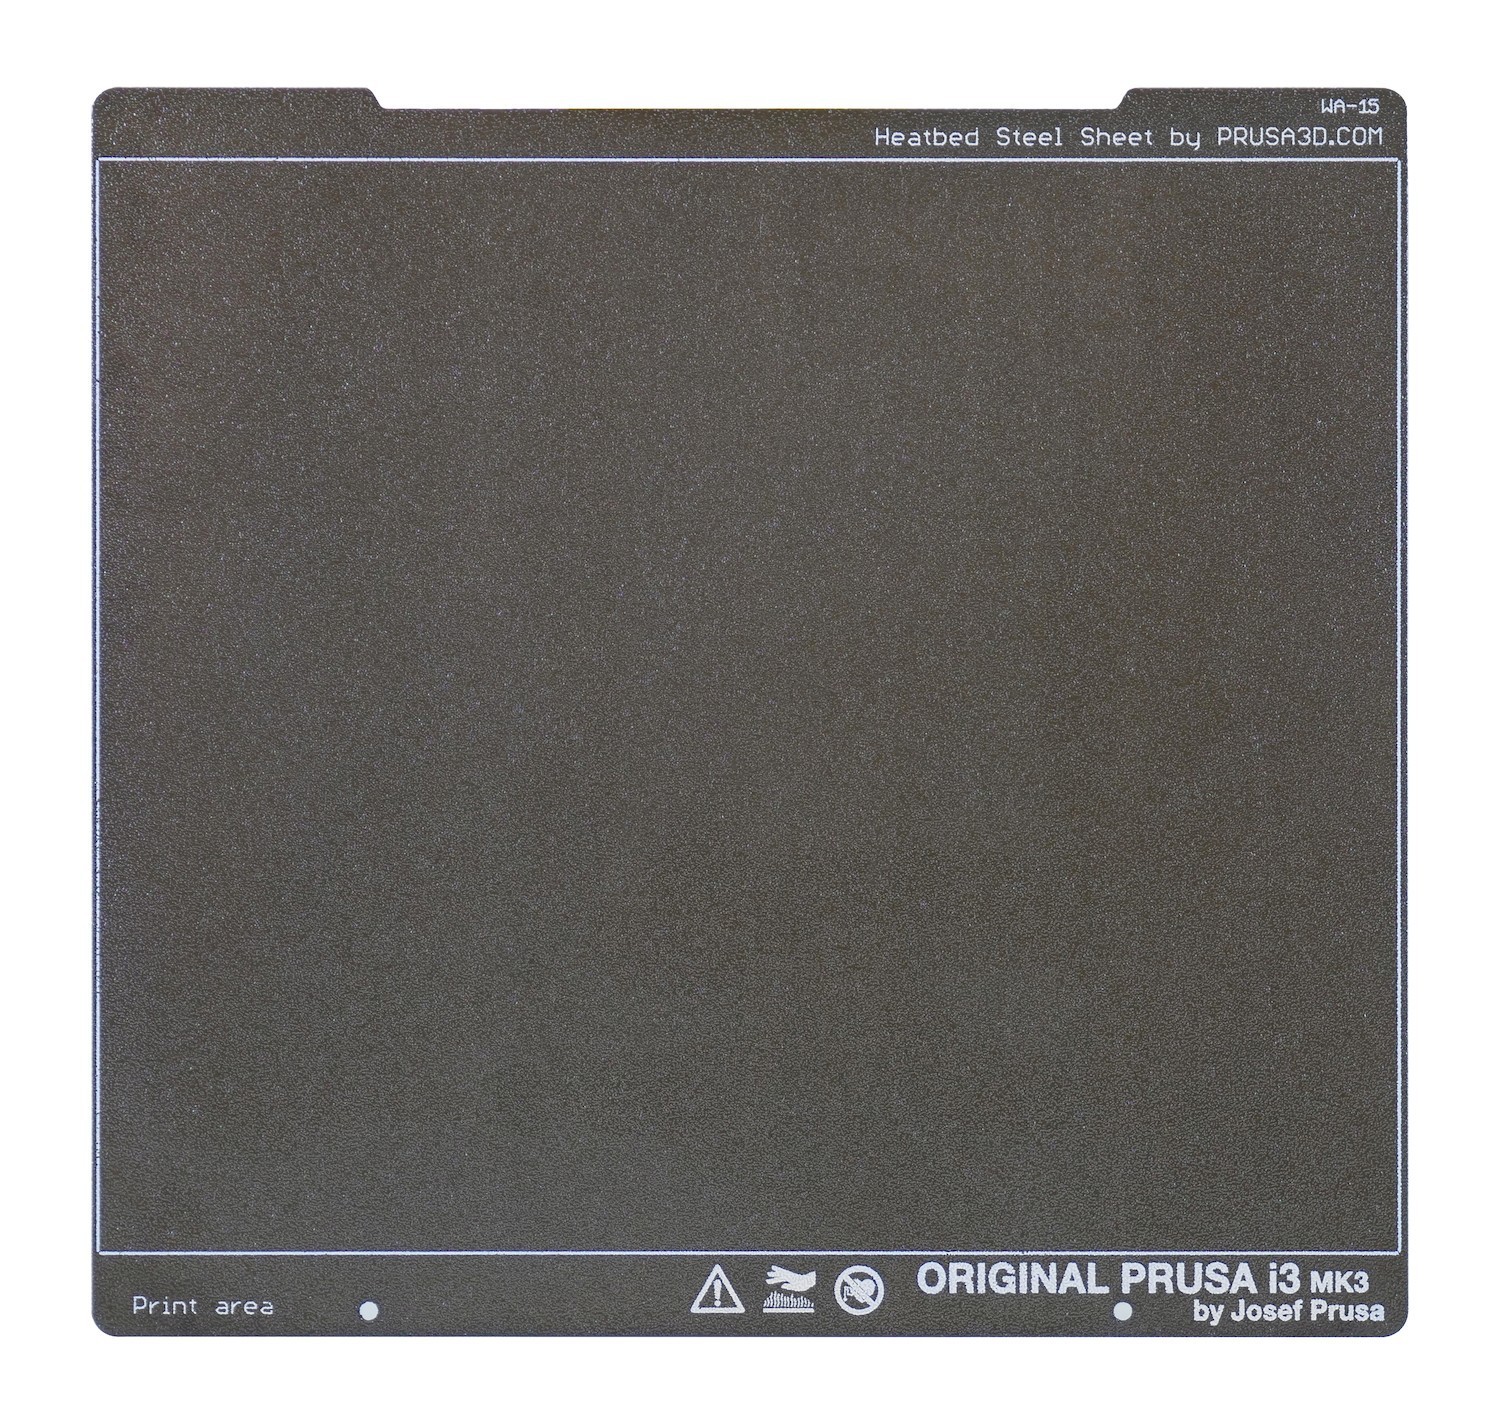
Prusa - Textured PEI
- Worked for PLA, TPU, PETG, ABS, ASA, HIPS, PC, PP, PA6, PA11, and PA12 (No issues on any filaments yet)
- Maximum Bed Temperature 170c (Max Working Temp for PEI)
- Double Sided but will degrade with hard use (Any adhesive seems to reduce wear)
- Prusa's moderately textured surface allows it to be refreshed after , maintaining excellent useful lifetimes
- Non-Acetone adhesives Only!
- No ABS Juice(No Acetone)
- Most adhesives are OK (Magigoo, Vision Miner, Glue Stick, Hair Spray, etc.)
- My Opinion - I love the textured bottom surface regardless of which brand!
-
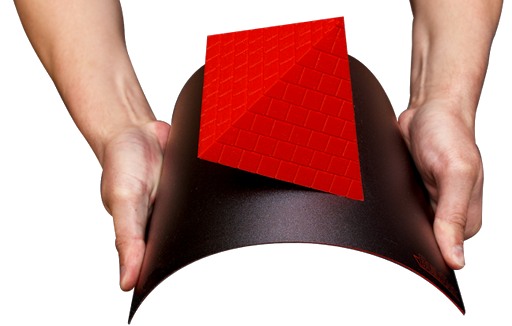
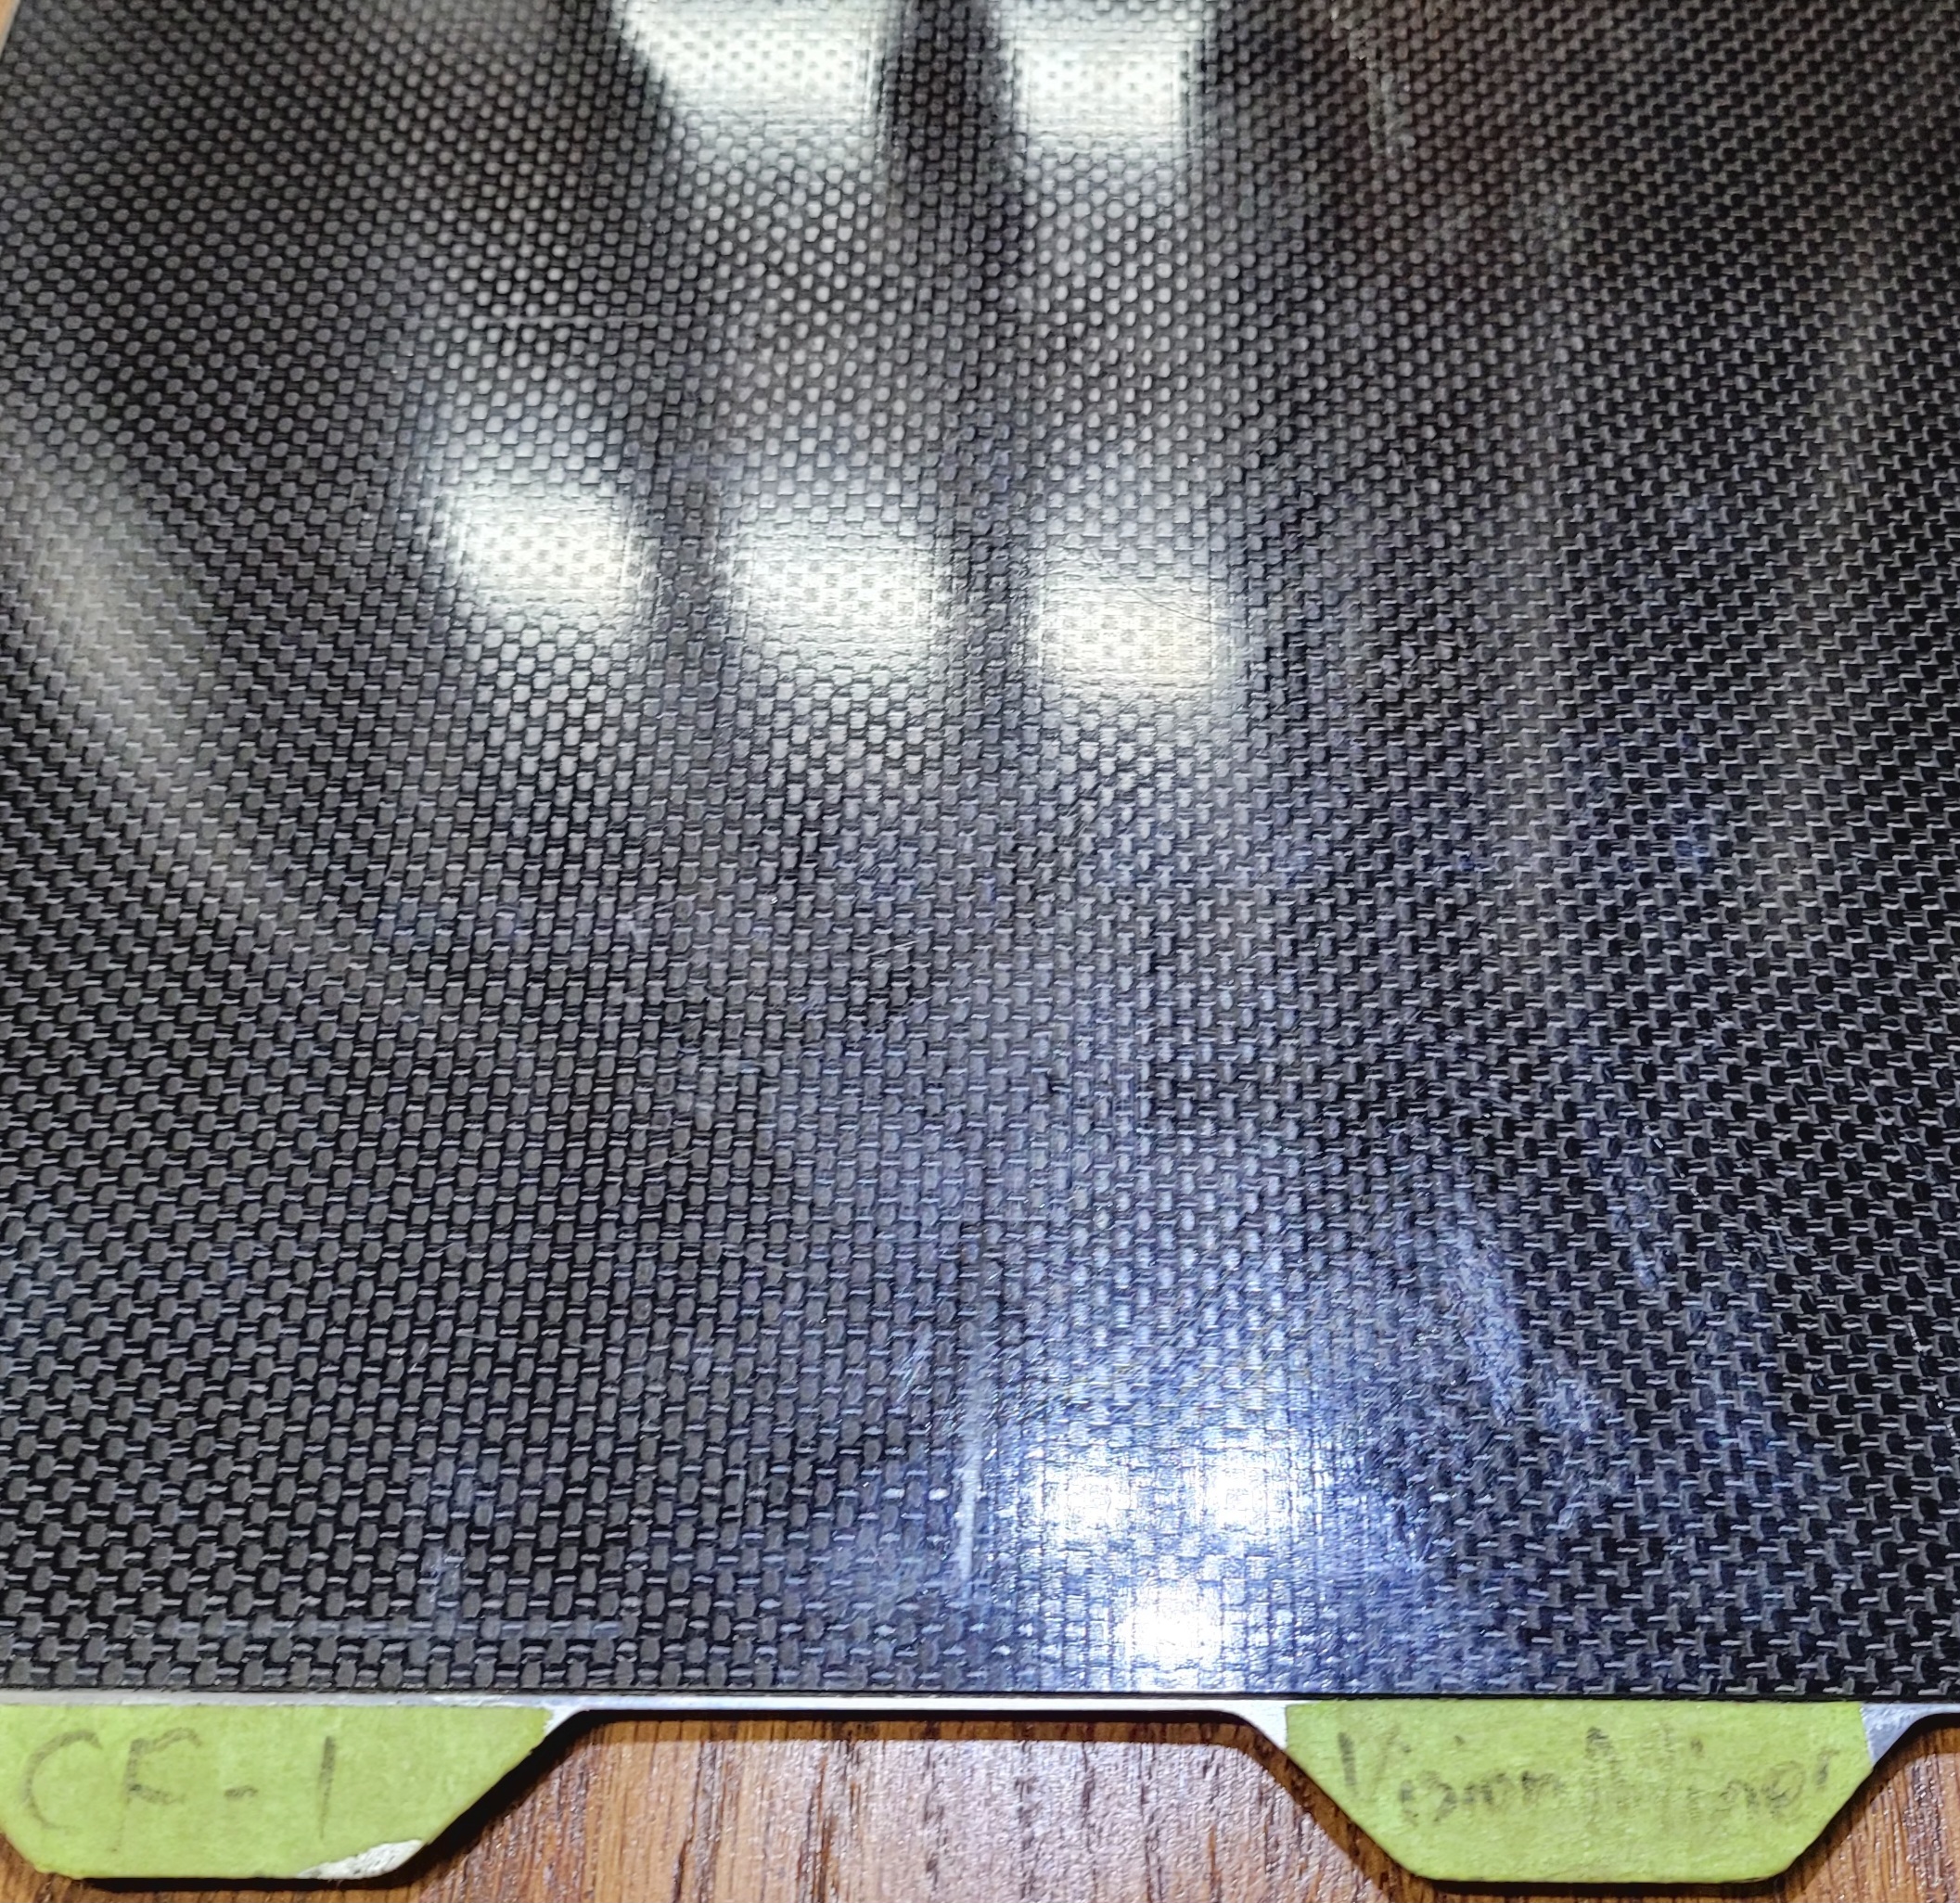
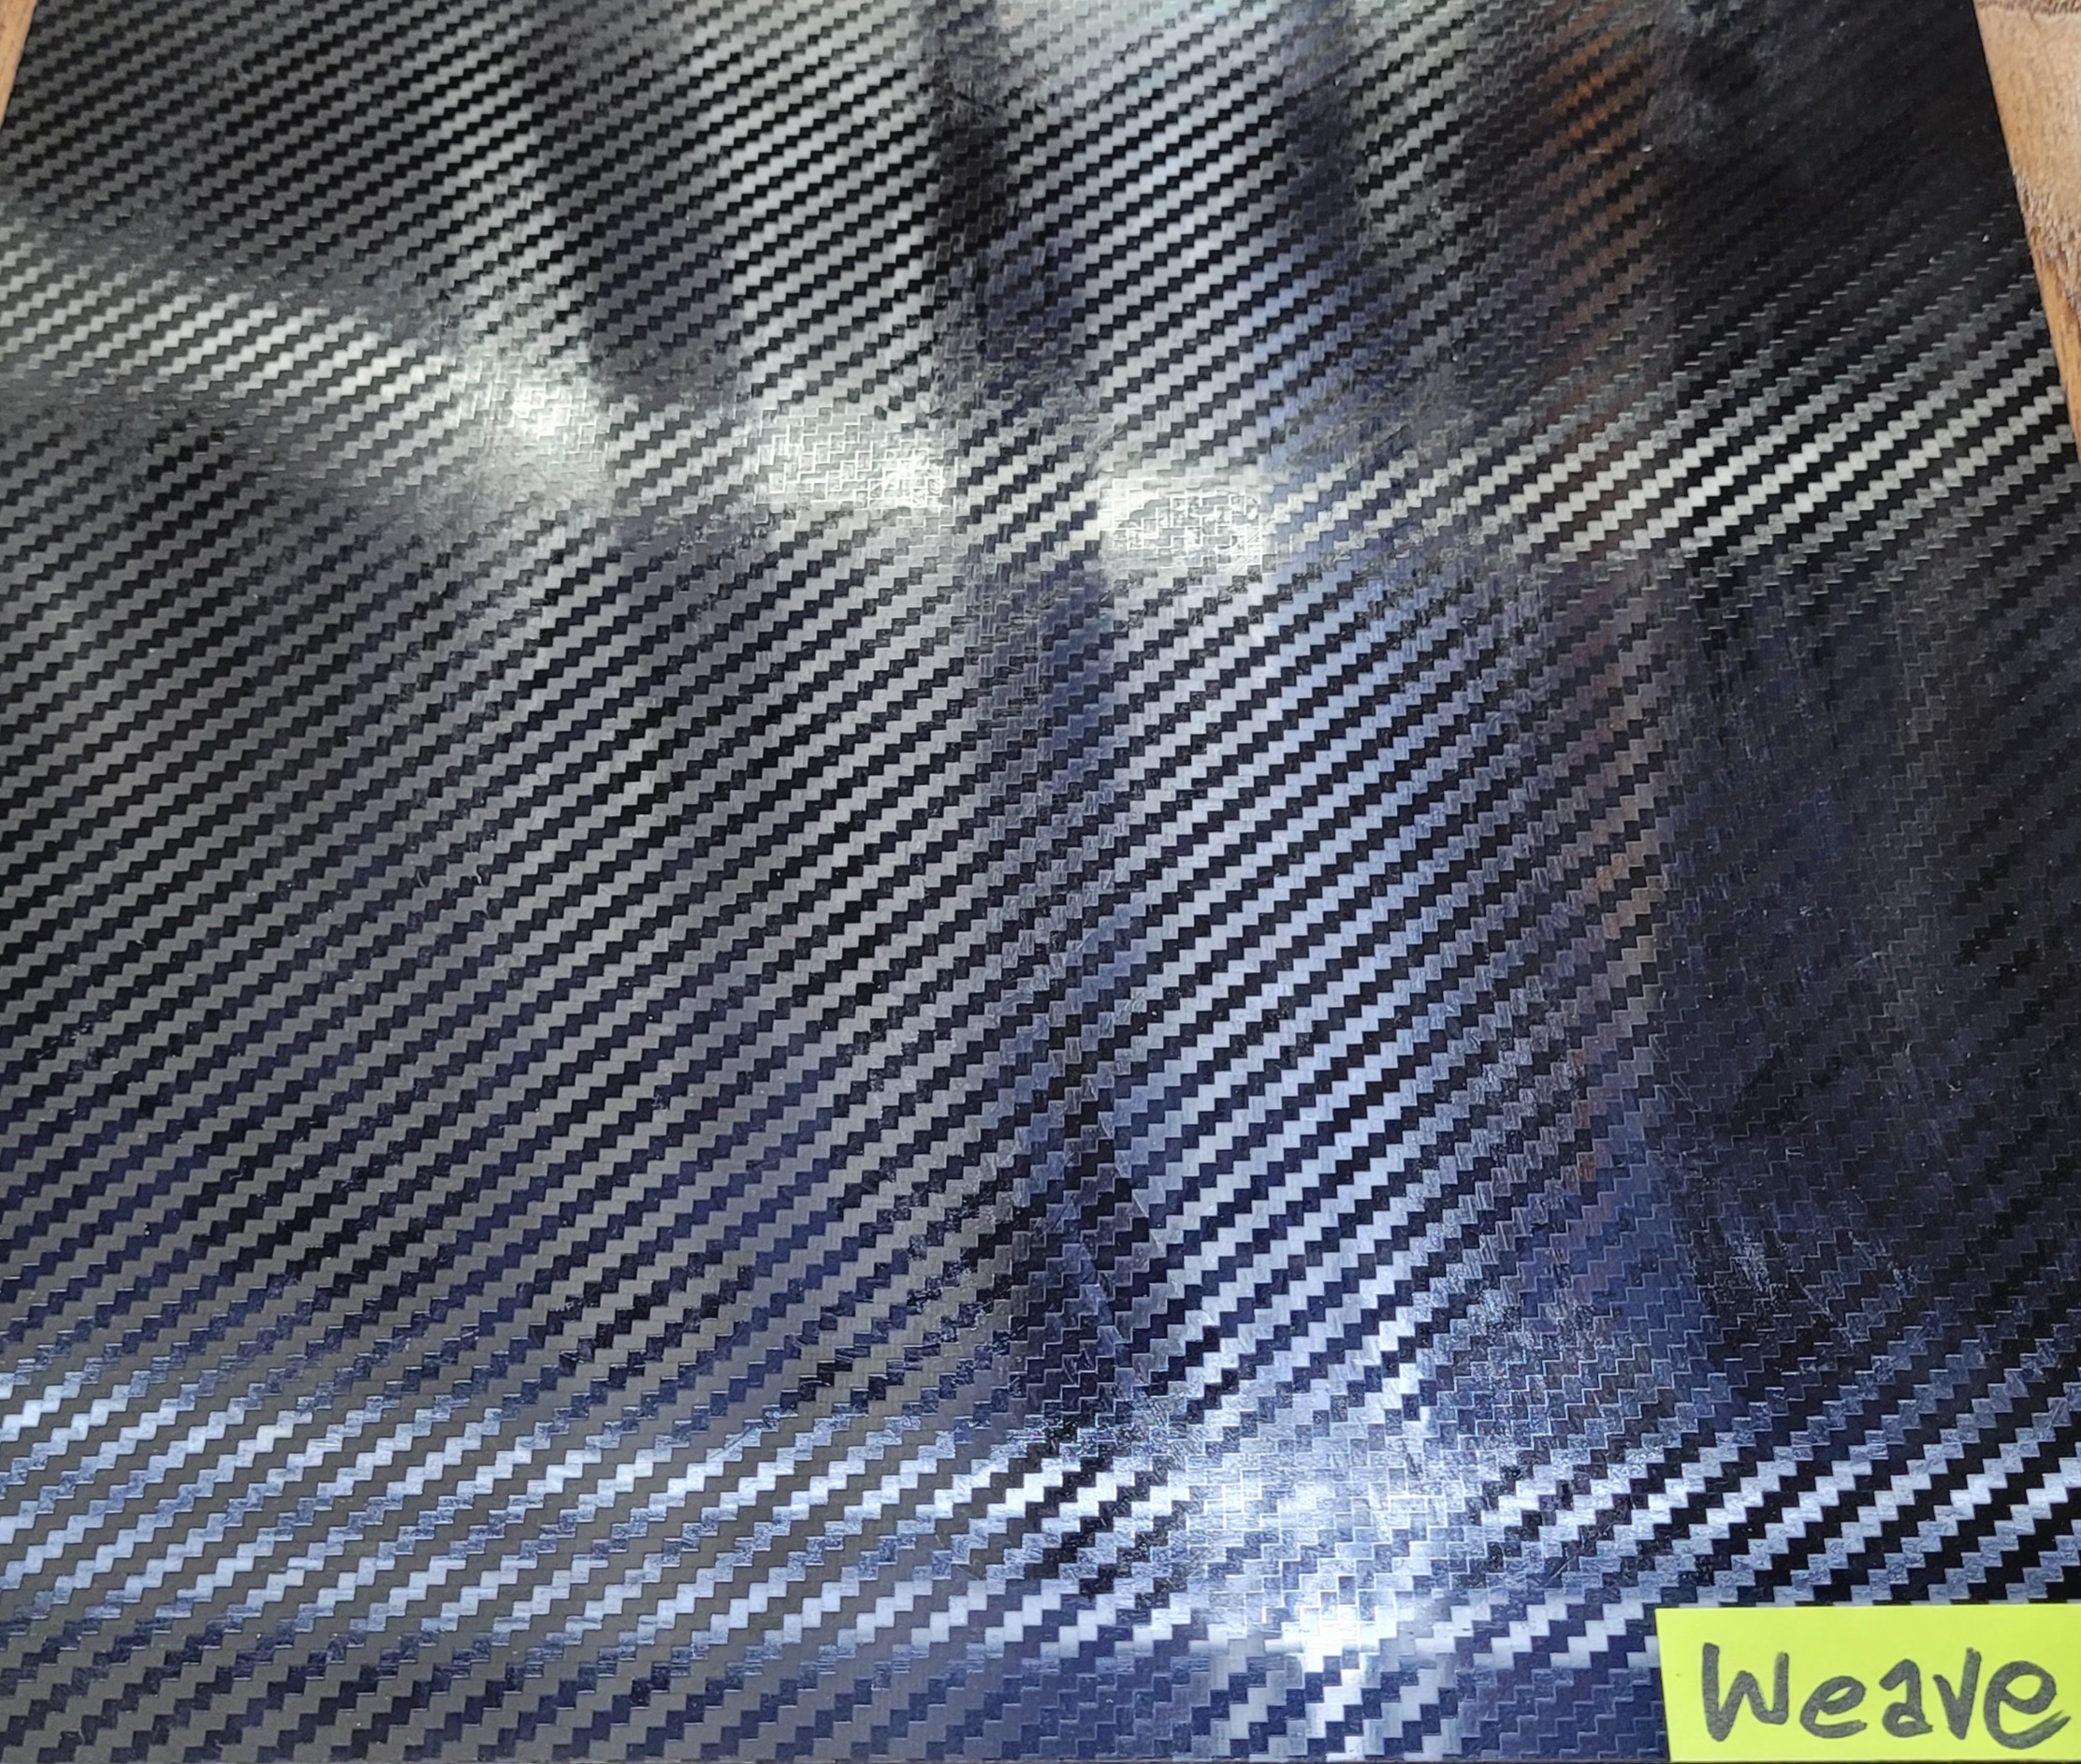
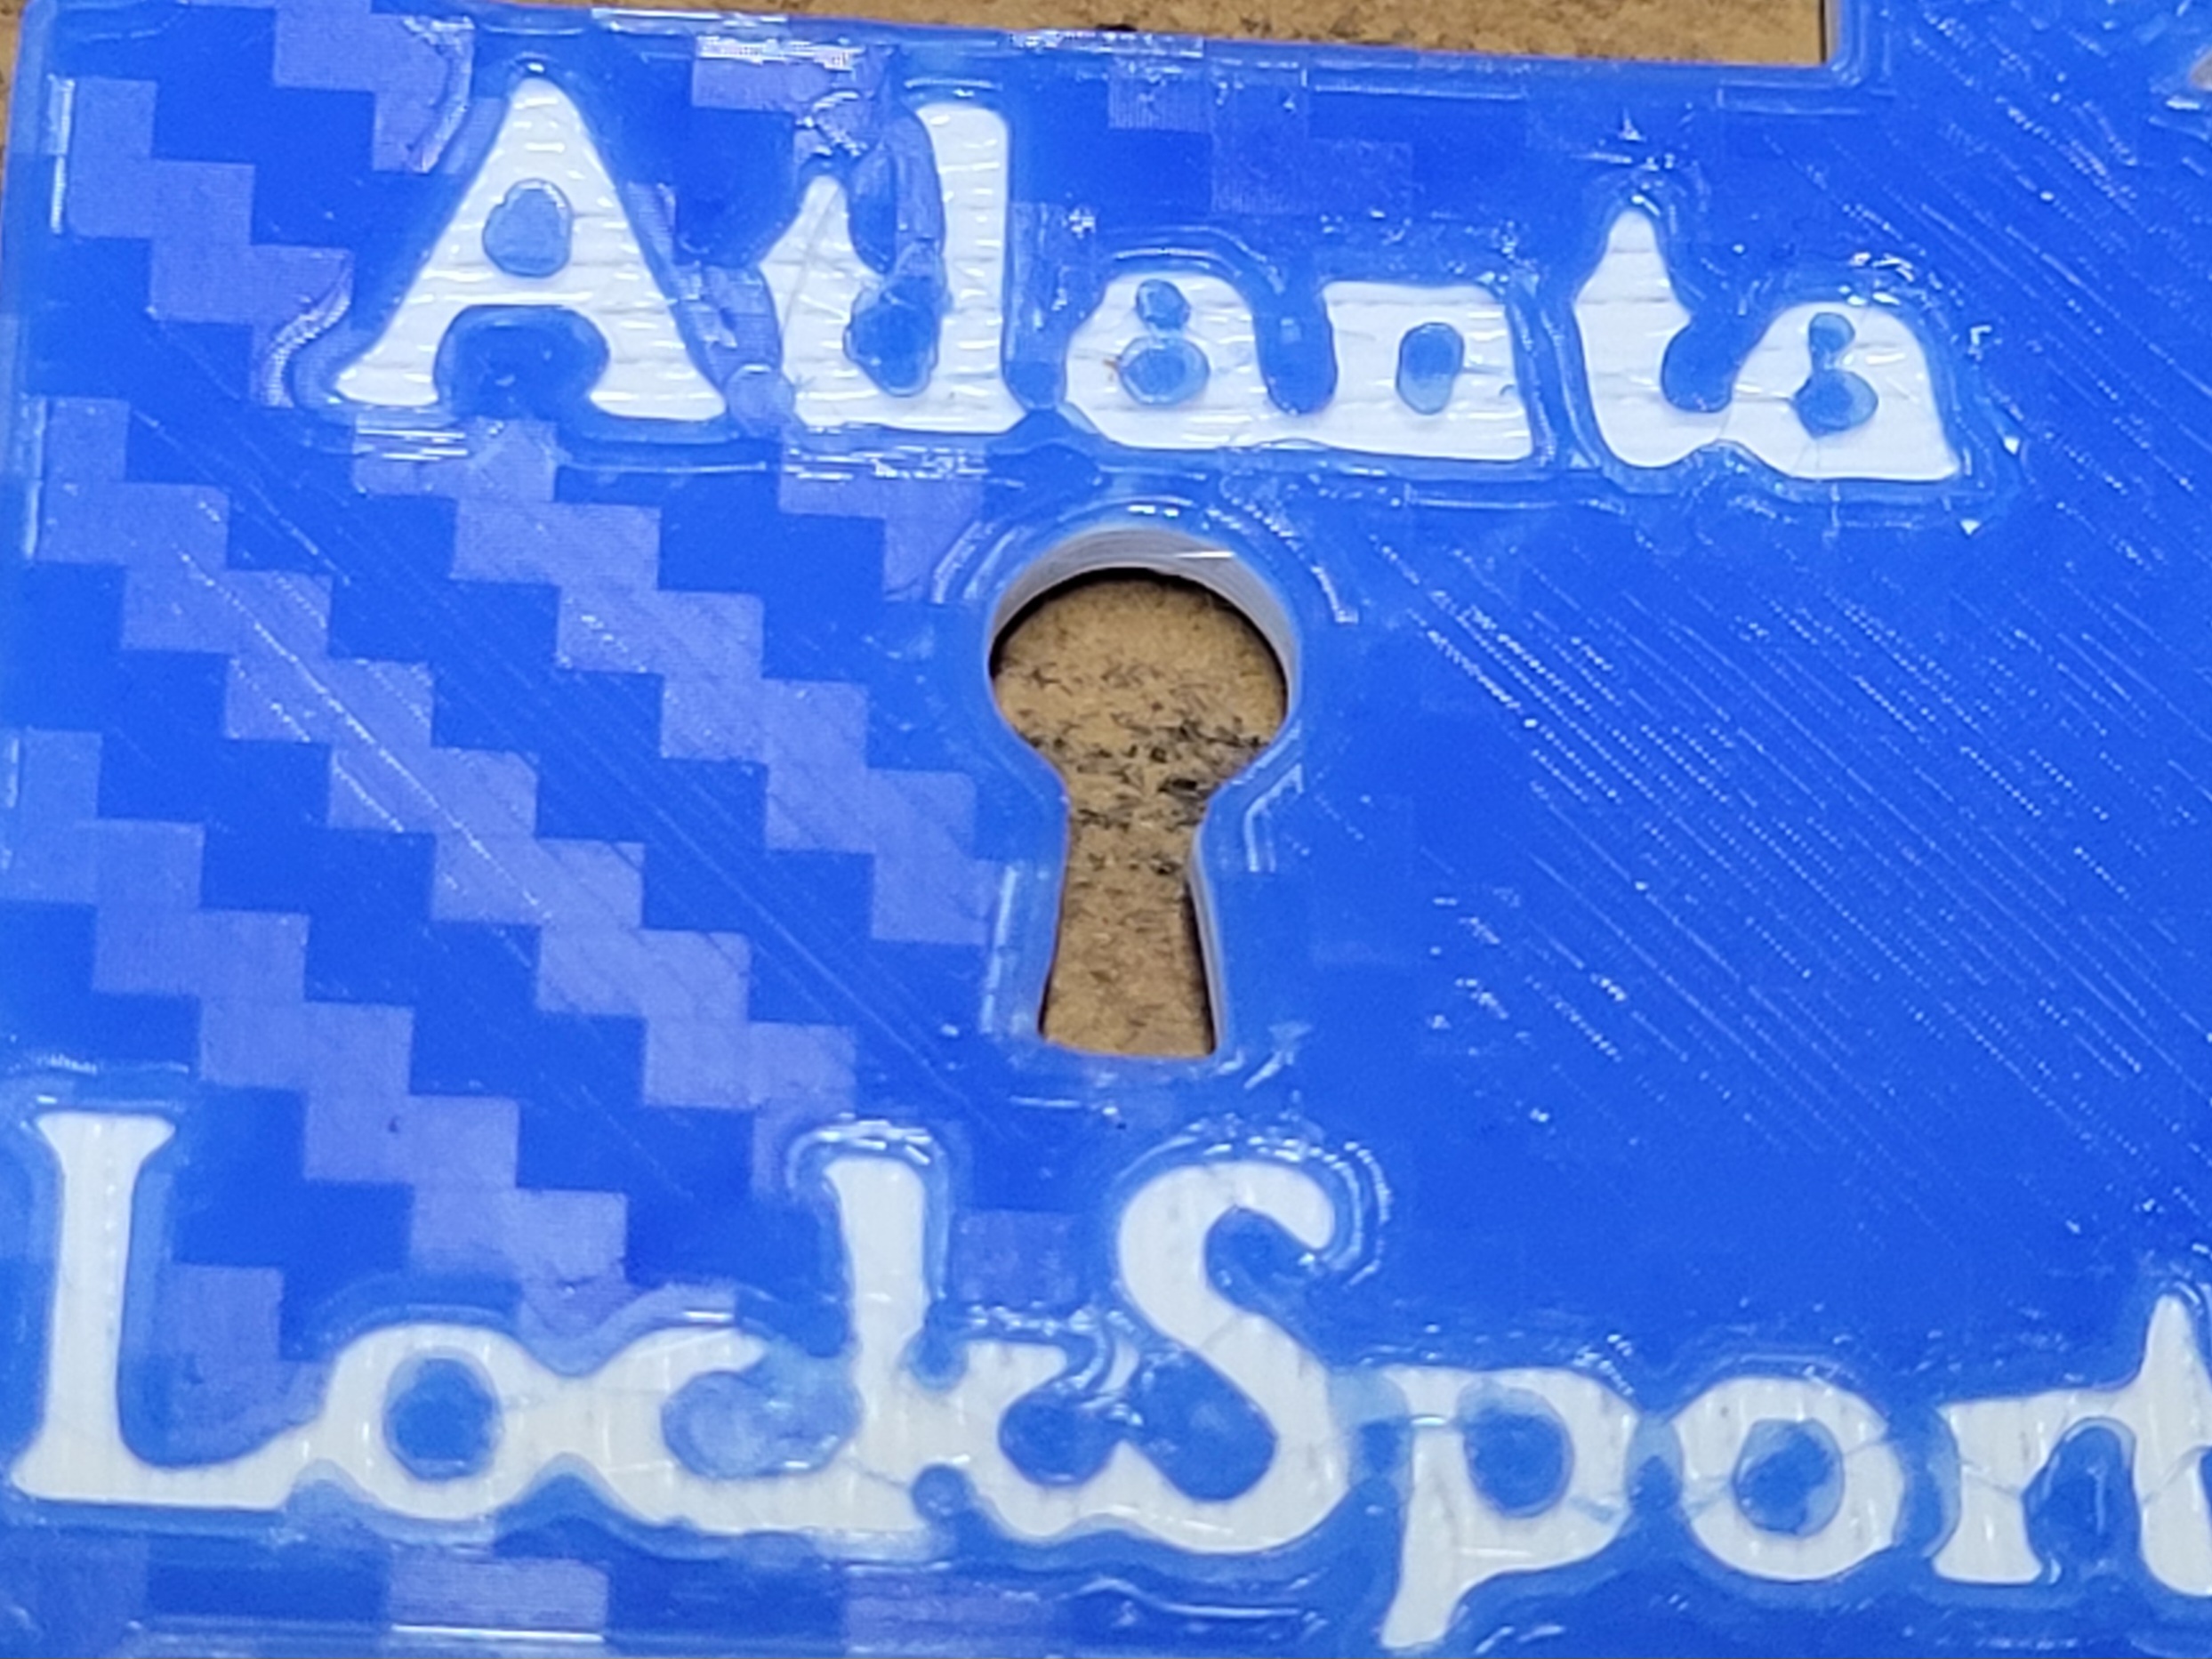
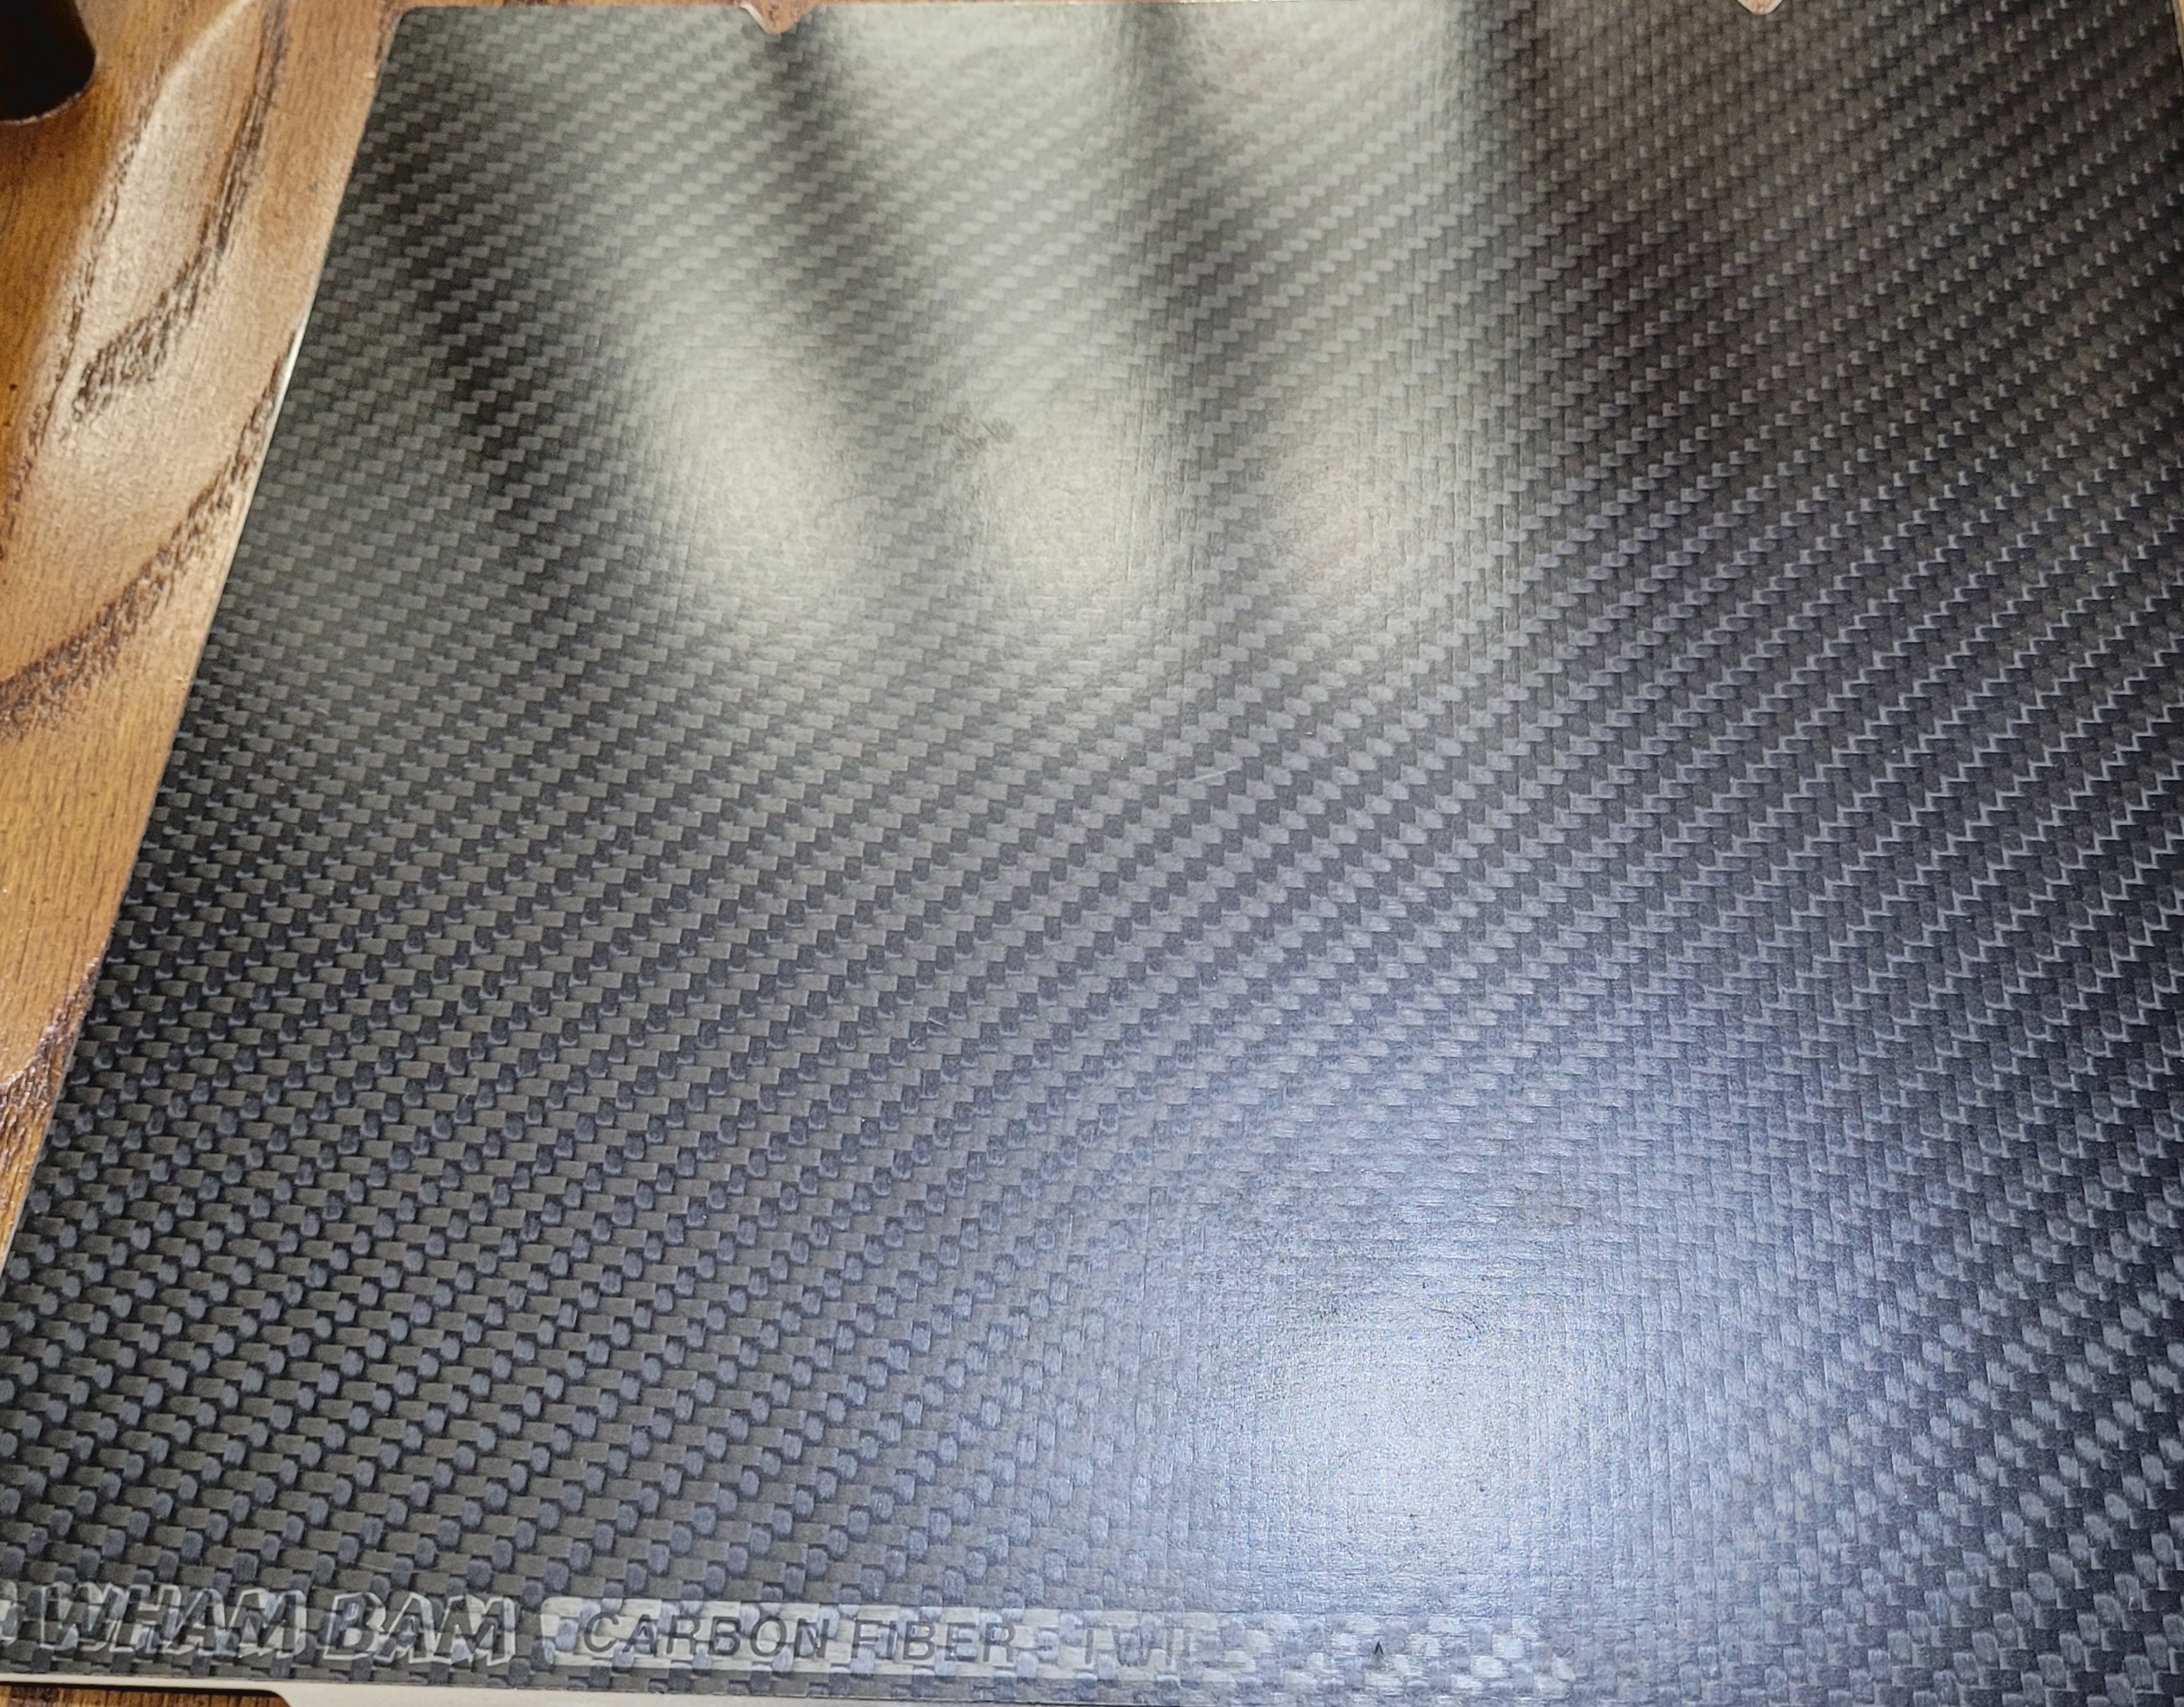
Carbon Fiber Twill - Smooth
- Worked for PLA, TPU, PETG, ABS, ASA, HIPS, PC, PP, PA6, PA11, and PA12 (No issues on any filaments yet)
- Maximum Bed Temperature 150c (3M Adhesive Max Temp)
- Can be refreshed with sandpaper as it ages for longer life
- Any type of adhesive can be used
- Very Flat with a light weave pattern texture showing on print bottoms
- My Opinion - It works for me, almost as if it were a flexible glass sheet (Bottom surfaces not quite as shiny)
-
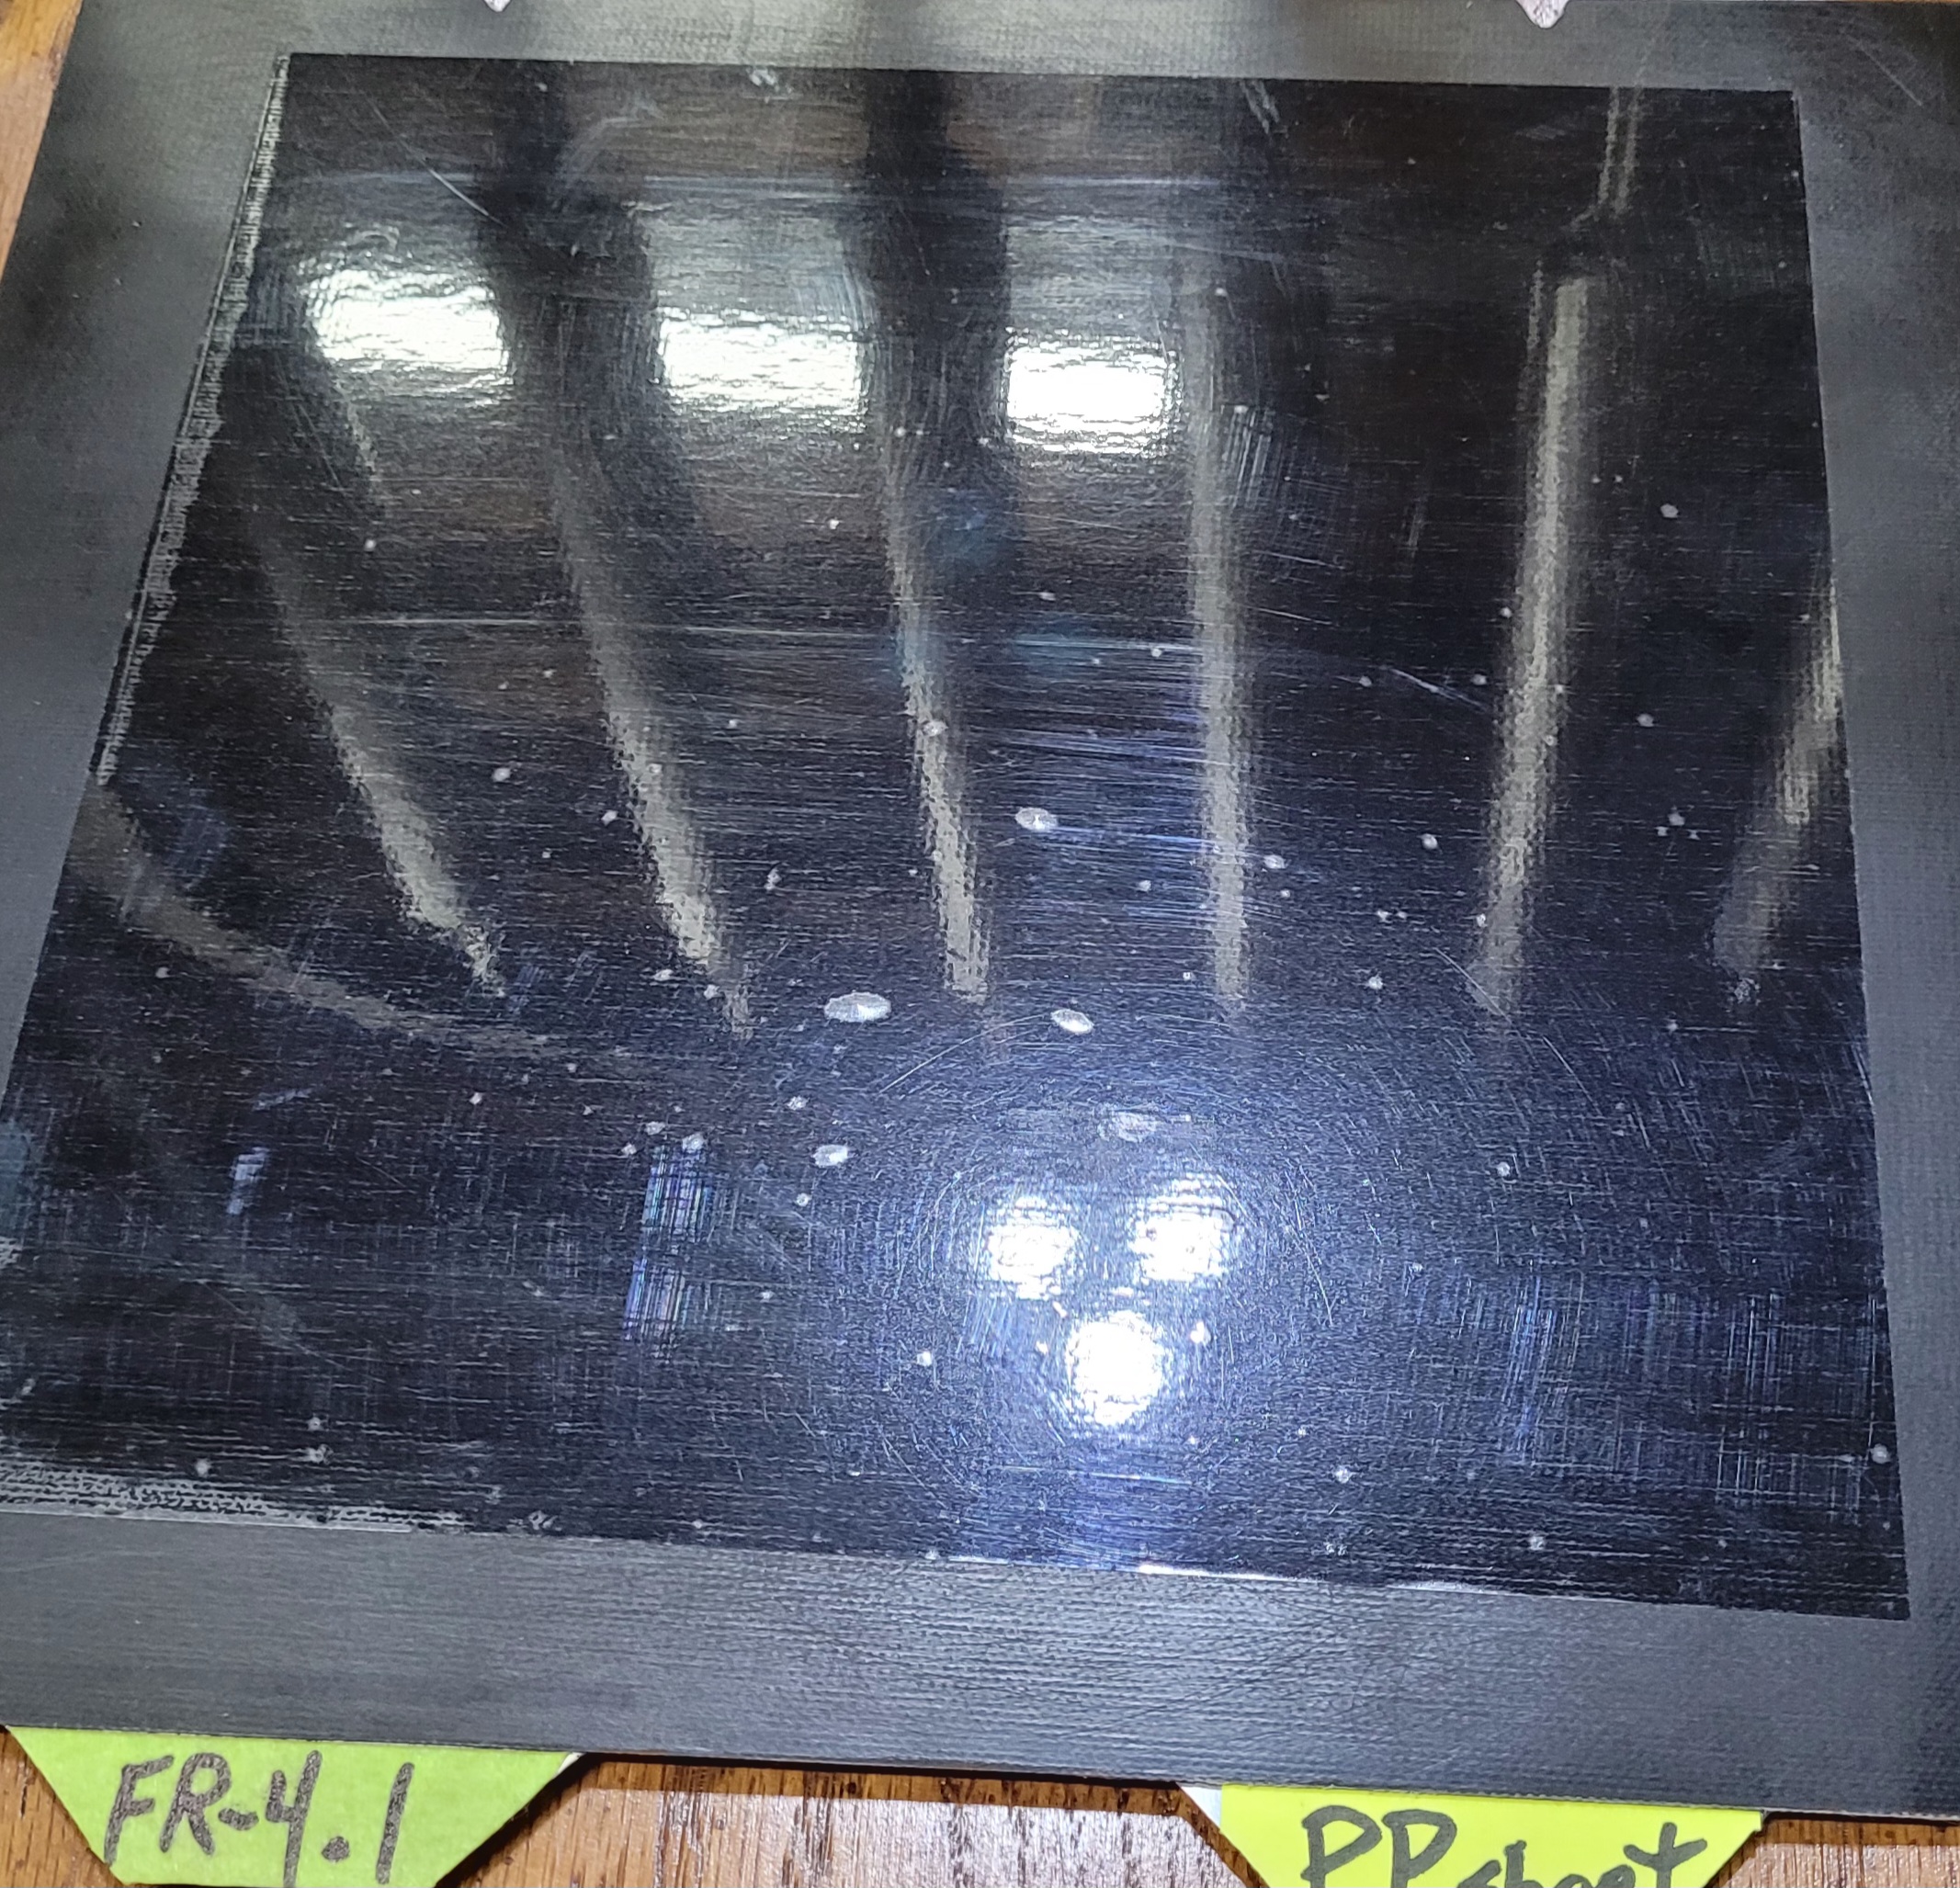
FR-4 (Glass-Reinforced Epoxy Laminate)
- SHOULD work for any filament (My experience was not good, but many other people have had success!)
- Maximum Bed Temperature 150c (3M Adhesive Max Temp)
- Can be REPEATEDLY refreshed with sandpaper as it ages for a very long life
- The material is very durable and would likely last much longer compared to a PEI/PEX/PC/etc. surface
- Any type of adhesive can be used (very few solvents can hurt this stuff IE: circuit boards)
- Begins Very Flat, but mine had a waxy surface finish that no filament would stick to
- Sanded with p500 paper to refresh the surface (circular scratch pattern)
- Washed with several solvents between sanding (Ethanol, Methanol, Isopropanol, Acetone, Xylene, etc.)
- Same finely textured surface finish on bottom of prints with thin print adhesives
- My Opinion - I MUST be doing something wrong! Everyone I know, that has used true FR-4 print surfaces, love and use it regularly...
- Adhesives were required to even consider having any material stick down to it.
- I also tried a friend's USED and working print sheet of the same material... it sucked for me, but still works great for the owner...must be me.
-
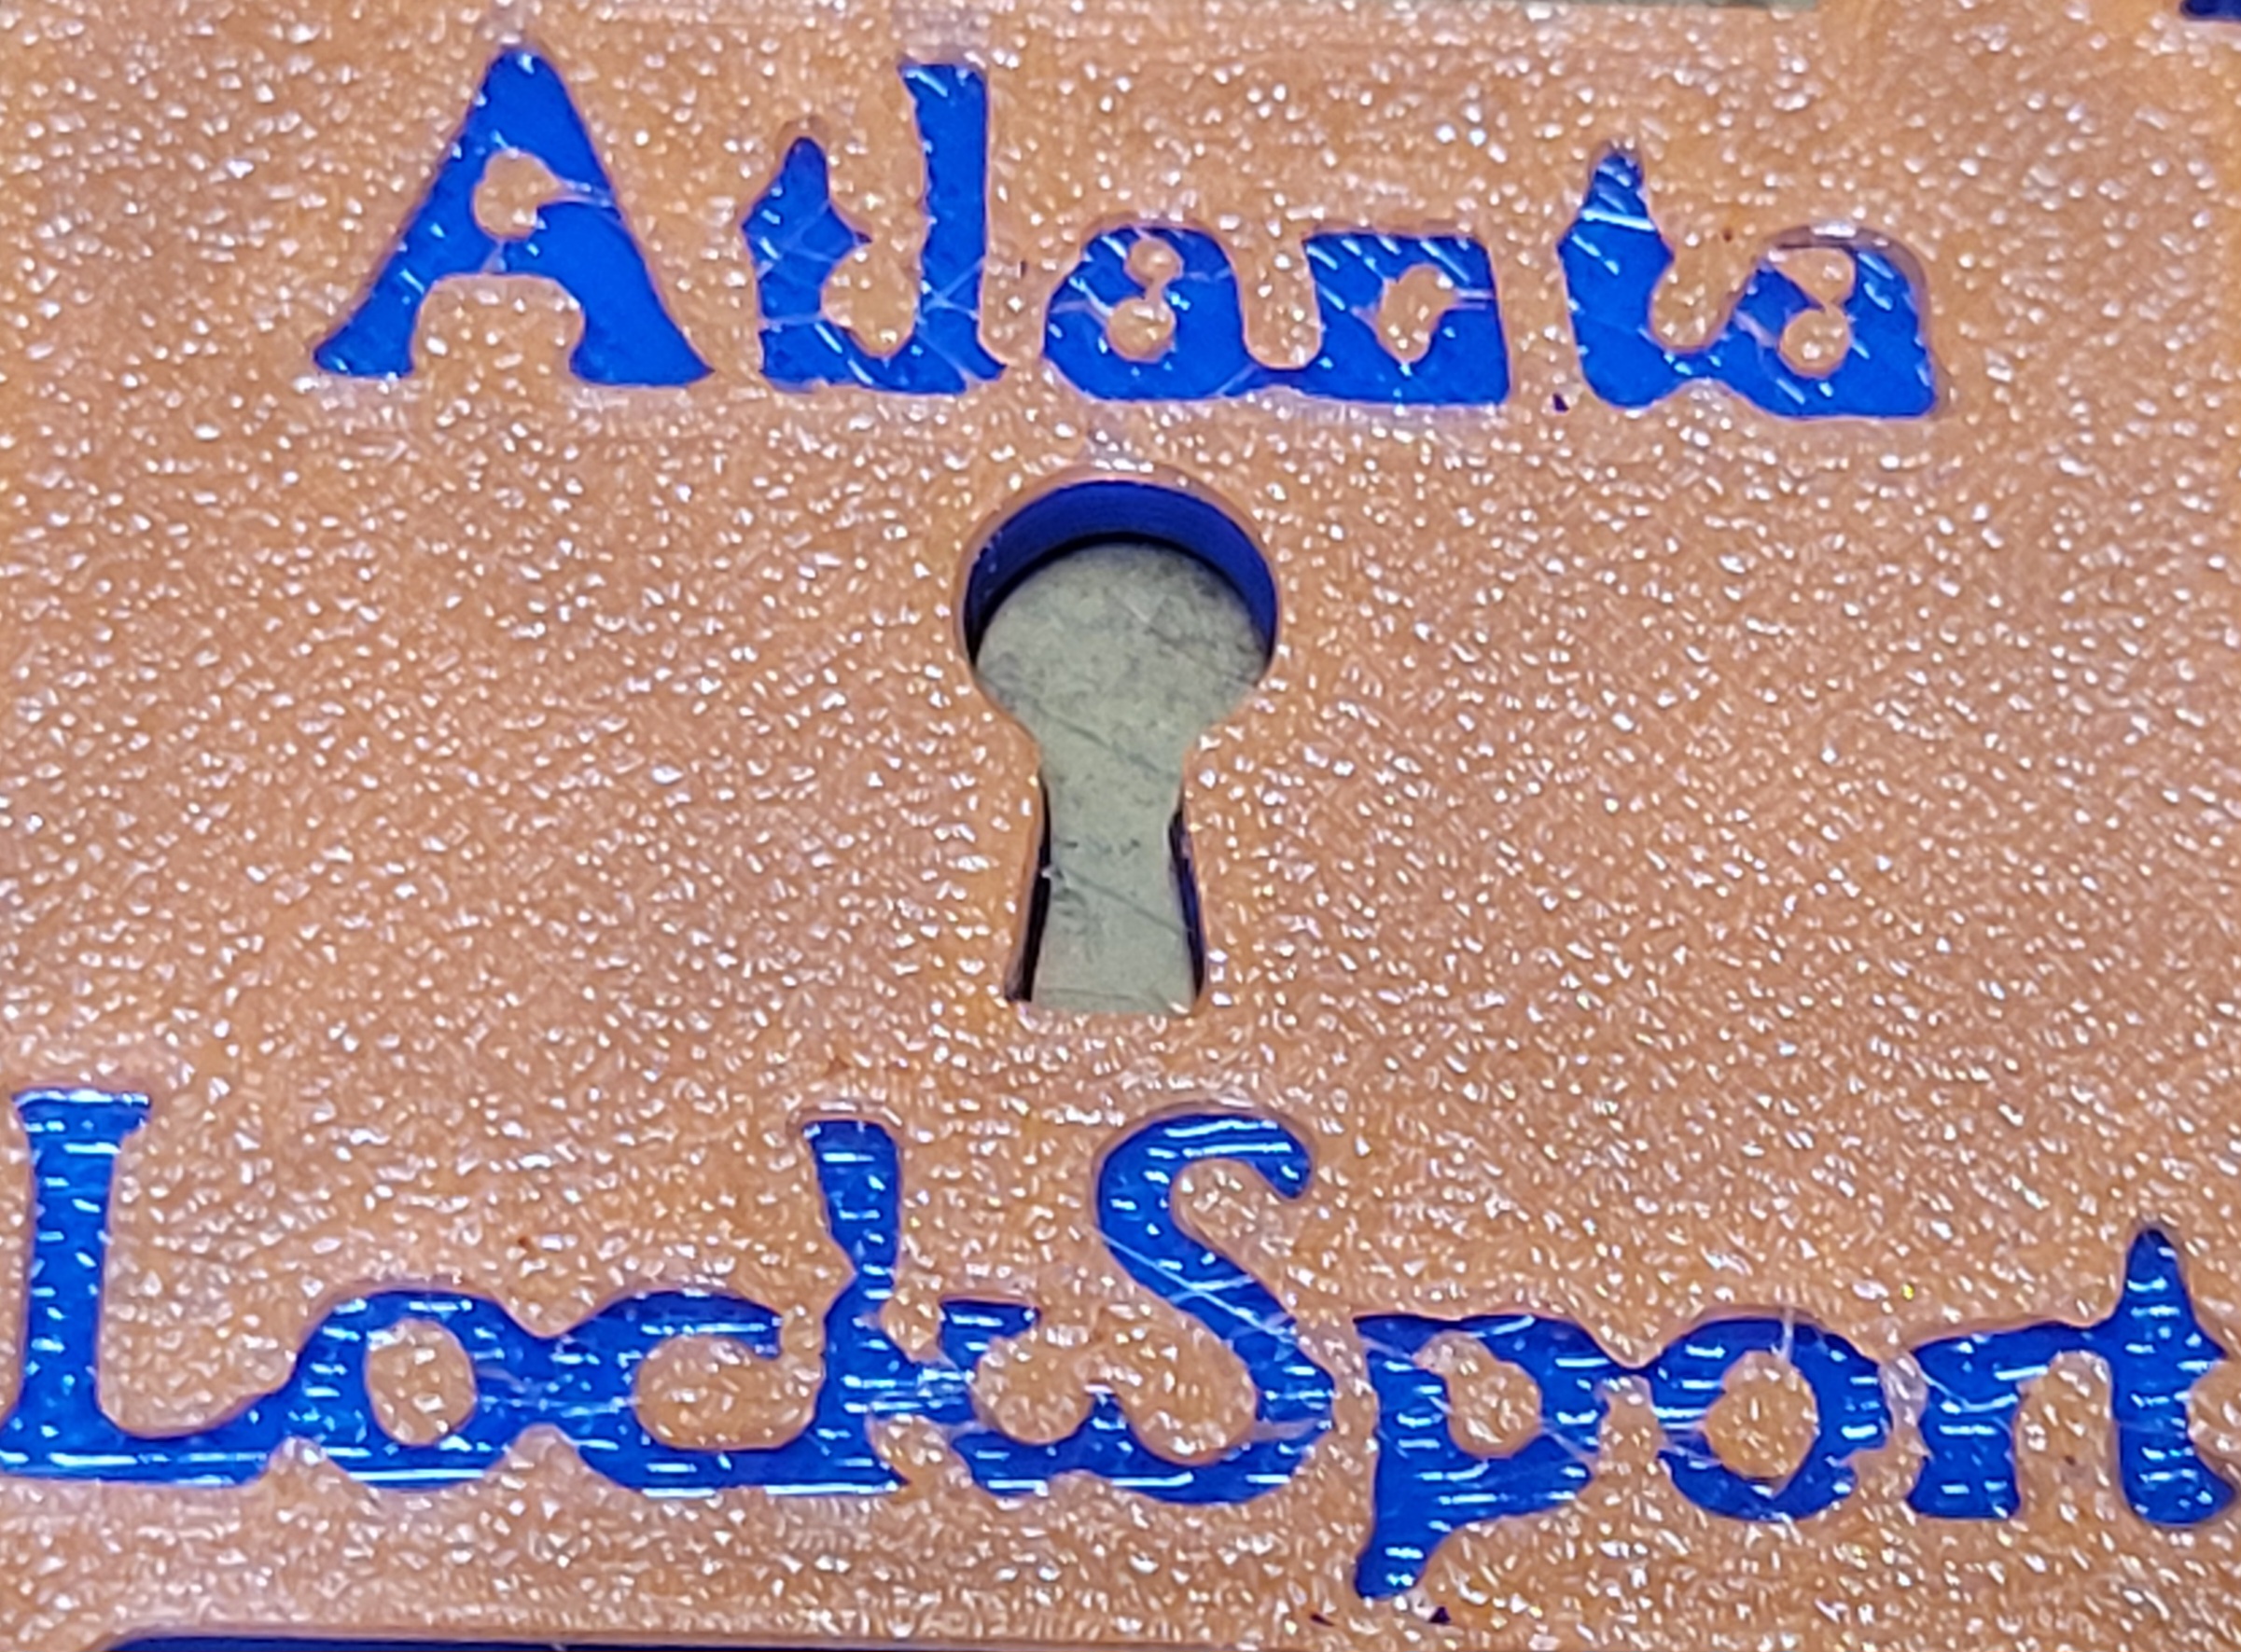
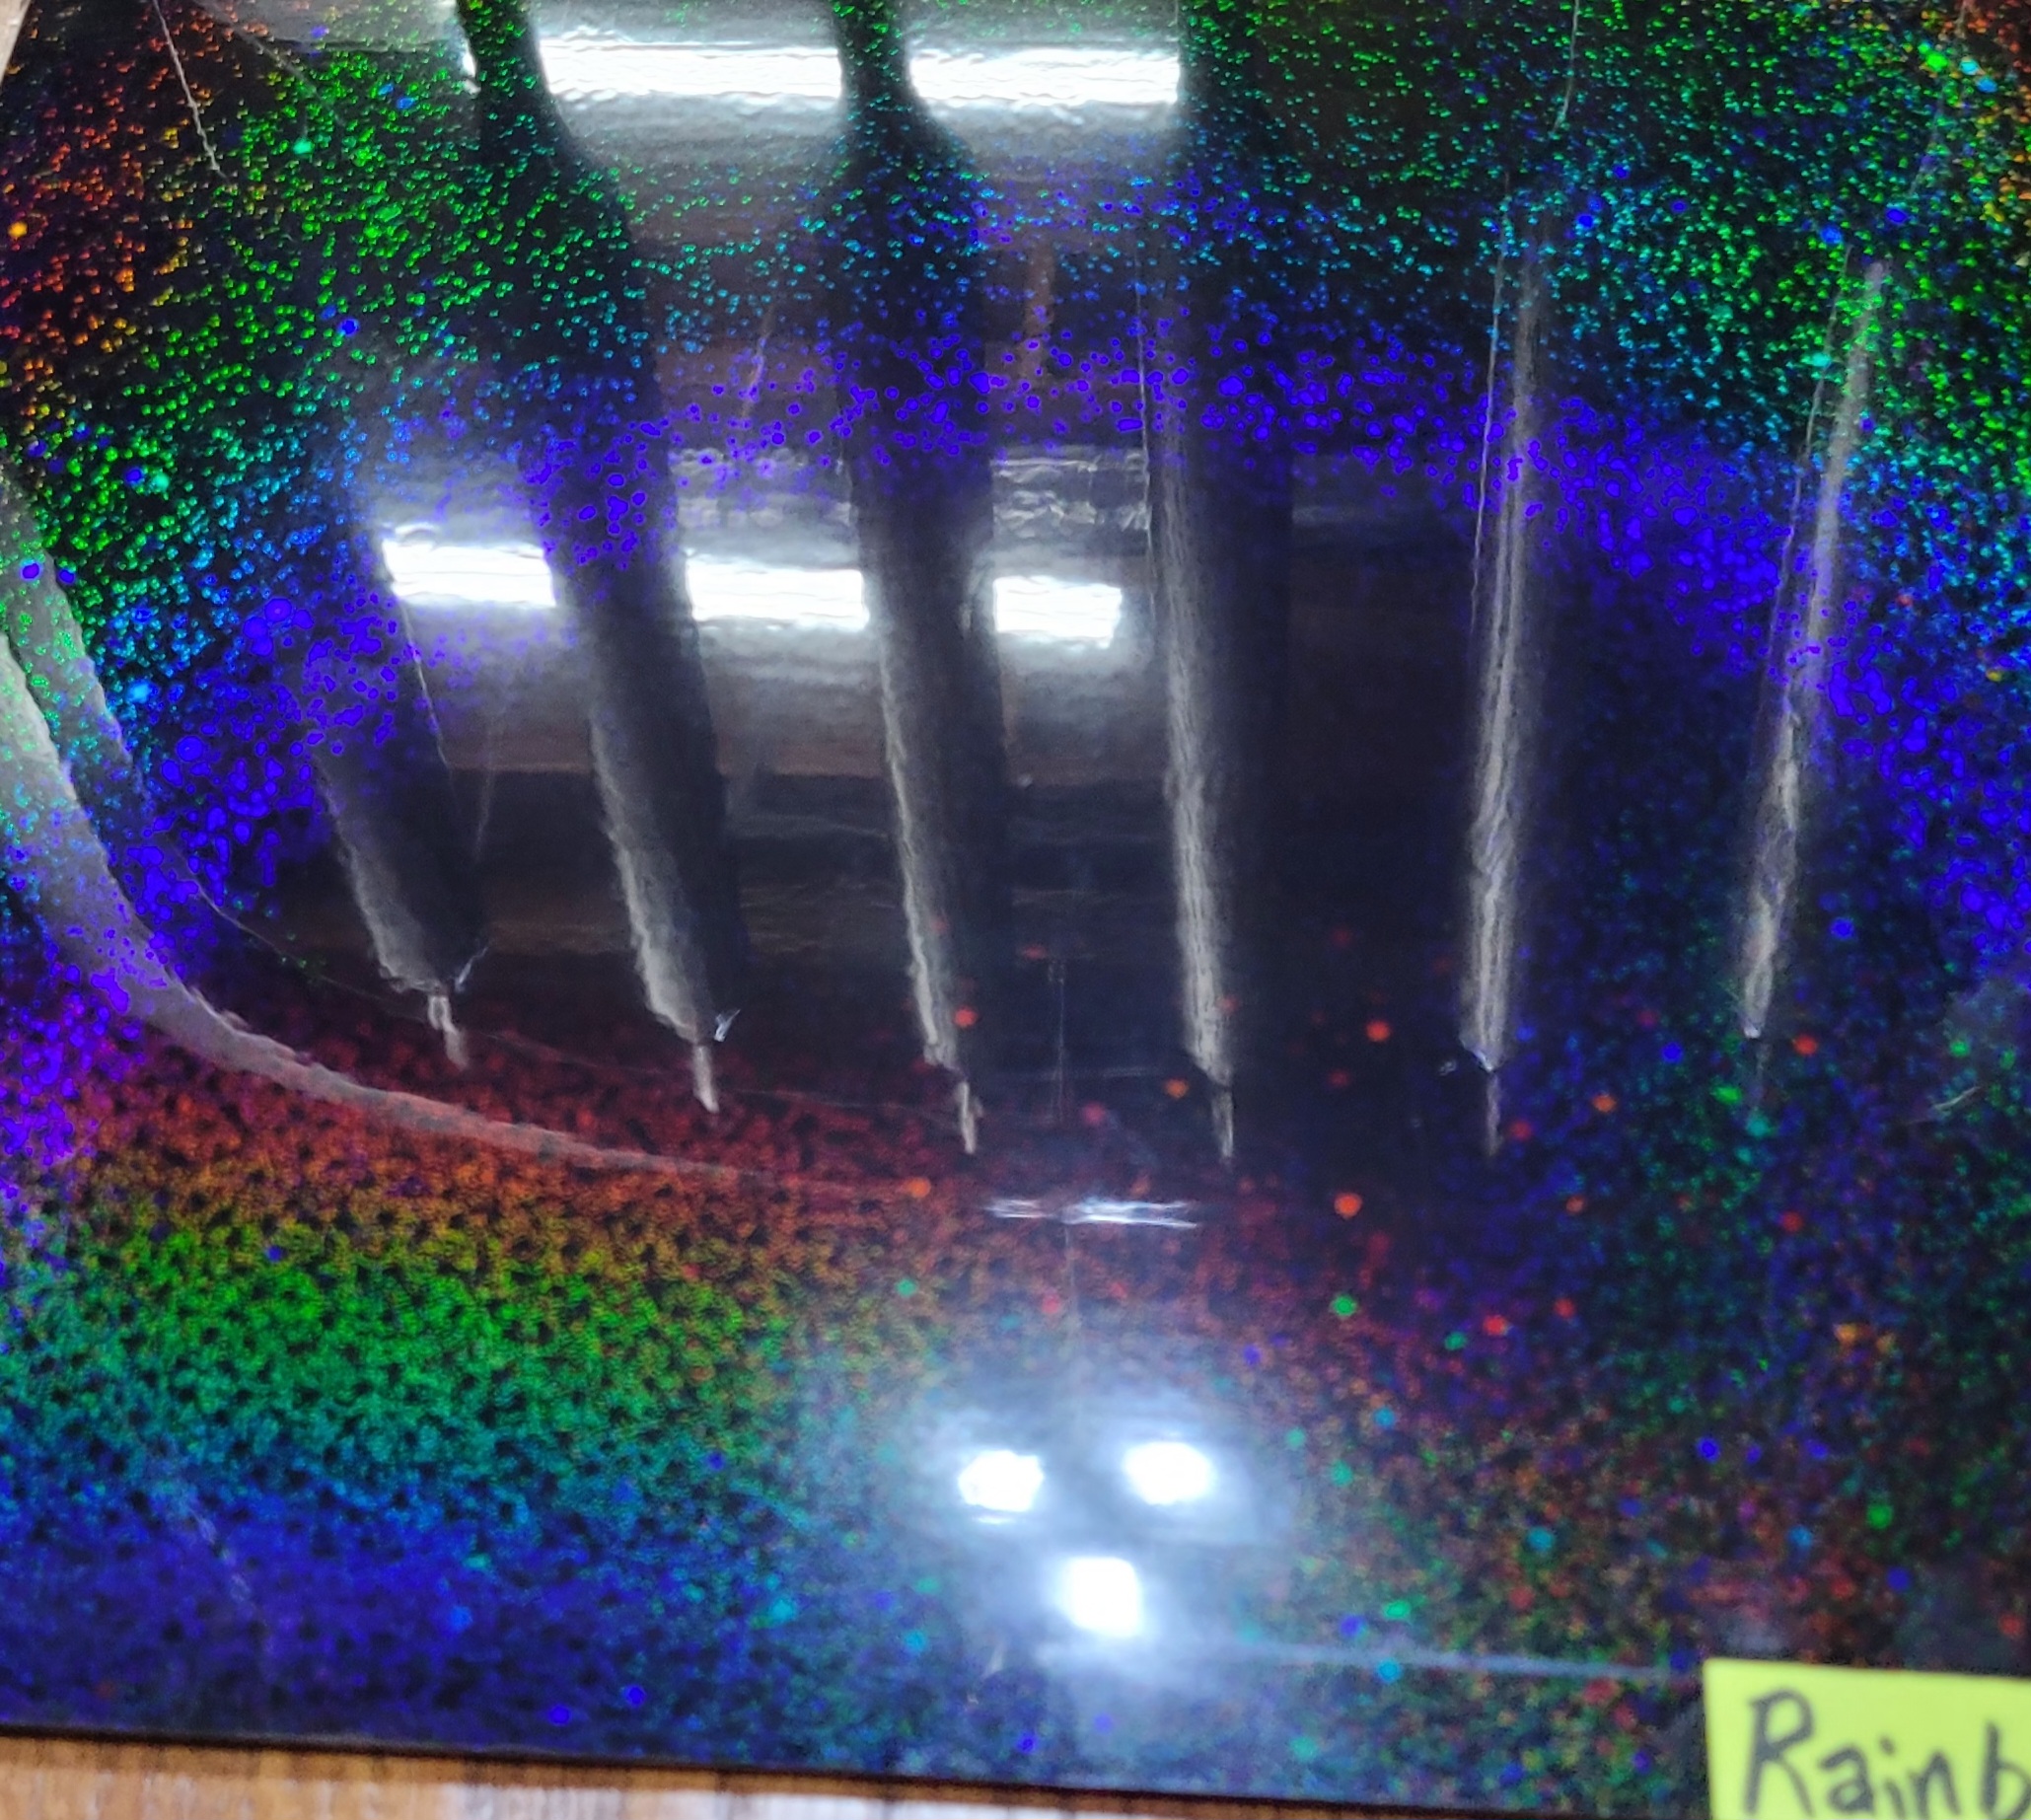
Rainbow Texture PEY / Powder Coat Textured PEI Spring Steel Sheet
- The imprinted texture is both striking and subtle, it appears similarly holographic compared to a CD or DVD (similar "micro-texture")
- This pattern appears more subtle on Lighter colors
- Silk and other "effect" materials don't seem to add anything extra to this pattern
- This will be a low temperature sheet (<80c) at least until this cool surface has past it's usefulness
- PLA not recommended,
- I had to use a printing adhesive to solve warp problems, which meant the hologram washed off with the adhesive
- PETG works awesome with this sheet
- No adhesives needed and imprinted pattern looks great!
- PLA not recommended,
- I have not tried the powder coated textured PEI side yet...
- Aggressive textured surface, this style usually trades its excellent adhesion for a somewhat reduced lifetime
- My Opinion - This adds a beautiful something extra to a glassy bottom surface, well worth the <$20 price tag
- The imprinted texture is both striking and subtle, it appears similarly holographic compared to a CD or DVD (similar "micro-texture")
-
"Circles" Spring Steel Sheet
- Everything except the pattern is the same as "Rainbow" sheet above

-
Weave Texture PET / Powder Coated Textured PEI Spring Steel Sheet
- New to me
- I am looking forward to printing a face-plate of some sort, just to see how the faux-carbon fiber weave texture transfers onto the print surface
- I'm intending to keep this under the 100 degree Celsius maximum temperature, at least until the rainbow surface has worn out... then I can peel the PET off and use the PEI side for higher temperatures
- New to me
-
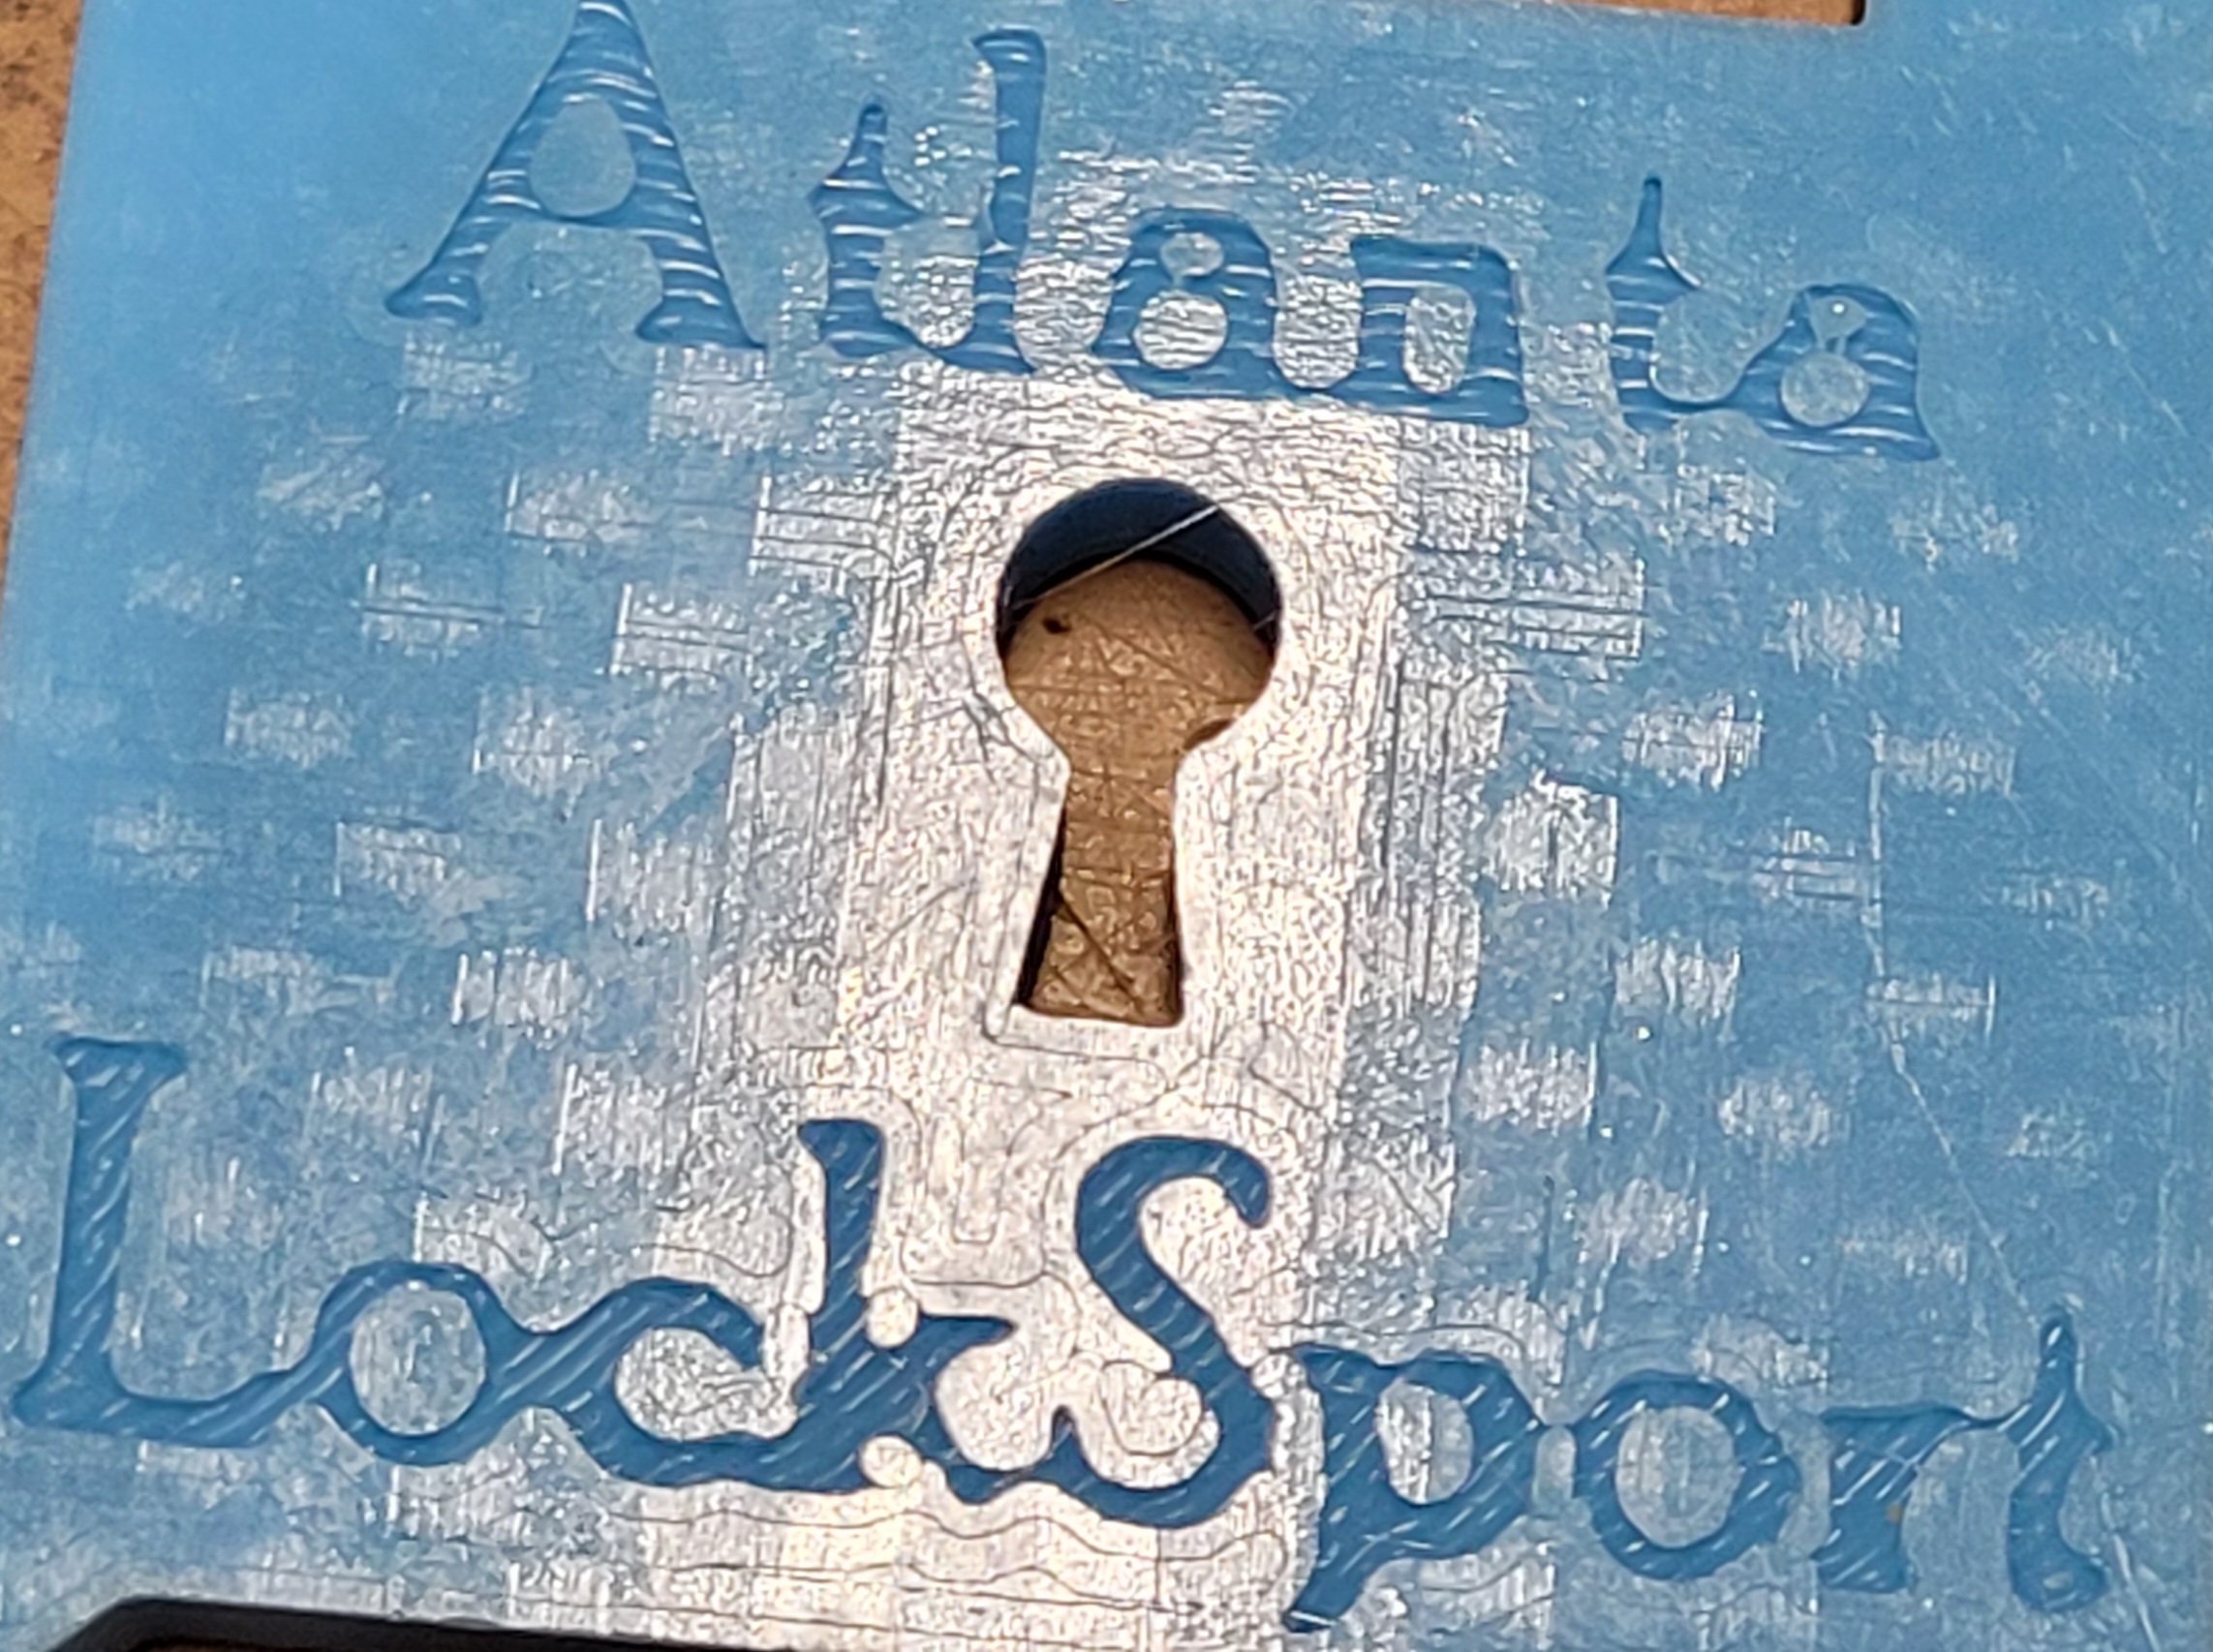
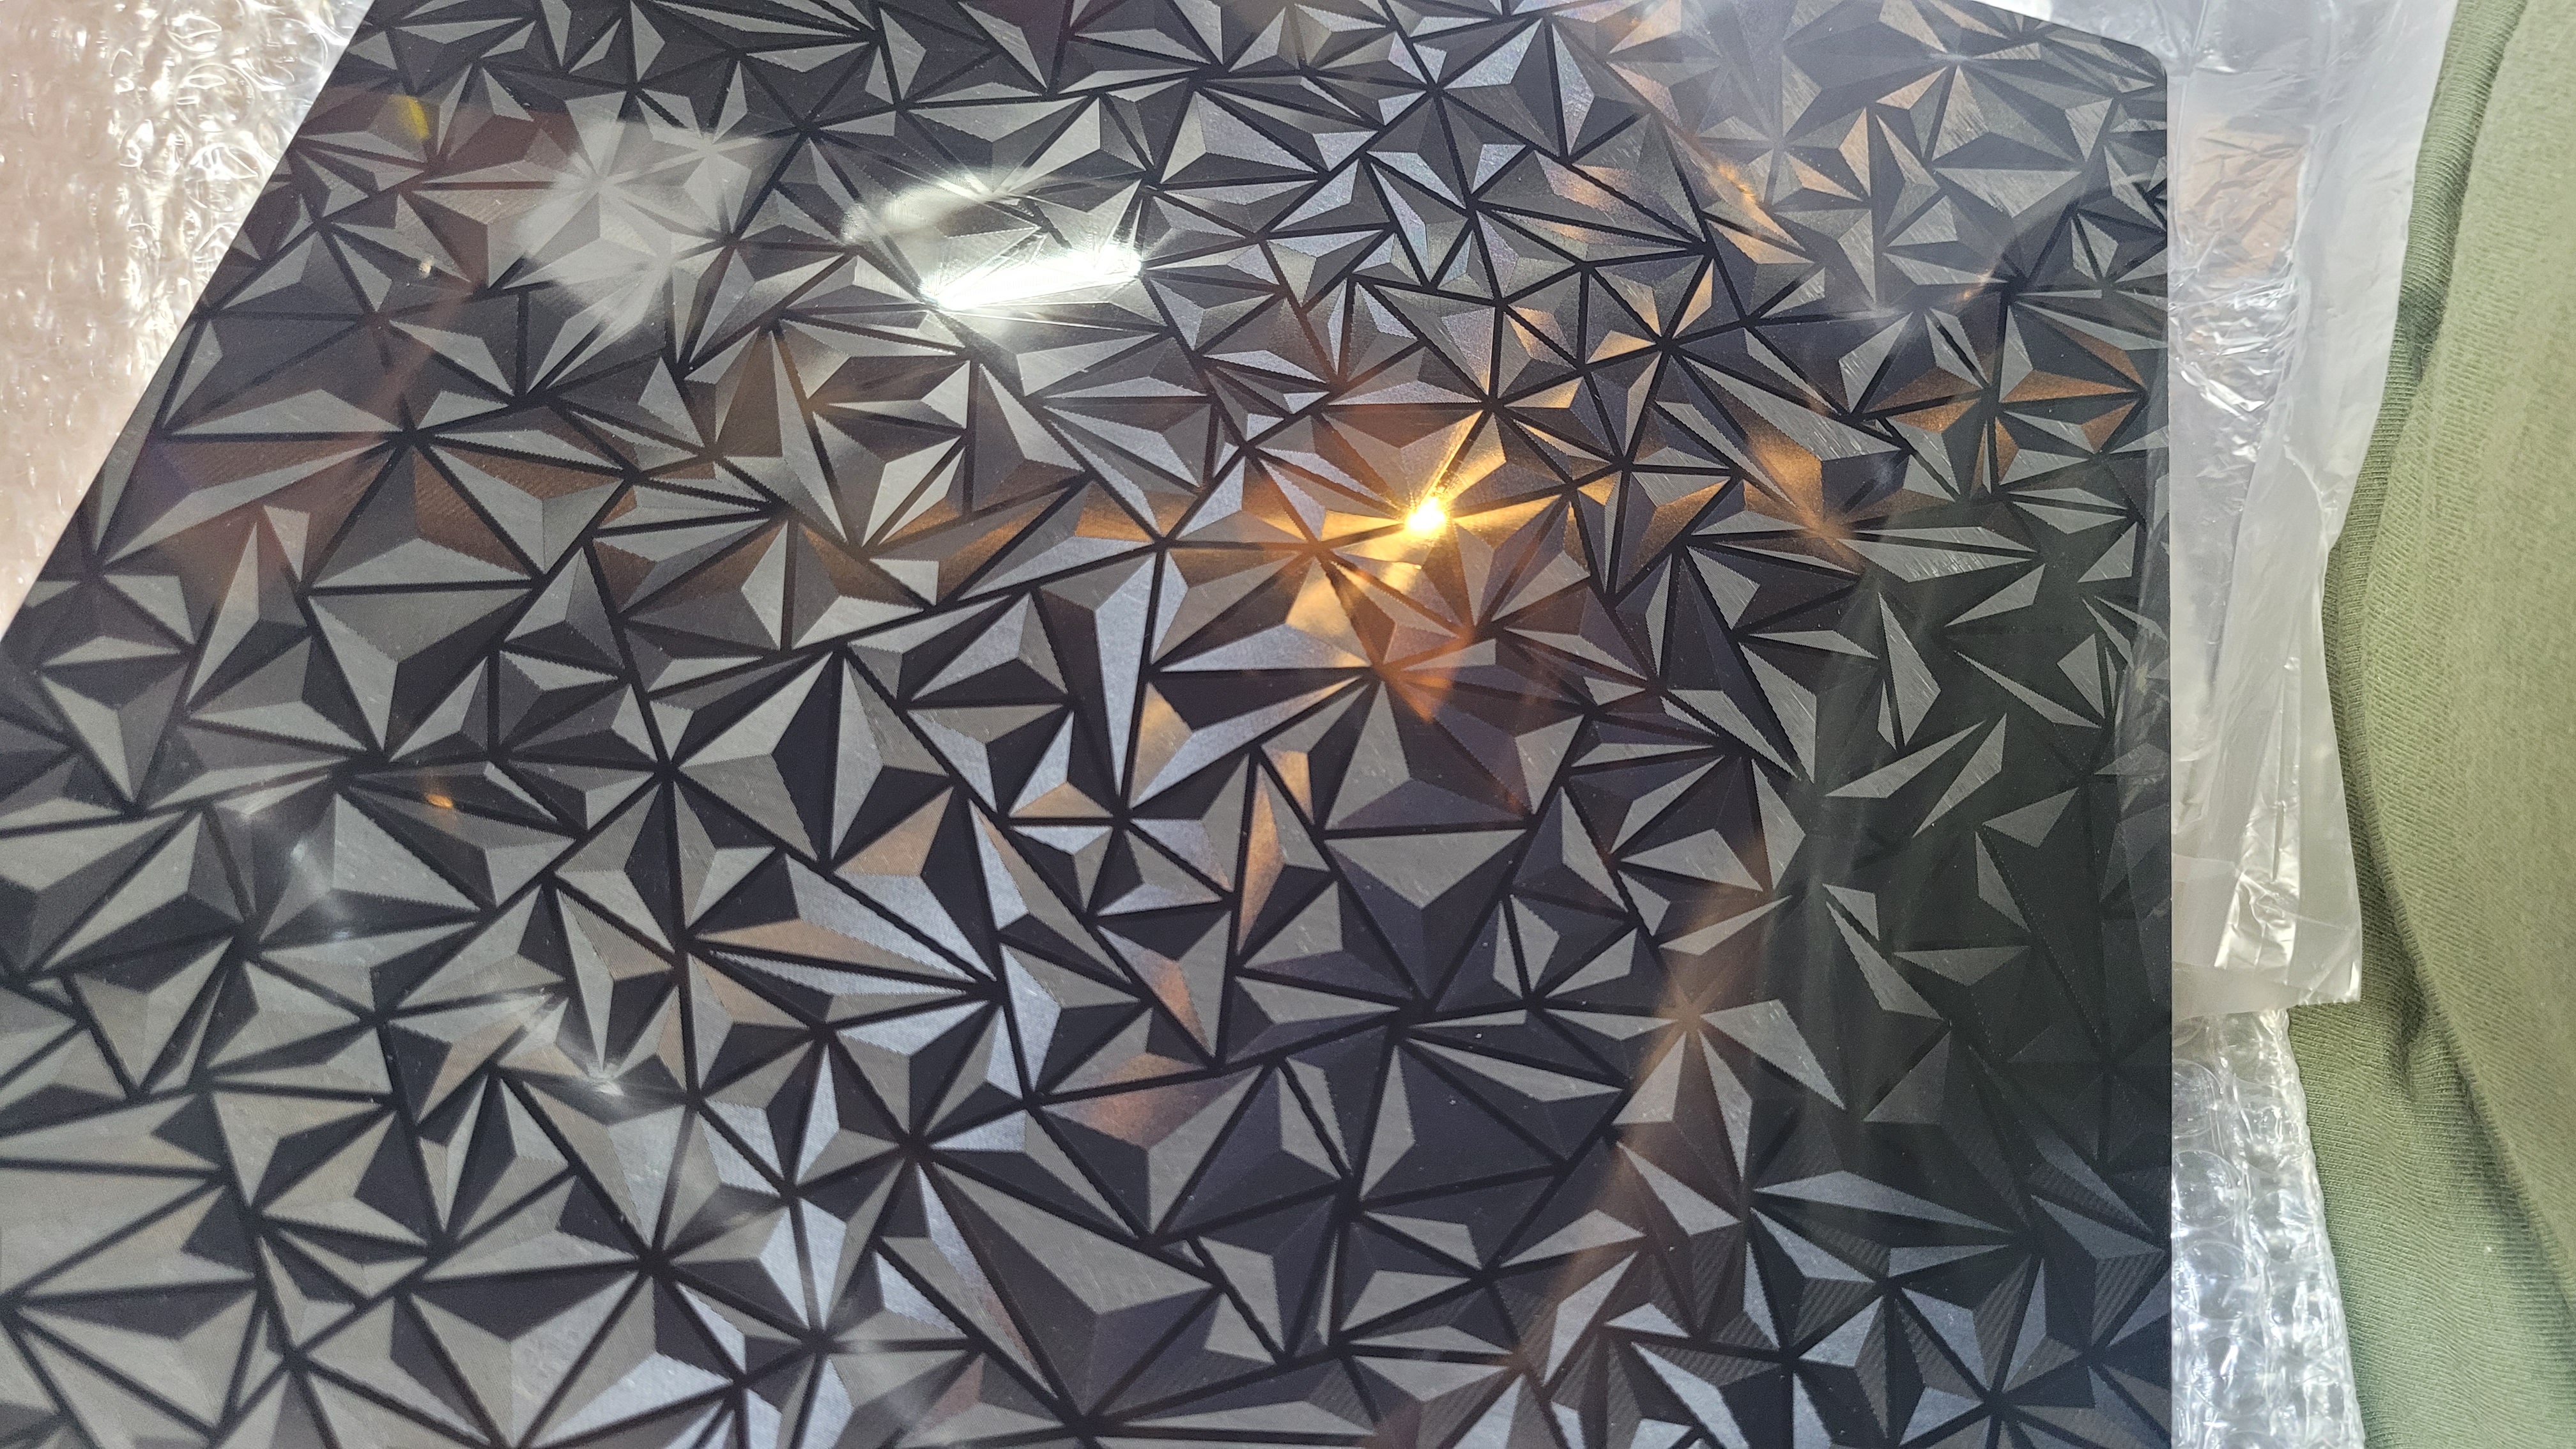
Fracture Texture PET / Powder Coated Textured PEI Spring Steel Sheet
- I can easily see and feel the plate texture, the ridges can be felt with a finger nail
- This texture is much easier to see on any color and can be similarly be felt with a finger nail
- This texture is much easier to see on any color and can be similarly be felt with a finger nail
- This will be a low temperature sheet (<80c) at least until this cool surface has past it's usefulness
- PLA works great, though I did use Vision Miner adhesive, pattern still visible
- Not sure if I want to try PETG at all, until it already has blemishes...
- Could bond and destroy this side of the sheet on a single print!
- Muting the imprinted effect is a concern with thicker adhesives used as separation layer
- I have not tried the powder coated textured PEI side yet...
- Aggressive textured surface, this style usually trades its excellent adhesion for a somewhat reduced lifetime
- My Opinion - The "random" triangular pattern looks great, well worth the <$20 price tag
- I can easily see and feel the plate texture, the ridges can be felt with a finger nail

-
Box Textured PEI Spring Steel Sheet
- I can easily see and feel the plate texture, the ridges can be felt with a finger nail
- Haven't used this extensively but good results so far

-
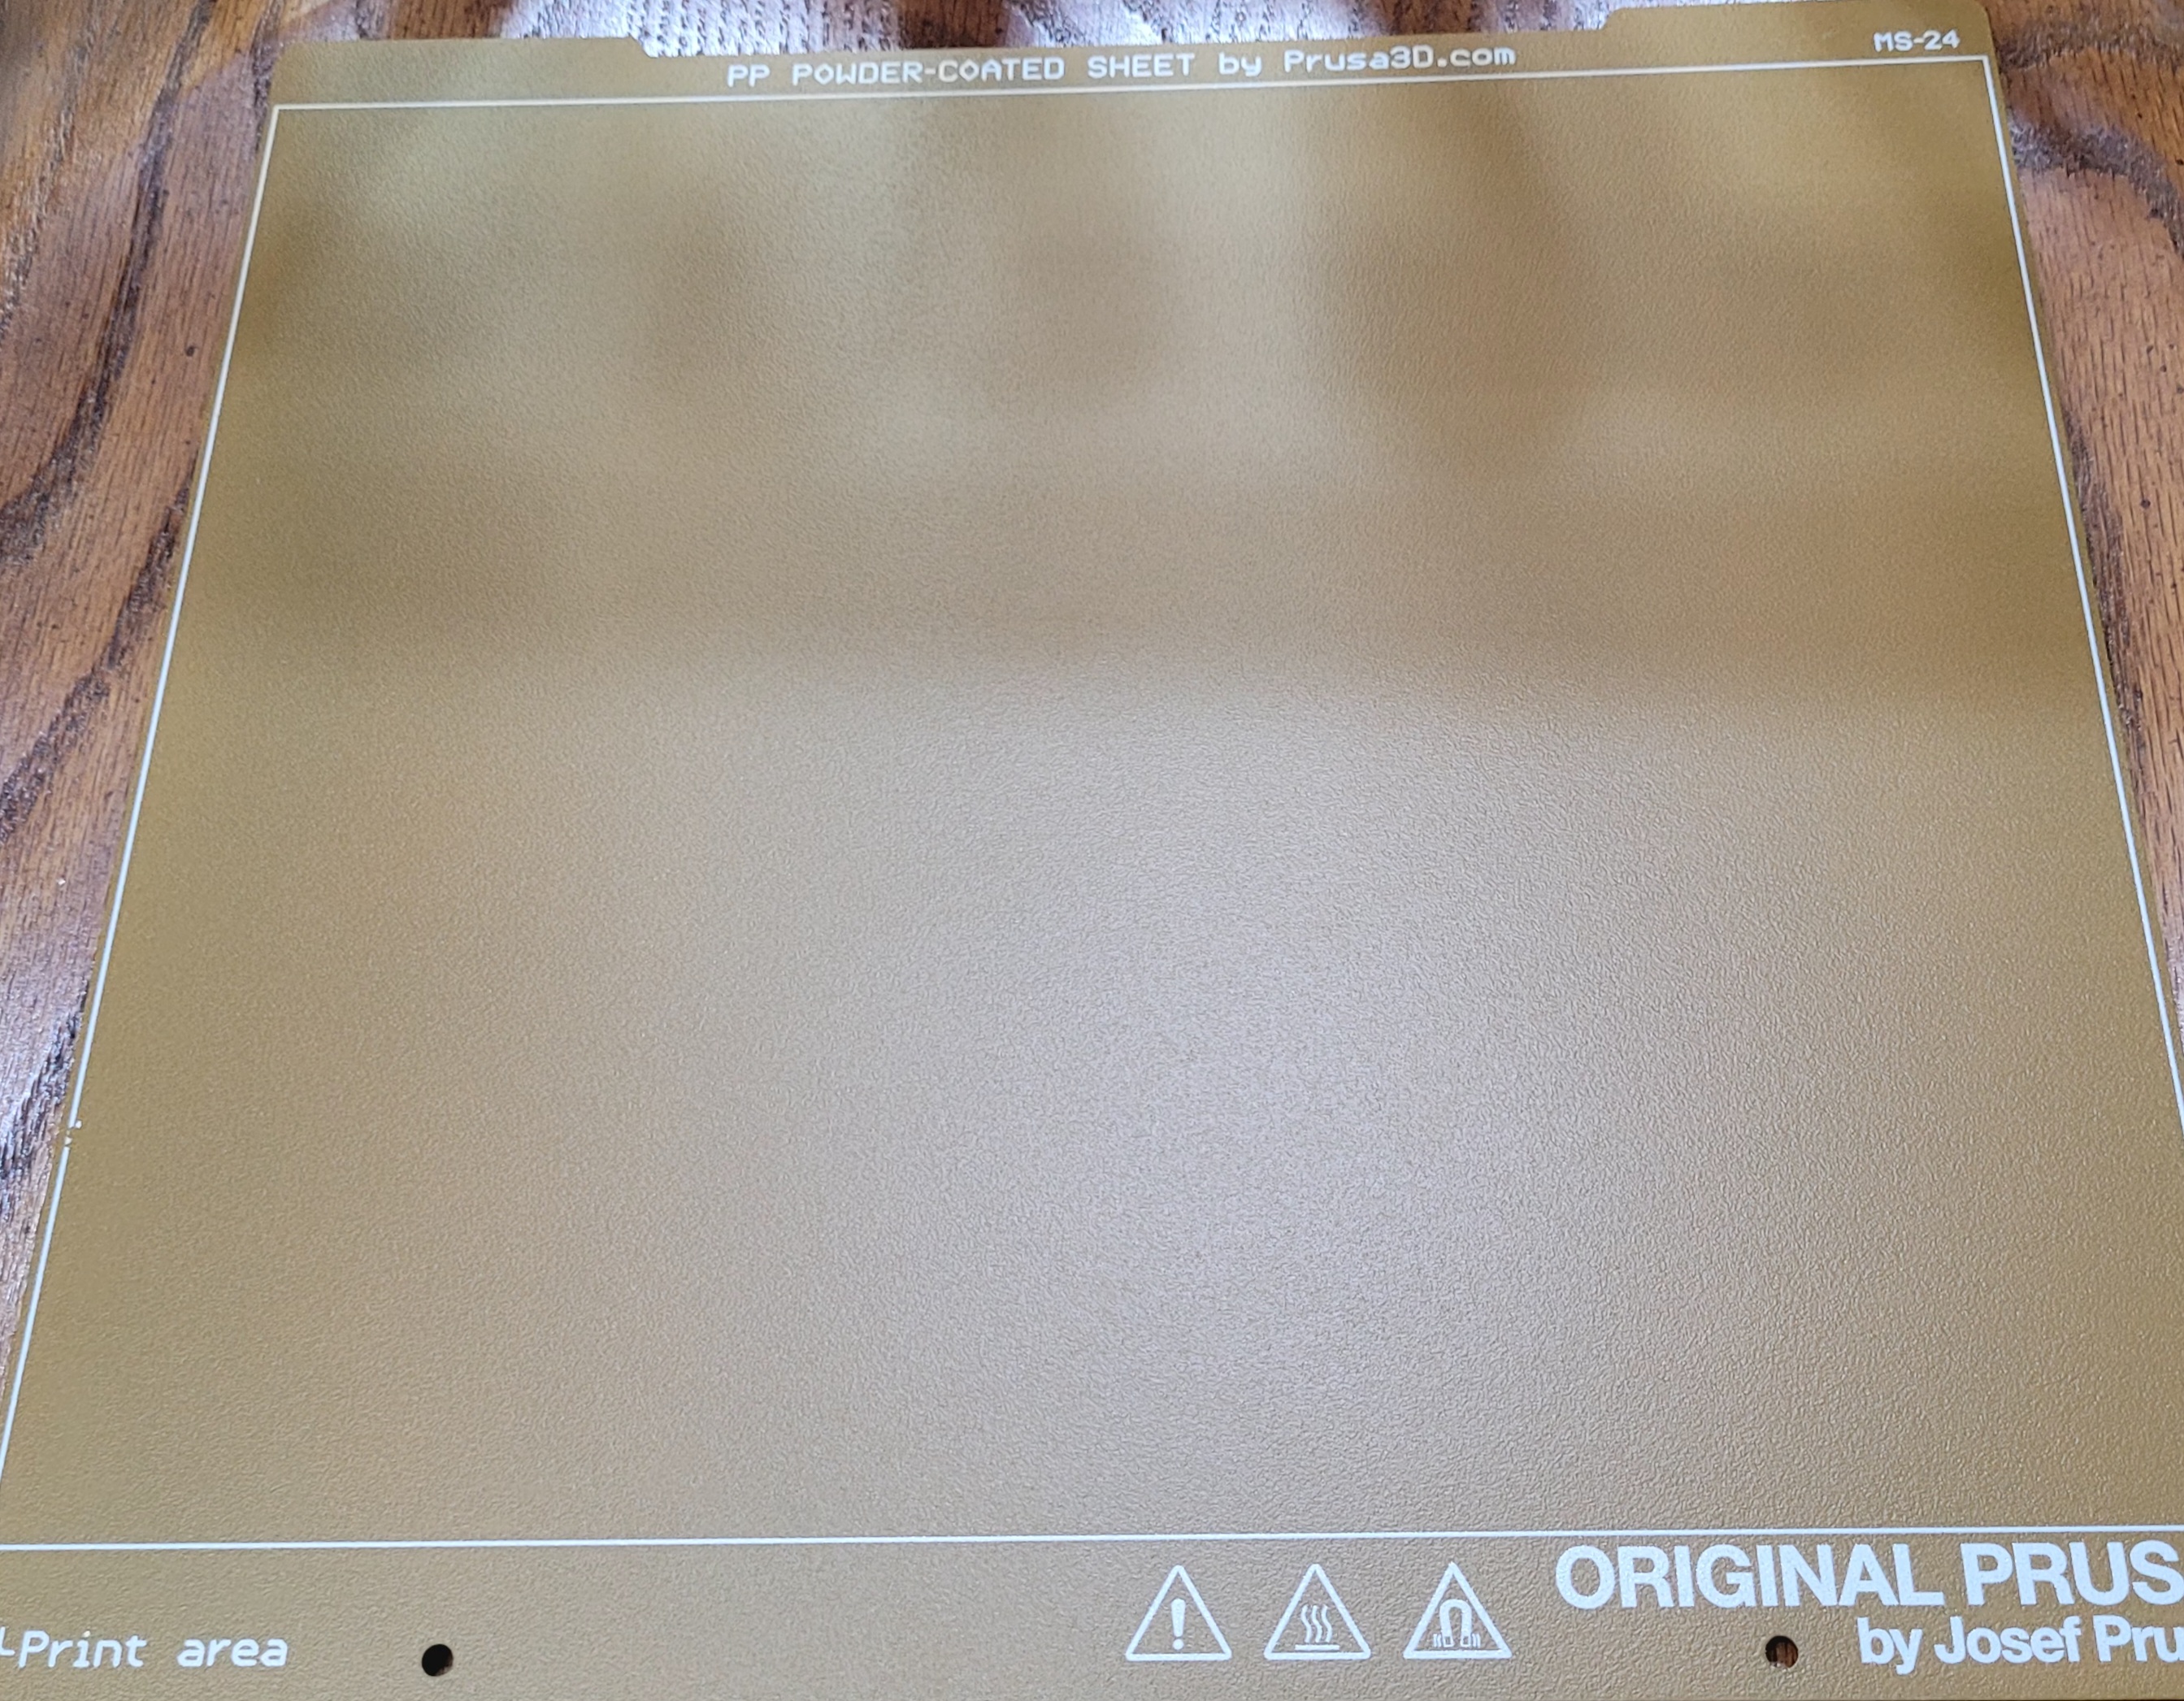
Prusa PolyPropylene Powder Coated Spring Steel Sheet
- Haven't used this plate yet...
-
WhamBam - Carbon Fiber Spring Steel Sheet
- Haven't used this plate yet...
Filament Printer Rolling Cart
Mobile and Self-Contained
Unplug and roll it into the corner; enabling better space management around the shop without disturbing the 3D printer at work.

-
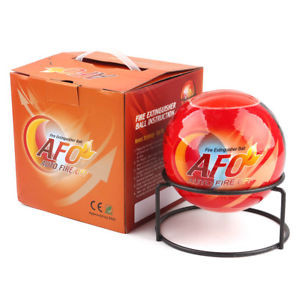
Automatic Fire Extinguisher Ball - 13-foot diameter
- https://www.youtube.com/results?search_query=fire+extinguisher+ball
- https://www.amazon.com/Flamebuster-Lightweight-Extinguisher-Automatically-Transportation/dp/B09YYWD94D
- It would be an awful mess if it went off...but if I’m cleaning up dust from this thing, it hopefully means I still have a house to clean it out of

-
Ikea BROR Utility Cart
- https://www.ikea.com/us/en/p/bror-utility-cart-black-pine-plywood-60333850/
- The working surface of this cart is almost an inch narrower than the LACK table, so my table legs hang over the edge in the front
- I like the bolted together construction and the medium duty tabletop is more than strong enough for 3D printers
-
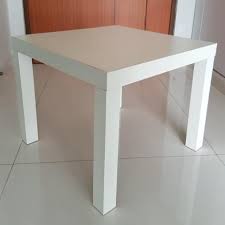
Ikea LACK Side Table
- https://www.ikea.com/us/en/p/lack-side-table-white-30449908/
- https://www.printables.com/model/248372-enclosure-ikea-lack-table-foldable-door
- https://www.walmart.com/ip/Pen-Gear-Ultra-Strong-White-Tri-Fold-Foam-Board-28-x40-1-Pk/125704738
- https://www.amazon.com/PAUTIX-2400LEDs-Lead-Free-Material-Flexible/dp/B0B9SG5S3W
- I picked white with the idea of bouncing more light around the inside of the box, although I am not certain this actually helps the camera...maybe black spray-paint would help?
- As originally built I used acrylic sheet as the design suggested, but I wanted to SEAL the enclosure...Foam Core seals and insulates!
- The cheap foam core cardboard is super easy to cut and glues together nicely with GEL superglue and accelerator spray
-
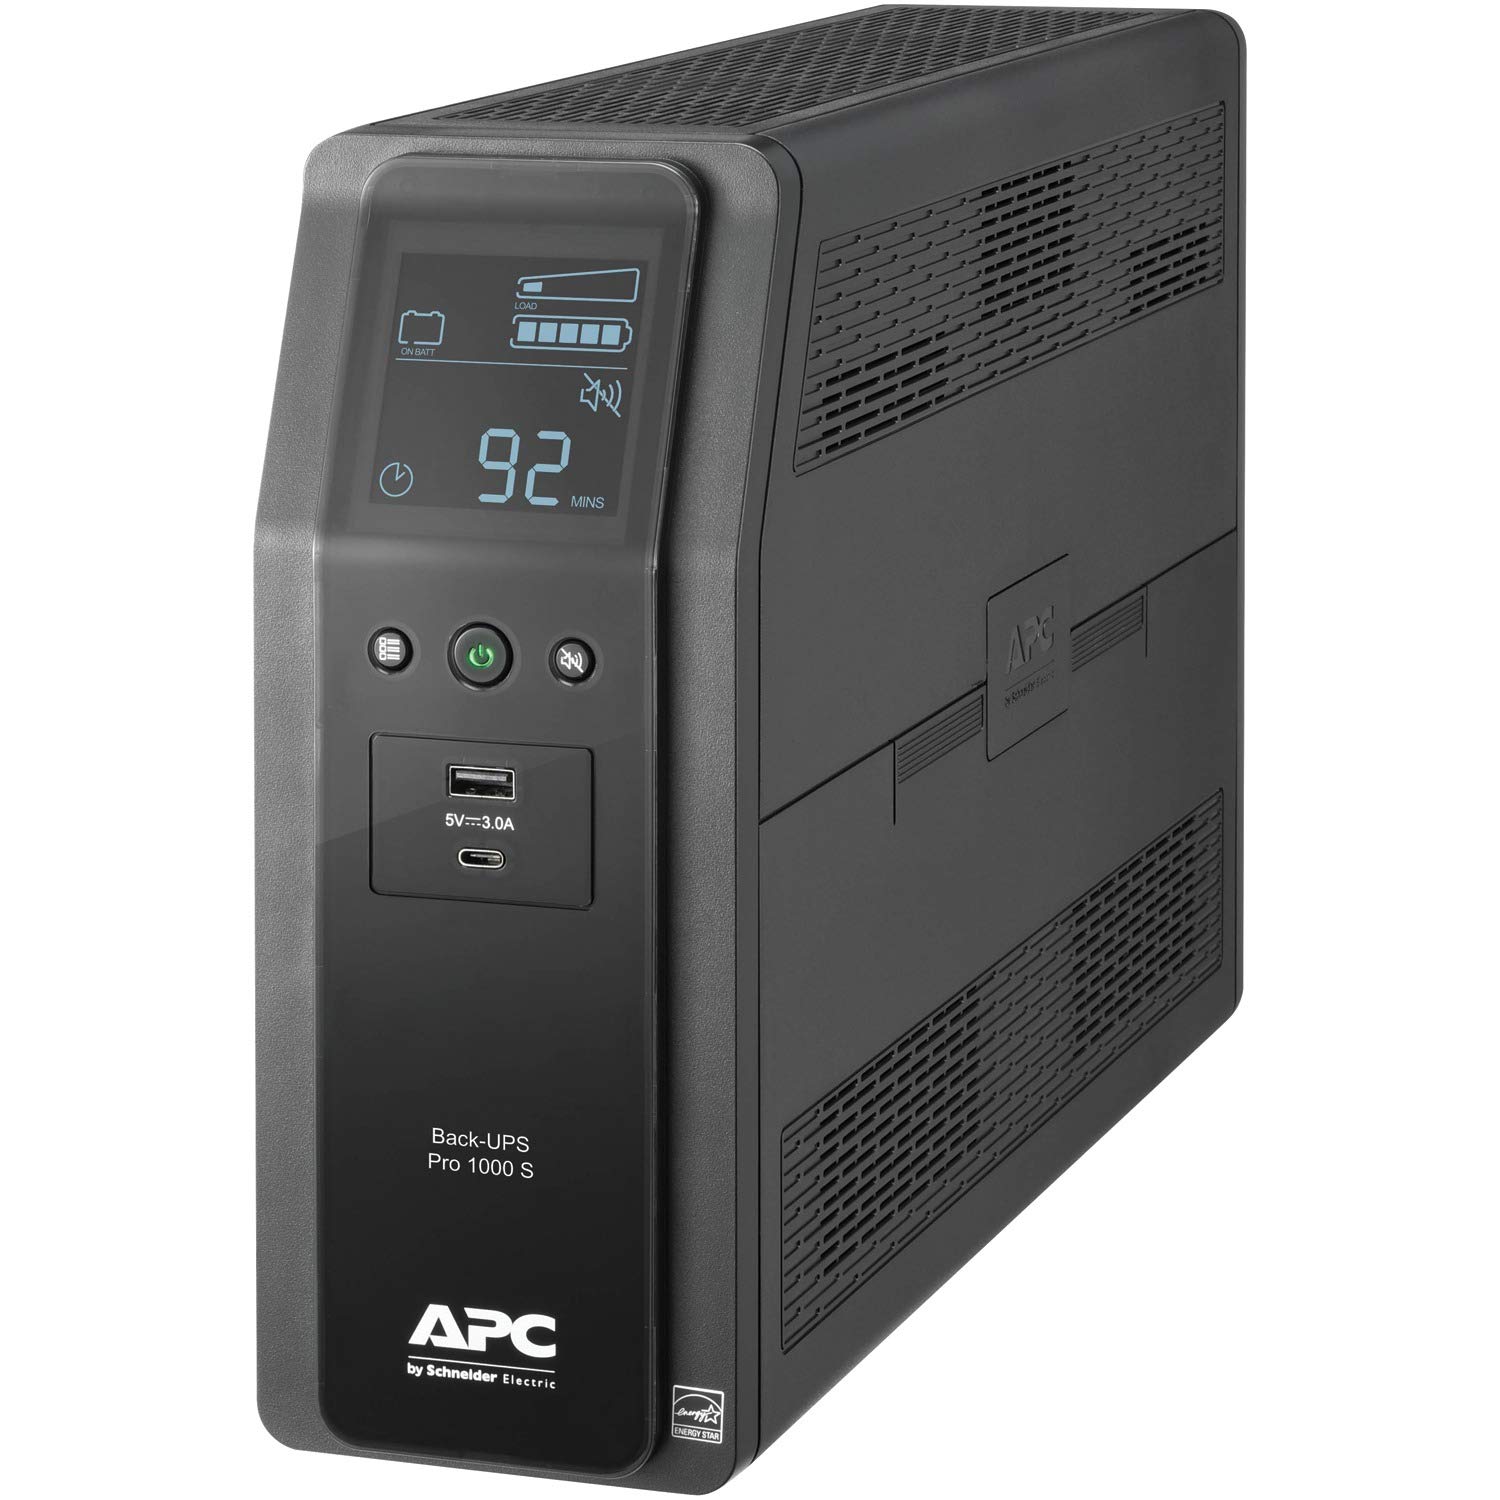
1000 VA Uninterruptible Power Supply (UPS)
- https://www.microcenter.com/product/610649/apc-back-ups-pro-bx-1000va,-8-outlets,-avr,-lcd-interface
- Any 1kVA UPS should work for continued printing through times of power fluctuation or loss
- I choose to upcycle an older UPS by drilling a hole in the side to plug in an outboard battery
- The cord of most UPS' are around 10' long, but in order to make the cart more mobile, it needed a 25' Extension Cord to stay plugged in for demanding materials that require printing from an active dehydrator
- Battery Backed-Up
- Printer
- Raspberry Pi
- Surge Only
- Dehydrator
- Power Strip
- Dehydrator

-
35 Amp Hour Absorbed Glass Mat (AGM) Battery (and connections)
- https://www.homedepot.com/p/MIGHTY-MAX-BATTERY-12-Volt-35-Ah-Rechargeable-GEL-Sealed-Lead-Acid-SLA-Battery-ML35-12GEL/308970494
- https://www.amazon.com/Tanstic-Ratcheting-Connectors-Compatible-Powerpole/dp/B0969L6SRJ
- https://www.amazon.com/BNTECHGO-Silicone-Flexible-Strands-Stranded/dp/B017TGYW3S
- https://www.amazon.com/Elec-Connector-Waterproof-Automotive-Electrical/dp/B075MBM64M
- This expands the cart’s capabilities by allowing me to unplug the cart (UPS with Extension Cord), and although not powering the dehydrator or an active enclosure heater, the printer and its Pi continue to chug along while being rolled aside for a couple hours

-
APC Surge suppressor power strip
- https://www.amazon.com/APC-Protector-SurgeArrest-Essential-PE63/dp/B01M3SYFL4
- I know it’s overkill to have a nice surge suppressor behind a UPS but I needed the plugs, and even UPS devices fail sometimes
- Powered by the Surge side of the UPS so it dies when the cart is unplugged
-
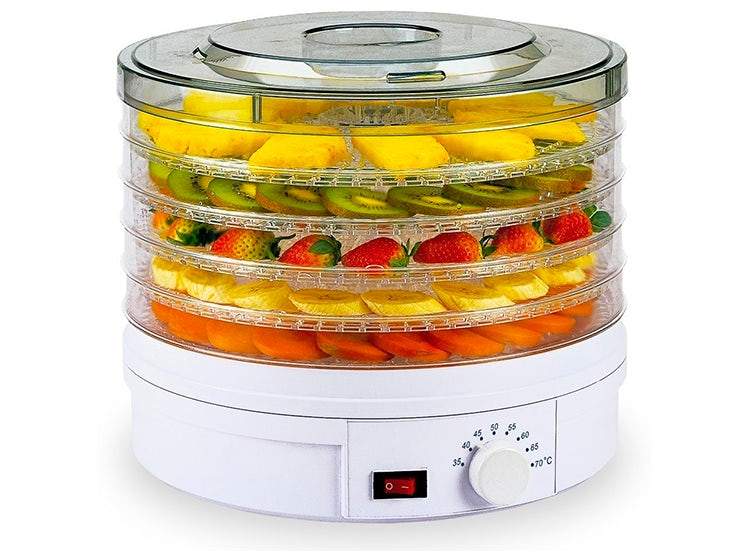
Generic Food Dehydrator
- https://www.thingiverse.com/thing:4639040
- https://www.printables.com/model/73335-dehydrator-dual-spool-holder
- This dehydrator:
- Is cheap
- Fits 2+ rolls of filament
- Gets hot enough @350W to dry the polycarbonates and nylons thoroughly (or melt some spools)
- I cut the bottoms out of all but one of the trays, notched 2 trays for Tube adapters, installed Bowden tube fittings on adapters, added spool holder, and added a PTFE tube for each roll
- The PTFE tubes are just guides to keep the filament covered until it reaches the enclosure, once again probably overkill
- Powered by Surge side of UPS so it dies when the cart is unplugged, and is on it's own Smart Plug to enable remote management (or when I forget to turn it off)
-
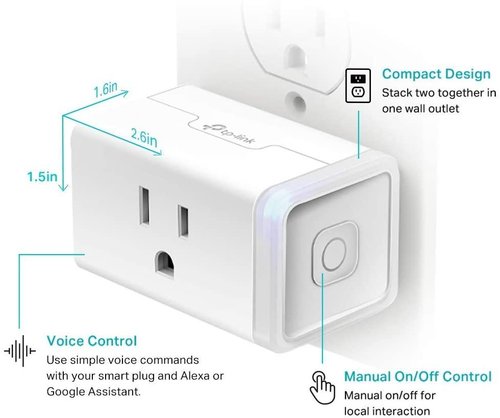
TP-Link Kasa Smart Plugs
- https://www.amazon.com/dp/B07RCNB2L3
- These things are cheap as chips, and when connected to my guest wifi network, are able to give me remote power switching for EVERYTHING! ...I seriously have like 15 of these
- https://www.amazon.com/Kasa-Energy-Monitoring-Smart-Plug/dp/B08LN3C7WK
- I move my single metered plug around to test, but the regular cheap plugs go on everything!

-
Raspberry Pi 4
- Running OctoPrint https://octoprint.org/
- Powered by the Battery side of the UPS to keep it powered all the time, and on it's own Smart Plug so I can remotely hard reset if/when necessary
Extras
- Mister or spray bottle with water or Isopropyl alcohol
- “Flush Cut” style electronics side cutters
- The cheap ones that come with most 3D printers are fine for this kind of thing
- Needle Nose Pliers for support material etc.
- Without Teeth – https://www.amazon.com/Hakko-PN-2008-Long-Nose-Pliers-Outside/dp/B00FZPHIZ0/
- With Teeth – Use the cheap ones that come with most 3D printers https://www.amazon.com/hwangli-Multifunction-Needle-Precision-Stripper/dp/B07MHBW2QZ
- Long tweezers to pull filament “Ooze” off the hot nozzle
- Several scalpels
- I like to always have a sharp blade in the shape most useful for the application, and scalpel blades are cheap
- Smaller Handles (#3 handle)
- #11 Flat edge triangular blade
- #12 Hawkbill\hook blade
- #15 Small rounded edge blade
- Larger Handles (#4 handle)
- #22 Large rounded tip and flat side edge blade
- #23 Large all rounded edge blade
- There are printable scalpel handles, but I prefer the metal ones on Ebay for a buck or so each
- Handle Size 3 - https://www.thingiverse.com/thing:1488946
- Handle Size 4 - https://www.thingiverse.com/thing:1479421
- Blade Covers - https://www.thingiverse.com/thing:3101180
- Blade Disposal Bank - https://www.thingiverse.com/thing:3417107
- Printable scalpel covers made from PLA can be heated then squished, in order to fit snuggly on whatever handle is being used
- Hexagonal Desk Organizer
- https://www.printables.com/model/277310-hexagonal-organizers
- I liked the "Green" version scaled to ~200x200mm, it keeps adhesive bottles and tools together
Material Comparisons
We live in a fantastic world to have literally hundreds of colors available in dozens of different materials for hobby 3D printing
TPU "Thermoplastic PolyUrethane", TPE "ThermoPlastic Elastomer", Flexible-PLA, etc.
- Softest material straight from a filament printer
- Has more in common with rubber than plastic
- Best impact resistance
- Adequate temperature resistance
- Innate flexibility allows its use well above the glass transition temperature
-
Moisture
- TPU and TPE filaments MUST be dry!
- Moist filament has horrible print quality
- Weaknesses are created in each layer by Steam bubbles
-
Uses
- Anything that needs to be flexible or survive regular & significant impacts
- If the low temp and flexibility aren't problems, this can be used in place of many other plastics
-
Issues
- Flexibility, stretch, compression, etc. are REAL problems for some extruder styles
- Bowden systems can usually deal down to 95a shore hardness materials if printed SUPER S L O W
- Multi-Material systems can RARELY deal with 95a materials (MMU, Palette, AMS, etc.)
- Flexibility, stretch, compression, etc. are REAL problems for some extruder styles
-
My Opinions
- Medium to poor aesthetic print quality when compared to other filament materials
- Printing flexible materials can offer many new possibilities for home 3D printers
- Rubber mallet, corner bumpers, cane tips, protective cases, etc.
ABS "Acrylonitrile Butadiene Styrene"
- Requires higher temperature "All Metal" hot end
- Negative issues
- Warping - Ambient closer to Tg helps
- Possible layer delamination- Ambient closer to Tg helps
- Noxious off-gassing - Enclosed printing with internal carbon filter or after-print venting helps
- Prefers enclosure/print chamber to be kept around half it's glass transition point (~50c)
- Any plastic containing Styrene stinks when printing and reacts with Acetone
-
Post-processing
-
Can be Vapor Smoothed using Acetone for glassy smooth prints
- Sands nicely by machine if kept cool, sanding by hand can be dusty
- Recommend wet sanding when possible
- Painting protects the plastic from UV deterioration and fills in layer lines
-
-
My Opinions
- Mostly seal a 3d printer into an enclosure to keep both Heat and Stink inside while printing
- Thin nylon photography tents might be OK if the room is already REALLY warm but they loose heat quickly
- Thin plastic sheeting works better than nylon but suffers from poor insulation qualities if ambient temp is cool
- Large cardboard box worked great but I didn't like unfolding the flaps to touch printer each time
- IKEA LACK table with foam-core craft board walls/door made for excellent insulation
- Mostly seal a 3d printer into an enclosure to keep both Heat and Stink inside while printing
ASA "Acrylonitrile Styrene Acrylate"
- Requires higher temperature "All Metal" hot end
- Negative issues
Warping - Ambient closer to Tg helps
Possible layer delamination- Ambient closer to Tg helps
Noxious off-gassing - Enclosed printing with internal carbon filter or after-print venting helps
- Negative issues
- Prefers enclosure/print chamber to be kept around half it's glass transition point (~50c)
- Any plastic containing Styrene stinks when printing and reacts with Acetone
-
Post-processing
-
Can be Vapor Smoothed using Acetone for glassy smooth prints
- Sands nicely by machine if kept cool, sanding by hand can be dusty
- Recommend wet sanding when possible
- Painting protects the plastic from UV deterioration and fills in layer lines
-
-
My Opinions
- Mostly seal a 3d printer into an enclosure to keep both Heat and Stink inside while printing
- Thin nylon photography tents might be OK if the room is already REALLY warm but they loose heat quickly
- Thin plastic sheeting works better than nylon but suffers from poor insulation qualities if ambient temp is cool
- Large cardboard box worked great but I didn't like unfolding the flaps to touch printer each time
- IKEA LACK table with foam-core craft board walls/door made for excellent insulation
- Mostly seal a 3d printer into an enclosure to keep both Heat and Stink inside while printing
PLA "PolyLactic Acid", PLA+, PLA-Pro, etc.
- Stiffest material
- Generally bends less easily than other materials
- Hardest material
- Resists deformation by a pointy thing better than most (at least to start with...)
- Very poor temperature resistance
- Prints left in a hot car will likely deform
- Very poor impact resistance
- PLA Hammer + Nail = Plastic Shrapnel
- Very poor creep resistance
- PLA shelf bracket + (insert time) = Shelf on floor
- I use PLA for a ton of things, but when it MUST hold weight, I use PC or PA depending on impact requirement
- "+" and "Pro" modifiers vary wildly between manufacturers
- Test EVERY new material; Make no assumptions about the modifiers or their expected properties
-
Deterioration
- Increased stringing with more moisture typically, but usually very mild compared to PETG, TPU, etc.
- Embrittlement with extended moisture or Ultraviolet light exposure
- These traits seem to follow the base material rather than the additives or colorants
- Some transparent, translucent, or silk filaments seemed to be significantly less affected
- These traits seem to follow the base material rather than the additives or colorants
-
Post-processing
- Sanding PLA is SLOW! - If sanded too briskly the dust melts back onto the part, ruining the surface
- 3D Gloop is the only "consumer accessible" smoothing agent for PLA - Industrial chemicals are available
- Painting protects the plastic from UV deterioration and fills in layer lines
- Lighter colors absorb less heat
- Glossy finishes absorb less heat
-
Uses
- Anything that will live inside a home (No UV and low heat)
- No large physical stresses placed upon it (Creeping over time)
-
Known Exceptions (to the normal rules)
- Protopasta HTPLA (High Temperature Polylactic Acid)
- Prints like normal PLA then heat treated at increasing temperatures to get ~100c heat deflection temp!
- Warpage during heat treat process can be an issue for some part geometries
- https://proto-pasta.com/pages/high-temp-pla
- Lay-Filaments Reflect-O-Lay Flexible PLA
- Prints and physically acts like soft (<90) TPU/TPE
- Feels somewhat "fuzzy" and a lot like rubber
- Crazy retroreflector effect
- http://lay-filaments.com/LayFilaments-Overview+LightMeta5-b.pdf
- Protopasta HTPLA (High Temperature Polylactic Acid)
-
My Opinions
- Best for aesthetic print quality
- Seems to "creep" under any significant stresses
- Favorite material for prototyping $$$ (prototypes become finished products when they work the first time)
PVB (PolyVinylButaral)
- Printability is VERY similar in detail and off-the-printer surface quality and detail representation to PETG. Seems to also have similar susceptibility to taking in moisture prior to printing, and therefore needs to be dried at <45c for 12+ hours.
- Temperature response being ~50cTg leaves it down with PLA in terms of usability in hot environments.
- "Vapor smoothing" can be done to some parts by simply hosing the part down with isopropyl alcohol, shaking off the excess and setting the part out to dry, produces very acceptable results.
- Transparency can only be achieved using a single wall vase mode print, unless I'm willing to jump through lots of hoops in slicing.
- Vase mode is ideal since it guarantees a single wall that I have access to BOTH sides of with alcohol.
-
Post Processing for Transparency
- Inside of "vasemode" part
- Heavily spray/mist/dip the part in isopropyl alcohol
- After ~30 seconds of alcohol exposure
- Dump out, shake off, and/or blow the excess alcohol from the part
- Set the part on it's base for a couple minutes to "melt"
- Heavily spray/mist/dip the part in isopropyl alcohol
- After ~30 seconds of alcohol exposure
- Dump out/shake/blow off the excess alcohol from the part
- Make certain that all "puddles" have been minimized
- Outside of "vasemode" part
- Heavily spray/mist/dip the part in isopropyl alcohol
- After ~30 seconds of alcohol exposure
- Dump out, shake off, and/or blow the excess alcohol from the part
- Set the part on it's base for a couple minutes to "melt"
- Heavily spray/mist/dip the part in isopropyl alcohol
- After ~30 seconds of alcohol exposure
- Dump out/shake/blow off the excess alcohol from the part
- Make certain that all "puddles" have been minimized
- Set the part aside for a couple hours to dry
- Will be "floppy" for a few days
- May take a couple weeks to fully harden, depending upon environment
- Inside of "vasemode" part
-
My Opinions
- Fantastic for "Glass" reproduction using 3D printing
- Takes FOREVER to completely harden back to original stiffness after smoothing with alcohol
PETG, PETG+, PETG-Pro, etc.
- Prints on most printers capable of PLA
- Adequate temperature resistance
PC
- Requires higher temperature "All Metal" hot end
PP
- Requires higher temperature "All Metal" hot end
PA, Nylon, etc.
- Requires higher temperature "All Metal" hot end
PE
- Requires higher temperature "All Metal" hot end
PVB (PolyVinylButaral)
- Printability is VERY similar in detail and off-the-printer surface quality and detail representation to PETG. Seems to also have similar susceptibility to taking in moisture prior to printing, and therefore needs to be dried at <40c for 12+ hours.
- Temperature response being ~50cTg leaves it down with PLA in terms of usability in hot environments.
- "Vapor smoothing" can be done to some parts by simply hosing the part down with isopropyl alcohol, shaking off the excess and setting the part out to dry, produces very acceptable results.
- Transparency can only be achieved using a single wall vase mode print, unless I'm willing to jump through lots of hoops in slicing.
- Vase mode is ideal since it guarantees a single wall that I have access to BOTH sides of.
Post Processing
- Heavily spray or dip the part in isopropyl alcohol
- Dump out, shake off, and/or blow the excess alcohol from the part
- Set the part on it's base for a couple minutes to "melt"
- Heavily spray or dip the part in isopropyl alcohol
- Dump out, shake off, and/or blow the excess alcohol from the part
- Make certain that all "puddles" have been minimized
- Set the part on it's base for at least 24 hours to dry, but may continue to dry over the next week
More to come...
Squish!
Printing the first layer can be frustrating for the do-it-all hobbyist since everything is always changing
Beginner squish
- Perform leveling, adjusting, calibrating the printer
- Print a Single Layer large box, (most of build plate) outline, or something similar and let it complete without intervention
- Inspect the single layer printed object while it prints (or immediately after)
- Too close?
- Smearing
- Stringing
- Dragging - stuck better to nozzle than bed
- Pulling - stuck to nozzle
- Too Far Away?
- Not sticking
- Dragging - not stuck to bed
- Pulling - not stuck to bed
- Not sticking
- Too close?
- Adjust nozzle height and print again until it looks good enough!
What IS good squish?
- My Opinion - It depends... seriously!
When the material leaves the nozzle it's cross section is roughly circular but once touching the bed is deformed and hopefully stuck to the bed. The resulting oval shaped filament string will have a flat bottom if it sticks to the bed at all, but the top of that oval and any other deformations from this point are exactly what we are discussing here.
Printing whatever filament successfully on a given printer can be performed over a fairly wide range of "filament squish levels", but the best performance, reliability, and quality come from dialing it as close to the middle of the range as possible which I believe helps to account for variations in filament diameter and build plate inconsistencies.
The extremes are easy; if the top if the oval almost looks round it means the nozzle needs to be closer to the bed, or if the oval is deformed to look completely flat, the nozzle needs to be farther from the bed. The middle ground is tricky because each material being printed on each printer will have slightly different preferences.
I begin with the nozzle well above the level I expect to actually print at, then dial it down while printing in the air until the material sticks nicely and has a visible flat on the top... this is the minimum squish, or highest Z offset if you prefer.
Materials prefer different heights
This is not based upon the material such as PLA vs PETG or ASA, but might be more individual to the specific color of each material from a given brand and how well that color wants to stick to the build surface being used.
When the best possible reliability and quality are desired, we need to calibrate each printer for each new material
- Print a test part
- Warp testing - Long & thin part, to check for warping and adhesion issues
- Tolerance testing - Known easy to measure features, most useful general test since it gives many measurable details
- Warp testing - Long & thin part, to check for warping and adhesion issues
- Start with less Squish for a new material
- If there are ANY adhesion issues with a print line that just has the top flattened, squish a little more
- Starting with too much squish can cause some materials to become permanently bonded to some build surfaces
- In my experience, this can make repeat prints difficult prior to removal ;)
- Big changes are OK at the beginning
- If there is an adhesion issue with the first "lightly flattened" test, I tighten the squish significantly
- This is often too much squish, but should FIX the adhesion problem, letting us concentrate on any other issues that come up
- Too much squish can cause smearing and stringing among other issues
- This is often too much squish, but should FIX the adhesion problem, letting us concentrate on any other issues that come up
- If there is an adhesion issue with the first "lightly flattened" test, I tighten the squish significantly
- If we STILL have adhesion issues, its time to go back to cleaning the build surface and maybe reapplying adhesives for those extra troublesome materials
No PETG on PEI / PEX?
Some claim PETG should not be printed on PEI or PEX build plates without adhesive separation layers, and I believe they say it for liability reasons.
Many PETG filaments have a higher coefficient of adhesion at ~85c when compared to ABS or ASA at ~100c with the same nozzle/bed offset, but raising the nozzle height can alter this significantly. Raising the nozzle to a point of just flattening the top of the print line, seems to allow the same material to stick to the same sheet and pop off nicely after cool down like PLA in most cases.
Simply lowering the bed temperature typically reduces the post-print adhesion to the bed. Printing PETG onto a WhamBam Smooth PEX sheet at 60-70c has a very good possibly of destroying the build surface when removing the part. When I lower the bed temperature ~20c PETG no longer seems to bond with the PEX/PEI surfaces during printing. I still have perfectly adequate stick without warping, but the part is now removable without damaging the build surface.
No Silver Bullets!?!
Unfortunately this is a trial and ERROR process that requires failing regularly before mastering the techniques. Yes, there is a trick to it, and if we keep trying we WILL get it. Don't give up!
Why use Carbon Fiber composite filament?
Most people enjoy the semi-matte finish and chatoyant appearance that carbon composites can provide, yet there seems to be some confusion about the non-aesthetic reasons "for" or "against" 3D printing with carbon fiber composite materials.
Stiffness / Brittleness
- Stiffness = resistance to bending effort
- Brittleness = sharpening of fracture style at break event (My currently intended definitions for clarity)
Regardless of base filament material, any carbon fiber composite should be stiffer and therefore somewhat more brittle when compared with 100% base filament. Mixing carbon fibers into plastic creates a material that is typically greater than the sum of it's parts; the semi-flexible plastic material coats and sticks to the carbon fiber strands holding them together which helps prevent the strands fracturing under bending stresses. (I think)
This phenomenon can be roughly demonstrated using straws: Holding 5 straws from a single end then bending them with another hand vs supporting the same straws at both ends and trying the same bend in the middle. The straws being supported from both ends are much tougher to bend because they are being held together and able to better share their strength instead of each straw having to hold all the strain by itself.
Composite materials are a bit of a double edged sword because by adding a significantly stiffer strengthening material to our base plastic, I believe we are adding nucleation sites for cracks to begin once the part is put under heavy stress. Unfortunately, these differences also cause a change in part failure "style"; this typically means a sharp violent break with reduced flexing when compared to the original material's properties.
The amount of additional stress a carbon fiber composite part will accept is usually significant compared to 100% base material parts, even if it does change how a part fails... at least in some directions.
Printability
The increase to a base materials' overall stiffness will often reduce part warping significantly(or entirely) even for the more "warp prone" materials. This stiffness increase often enables getting successful prints on challenging geometries, even when normal filament fails.
Printing with Carbon or Glass fiber reinforced material should always give a more dimensionaly accurate part when compared to printing the 100% base material. (assuming the base material has a warping issue on my printer to begin with!)
Hard Nozzle REQUIRED!
ANY composite filament will heavily increase the wear a 3D printer nozzle undergoes, so using a nozzle created from a wear resistant material makes great sense. The "Hardened Steel" nozzles tend to be the cheapest entry point, however their very low heat conductivity could require changes to the slicer temperatures in some cases. ANY of the hardened nozzle styles will allow regular composite use without problems, but there are always trade-offs.
- Hardened Steel (aka Tool Steel)
- Obsidian
- Industrial Diamonds
- Ruby
- Tungsten Carbide
- etc.
"Stainless Steel" nozzles are sometimes available, but I would not recommend them if they are not listed as "Hardened"; this is because while these WILL last longer than Brass, they will not even get close to the useful life of ANY "Hardened" (or equivalent) nozzle when used to print composites.
Glass Fiber? Aramid Fiber? Other Fibers?
- Carbon Fiber is not the only composite material, although currently it is the stiffest of the composites I am aware of.
- Glass fiber is typically half the "composite tax" ($ price > base material price) compared to carbon fiber with what I believe is 75% of the benefits and all the detriments of carbon fiber.
- Aramid Fiber and Kevlar fiber composites seem to stay similarly priced with Carbon Fiber but parts performed roughly identical to the Glass fiber materials in my testing.
Specific Drawbacks and Limitations
- Reduction in isometric part strength
- reduced layer adhesion
Limited experiences with nozzles and wear
After printing hundreds of kilograms of filament through several printers and consequently destroying dozens on nozzles along the way; I have probably learned nothing, but let's take a look anyway!
Cheap brass nozzles
- These can be found in a 10 pack for around $20 USD including shipping to the door
- At least 5 are completely usable out of the box
- Usually a couple more can be made functional with some cleanup and deburring
- Never had a complete batch that were all usable out of the box (No threads on one?!?)
- For this price, it is an acceptable choice for those willing to tinker, replace nozzles more often, and get less overall reliable quality
- Had more than one break out the nozzle tip after some long PLA prints (turns into 1.75mm nozzle)
- Occasionally seen warping or crumbling brass after torching nozzles to burn out a clog
- These WILL work in a pinch so I used to keep a handful for emergencies
- Brass nozzles in general, have the best print quality and reliability across all materials they can be used for (no abrasive materials)
Cheap "Hardened" nozzles
- Cost is similar to a good brass nozzle at ~$5 USD
- Inconsistent internal geometry due to poor machining or dull tools
- Nozzle out of round leading to over/under extrusion in complex parts
- Depending upon the material used to create the nozzle, all nozzle temperatures will need to be raised by 5-20 C
- Hardened steel has a bit better heat conductivity compared to most stainless steels
- These CAN work for abrasive materials but they require luck and/or patience to get good results over time
- Unfortunately, sometimes unhardened stainless steel nozzles are sold as "Hardened" nozzles
E3D brass v.6 nozzles
- These seem reasonably priced to me at around $5 USD so I now keep a handful of these around instead of the cheap ones
- When I want a brass nozzle for highest print quality, this one has great tolerances and longevity (for brass)
- Tolerates being torched out after a clog now and then without issues
- Brass nozzles in general, have the best print quality and reliability across all materials they can be used for (no abrasive materials)
E3D Hardened Steel and Nozzle X coated v.6 nozzles
- These are quite affordable for Wear Resistant nozzles at around $20 to $30 USD
- Raise all nozzle temperatures 5-10 C to accommodate it's low thermal conductivity compared to brass
- Wear resistant nozzles are REQUIRED to print abrasive materials such as composites (Carbon/Glass Fiber, Glow-In-The-Dark, Sparkles, Wood, Stone, etc.)
Diamondback nozzles
- On the higher end of price at ~$100USD
- Excellent thermal conductivity due to the industrial diamond construction
- Extrusion temperatures can be lowered as much as 20 degrees if changing from hardened steel nozzle
- 300c maximum temperature due to it's brass body construction
- Low thermal conductivity makes sense (to me) as a real limitation to quality etc. in wear resistant nozzles
- Makers of the DiamondBack nozzle claim it has a thermal conductivity comparable to brass, with wear resistance close to raw diamond
- I'm almost ashamed to say I have not had any issues with this nozzle once installed
- No chances YET to figure out how it survives using a propane torch to get rid of a clog
Everything else I haven't tried yet
Any opinions I have on other nozzles are based purely upon the evil marketing strategies of 3D printer nozzle manufacturers
Filament 3D Printing Material Types
Obviously this is a work in progress and will change...
Link to Most Current Spreadsheet on Google Docs
Below table is only a piece of the spreadsheet, link above to entire sheet. (Comments enabled for spreadsheet within Google)
Links to resources for 3D printing Filaments
| https://aztecplastic.com/materials/ |